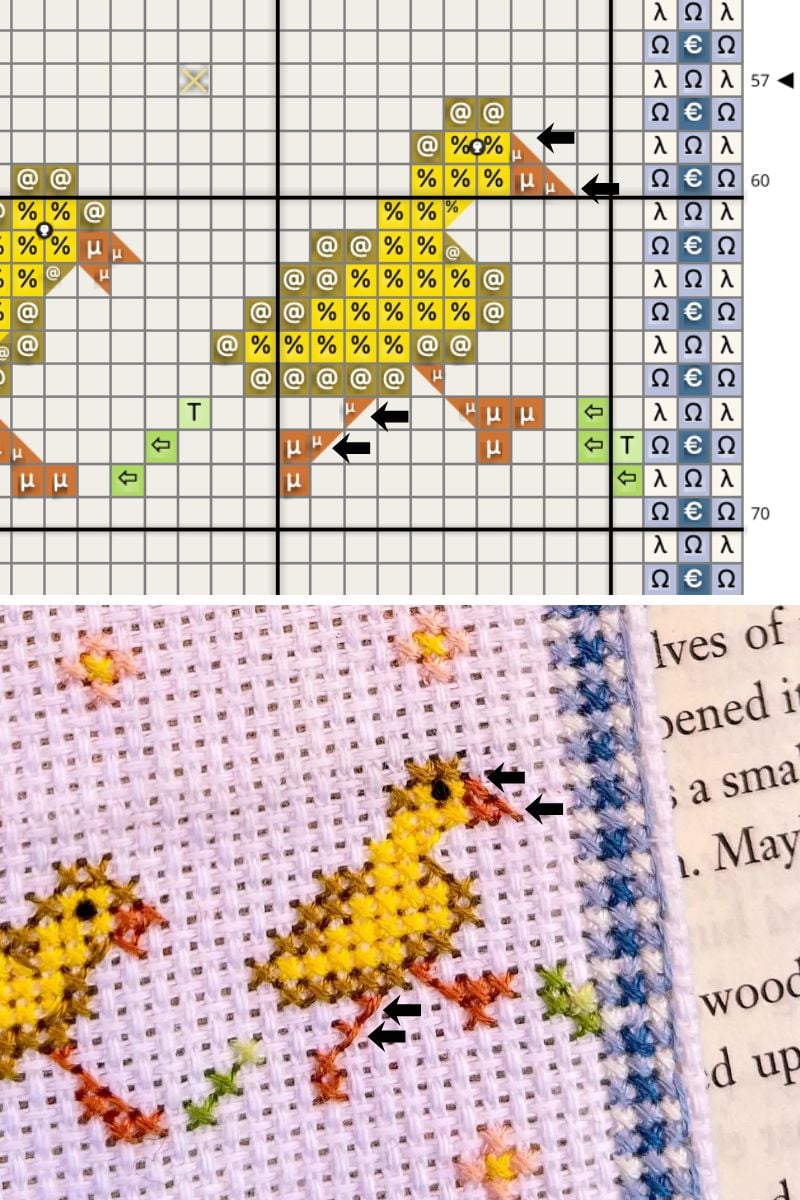
5 Ways To Finish Edges Aida Cloth
Whether you want to reinforce the edges of Aida cloth while stitching or you would like to add a decorative edge to finish a design, this article will show you five different ways to finish the edge of Aida cloth.

Disclaimer: This post contains affiliate links, which means I may earn a small commission if you choose to purchase an item.
How To Finish Edges Of Aida Cloth
First, I’ll share a few temporary methods that can be used to prevent the edges of Aida fabric from fraying while you’re stitching.
Some of these methods may leave some residue, so it’s helpful to leave a few extra inches of fabric that you can trim off when you’re done stitching.
Temporary Ways To Prevent Aida From Fraying
- Fold over the edge of the fabric and add a strip of iron-on hem tape or liquid hem glue.
- Secure the edges with masking tape.
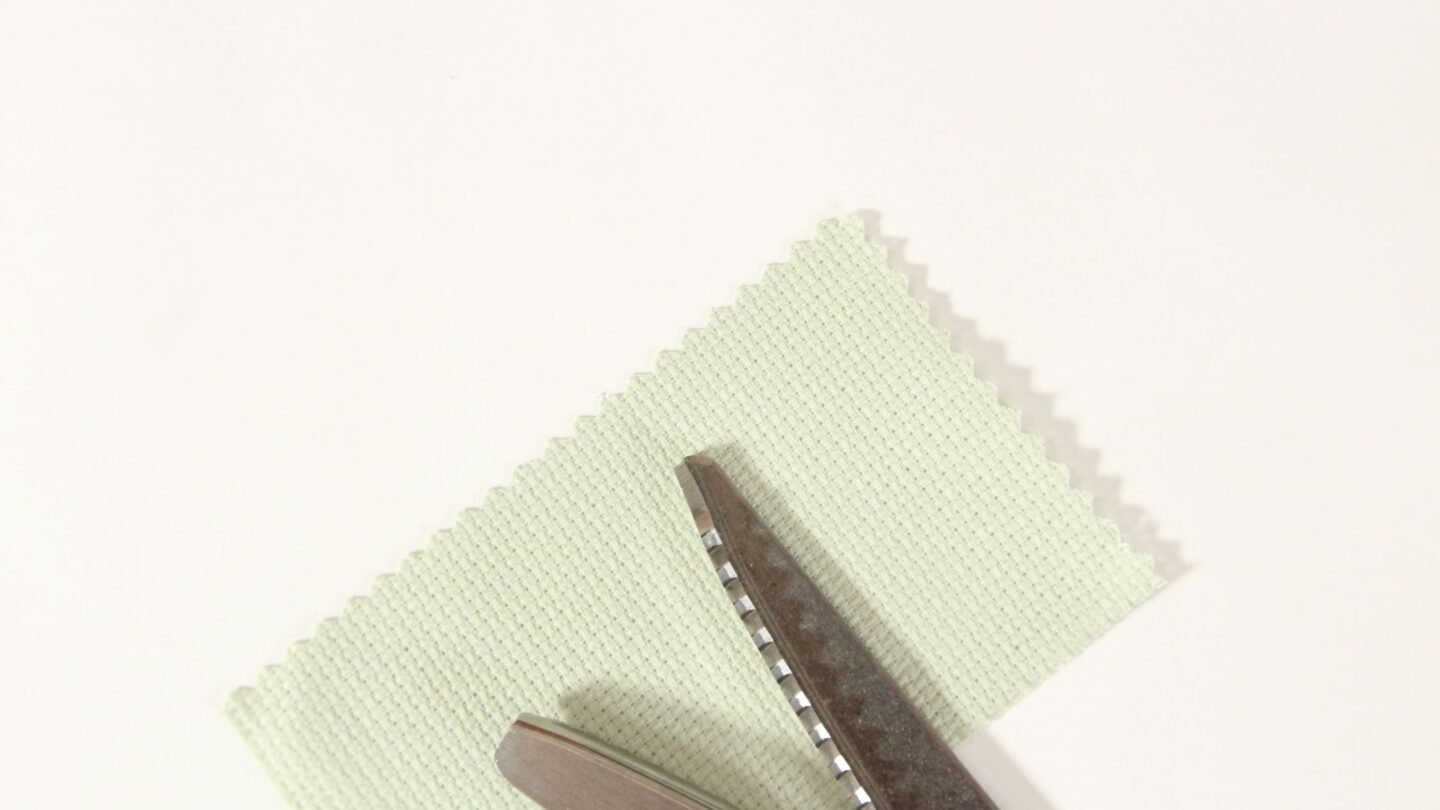
- Use pinking shears to cut along the edge of the fabric.
Decorative Edges and Hems

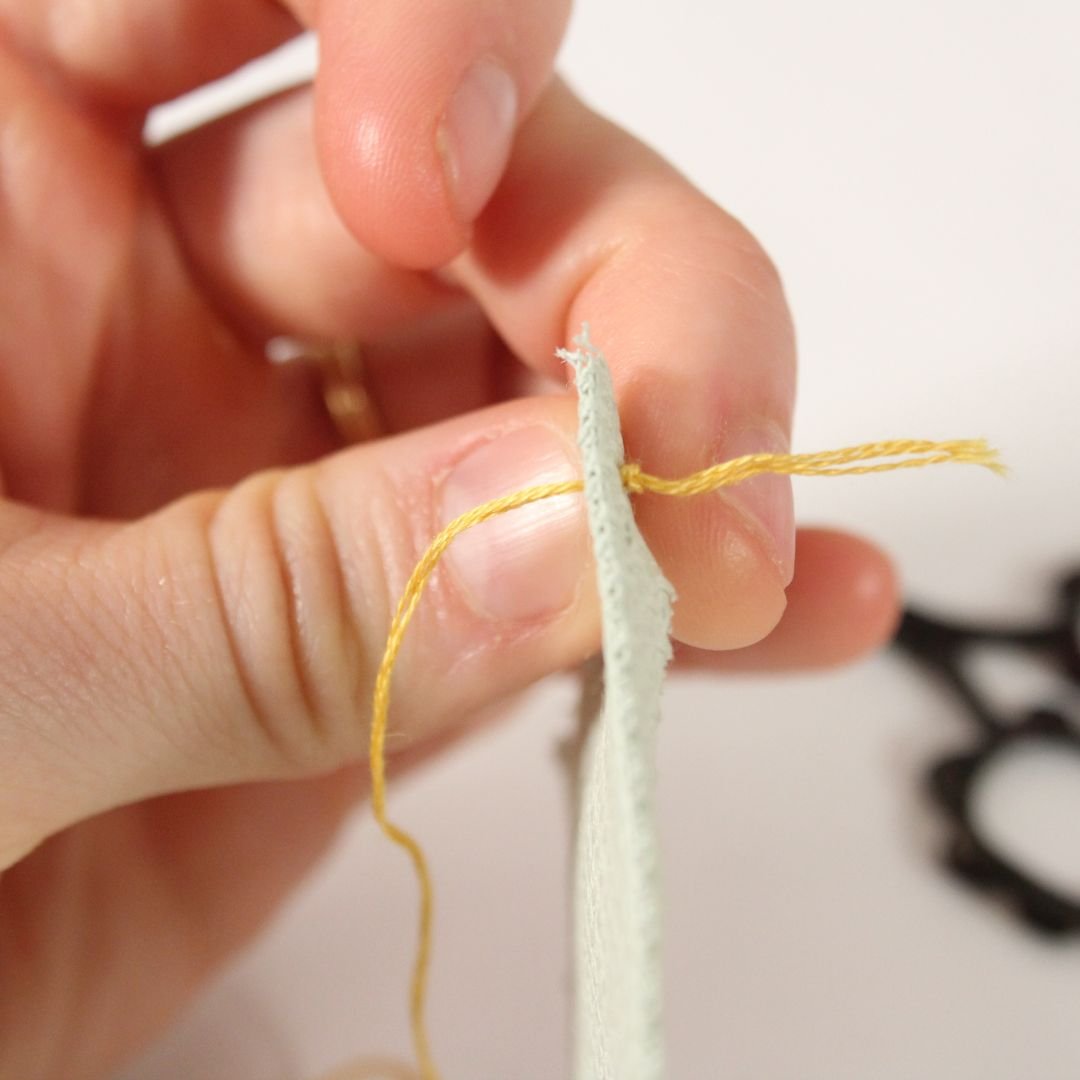
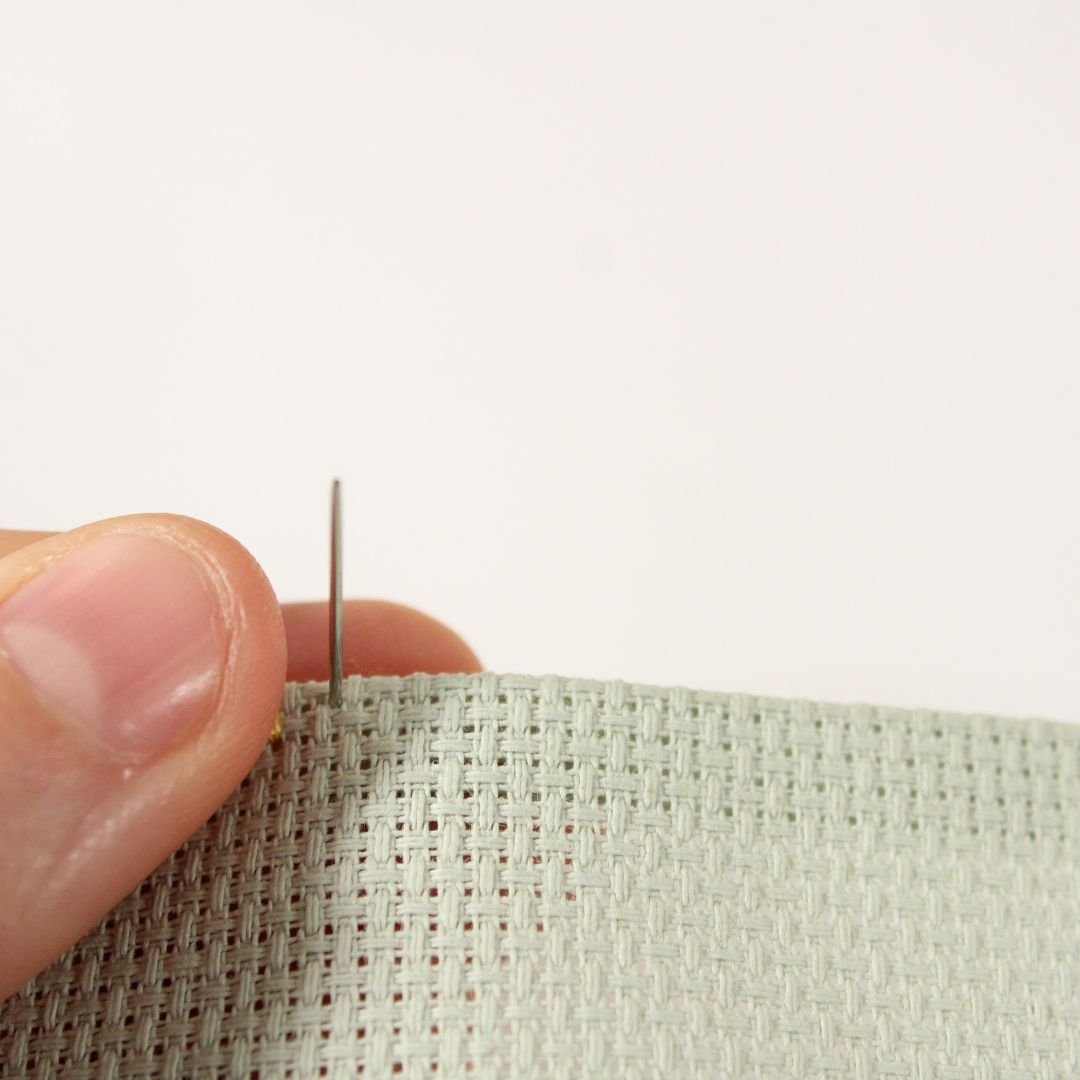
For all of the following methods, I recommend folding a 1/4″ of the Aida fabric and pressing along the edge. Ensure that you fold and align the fabric along the same thread block for a neat, even-looking edge.
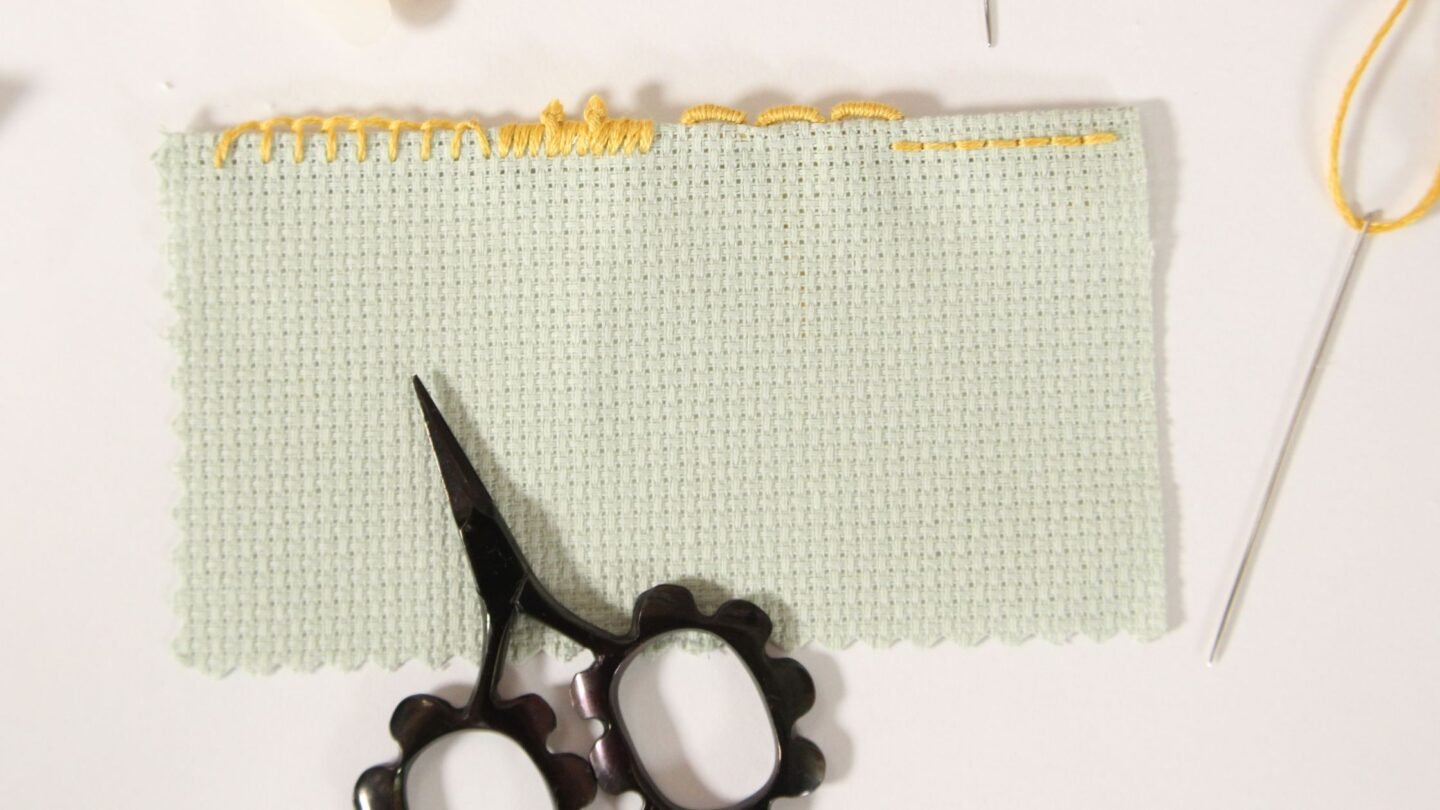
Back Stitch Hem
Back stitching can be completed by hand or using a sewing machine. For this example, I am using a contrasting color of thread, but you can match the thread color to the Aida to make the edge stitching more discreet.
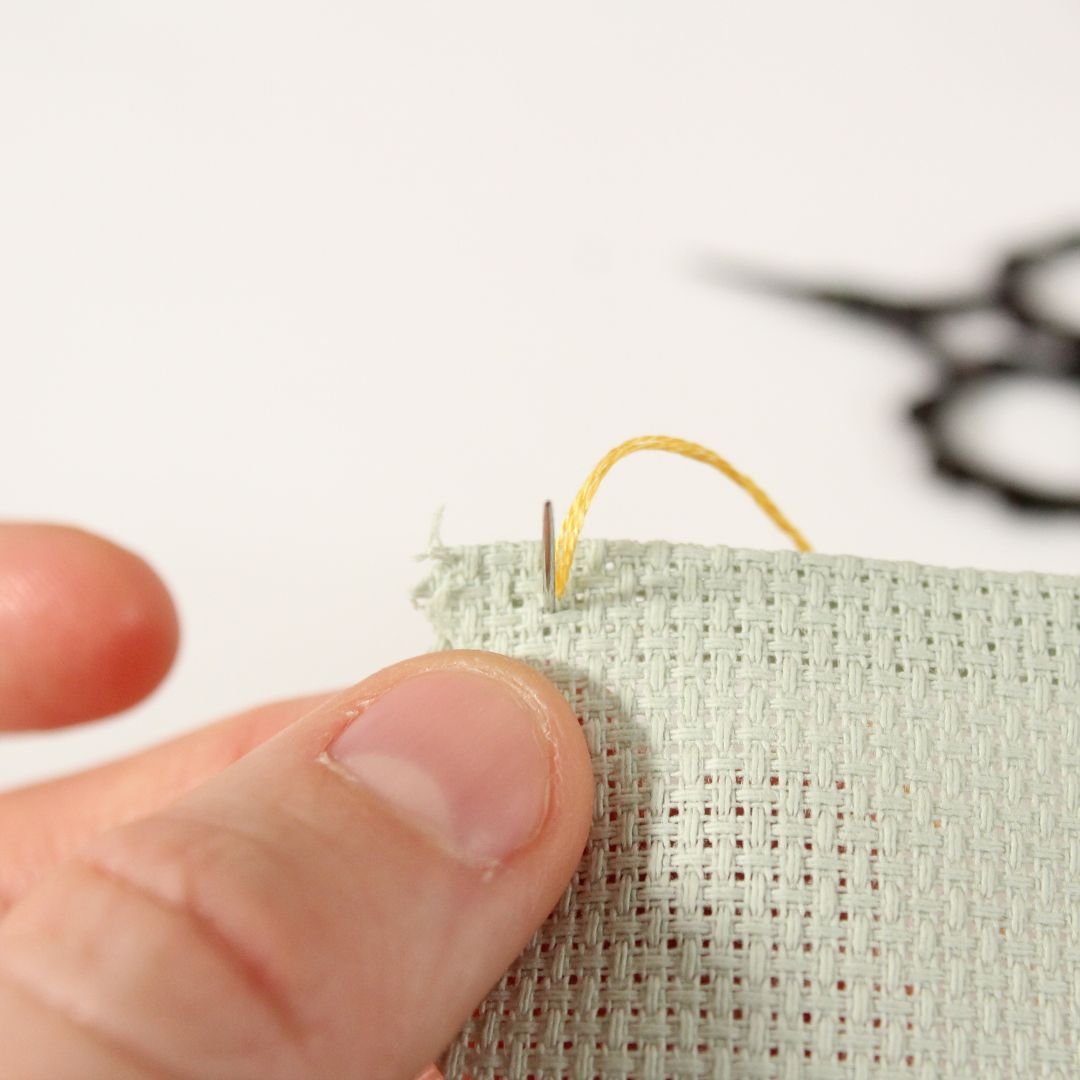
Make a stitch across 2 or 3 threads of Aida.
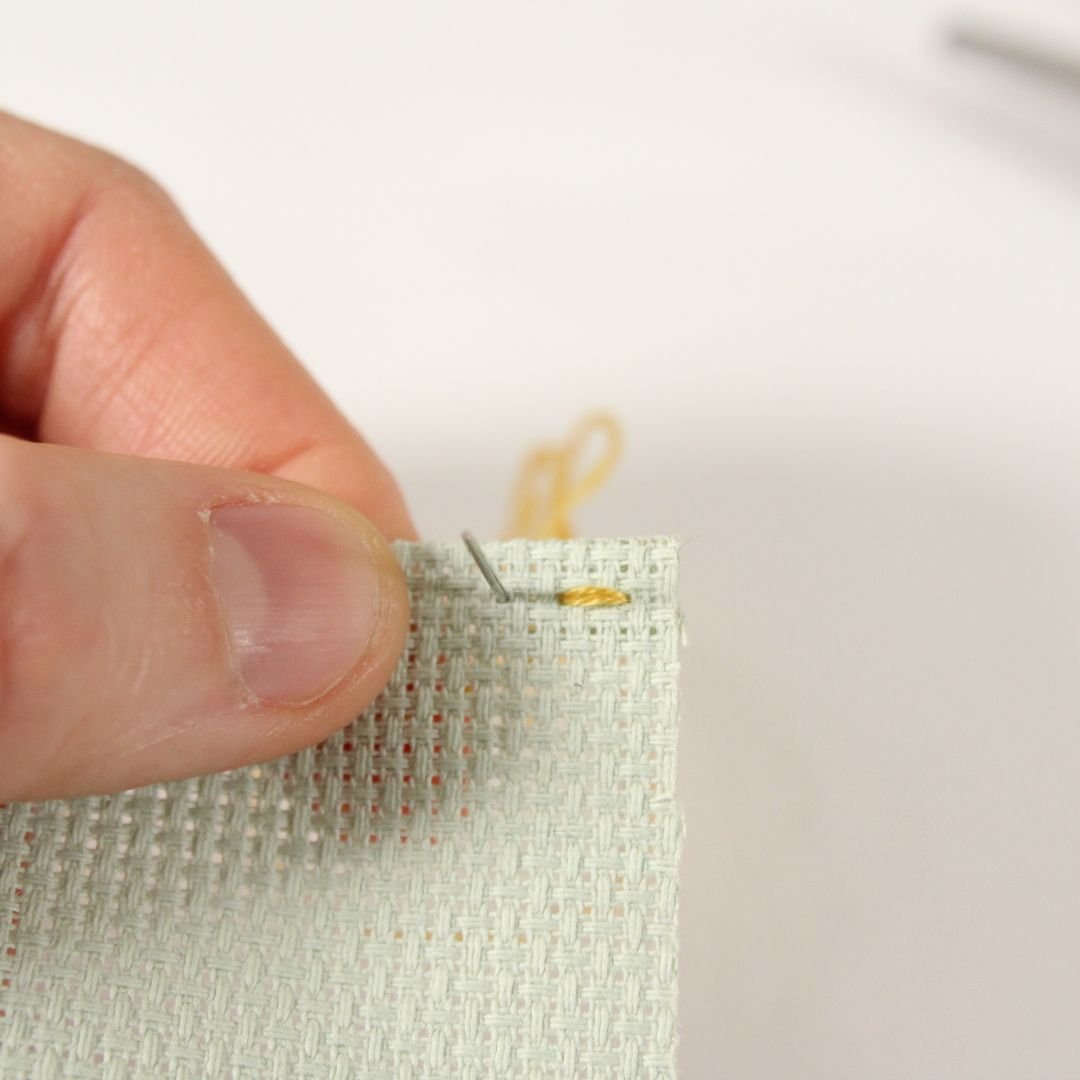
Bring the needle back up through the fabric one stitch length ahead.

Make another stitch that ends in the same hole as the end of the previous stitch you made.
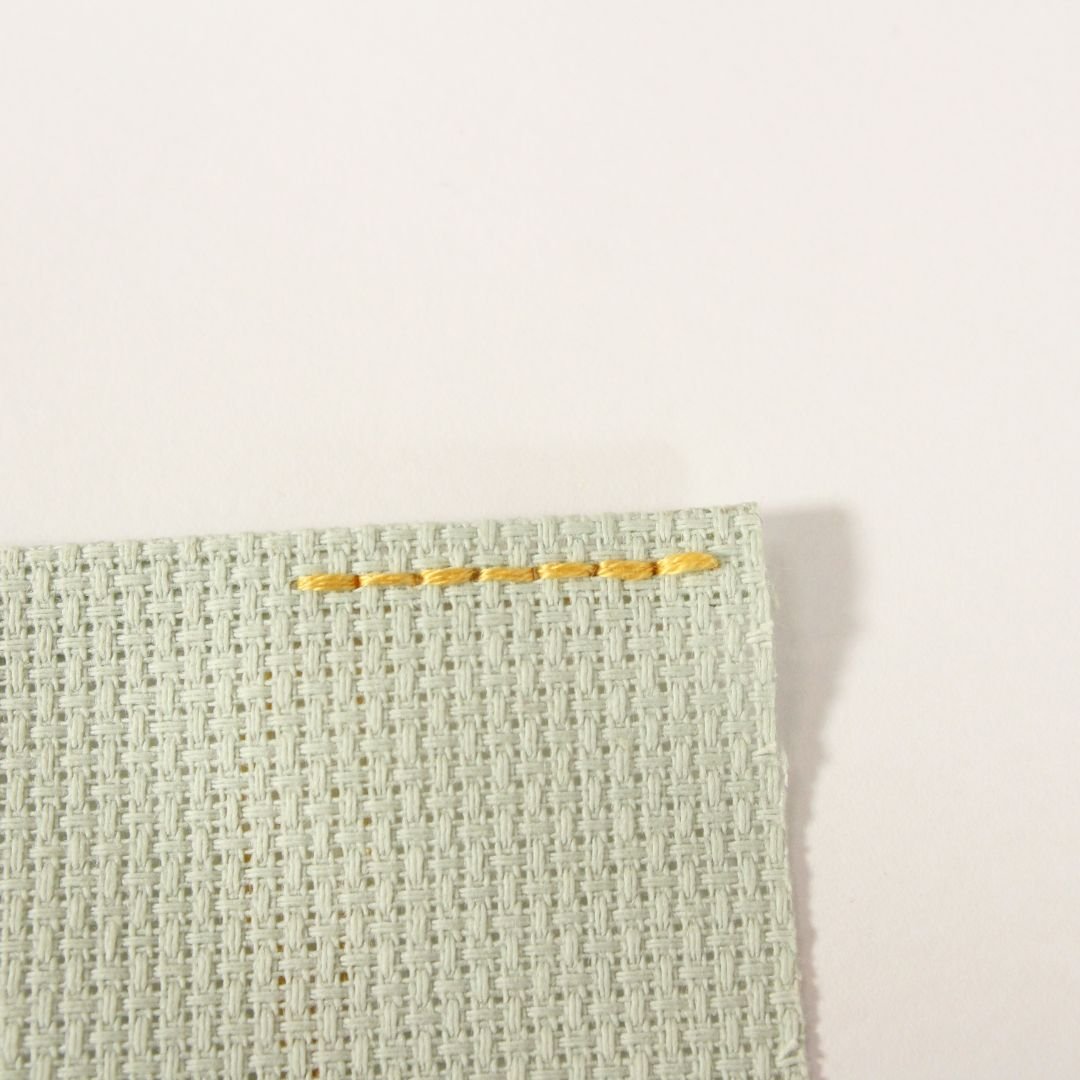
Repeat along the edge.
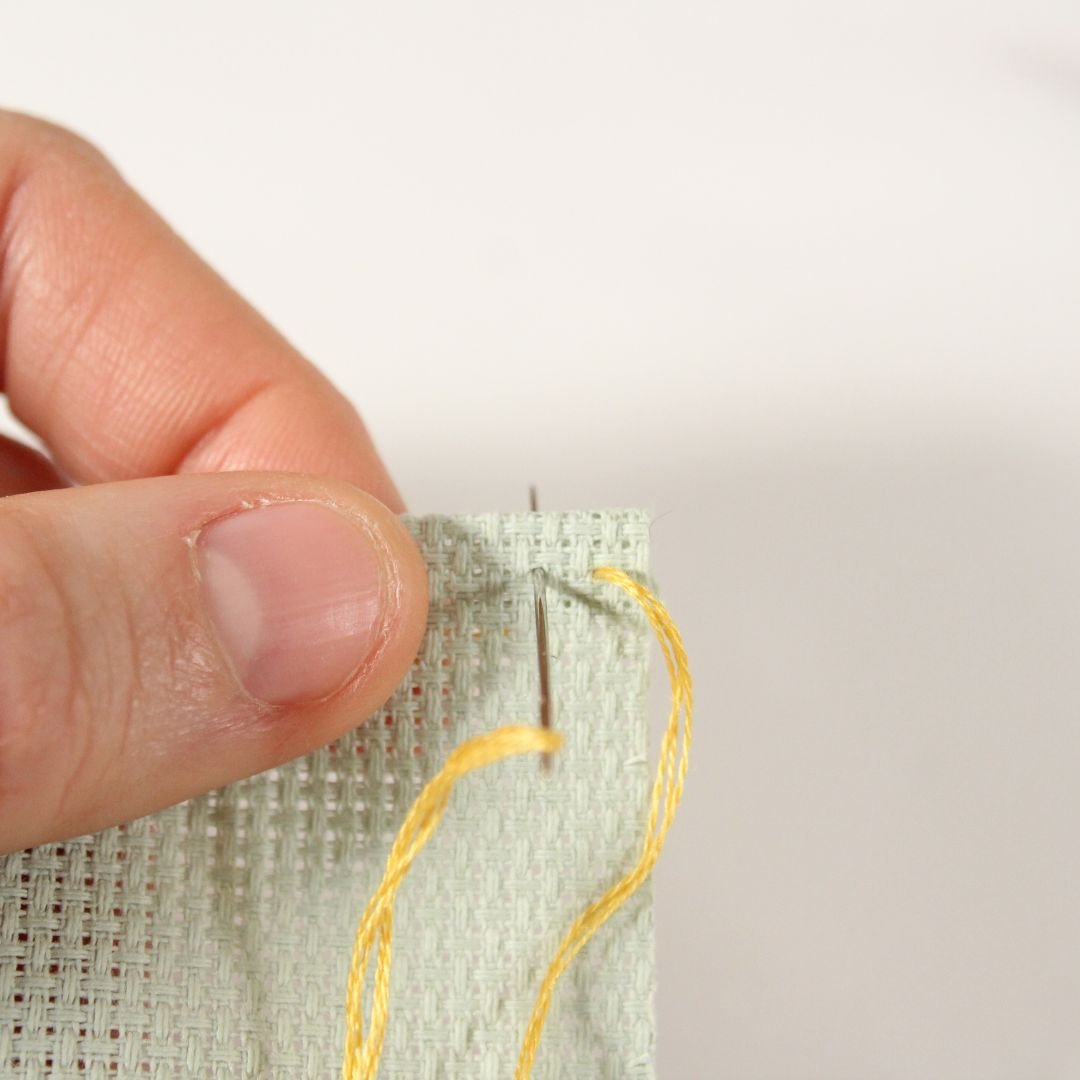
Blanket Stitch Edging
Blanket stitch edging is an easy solution for finishing the edge of Aida. It’s a more obvious stitch than the back stitch, but you can achieve a nice patterned edge with it.
Tie a knot in the end of the thread and bring the thread through to the front of the fabric.
Make a stitch along the edge of the fabric, coming back up through the same hole from which the working thread is emerging.
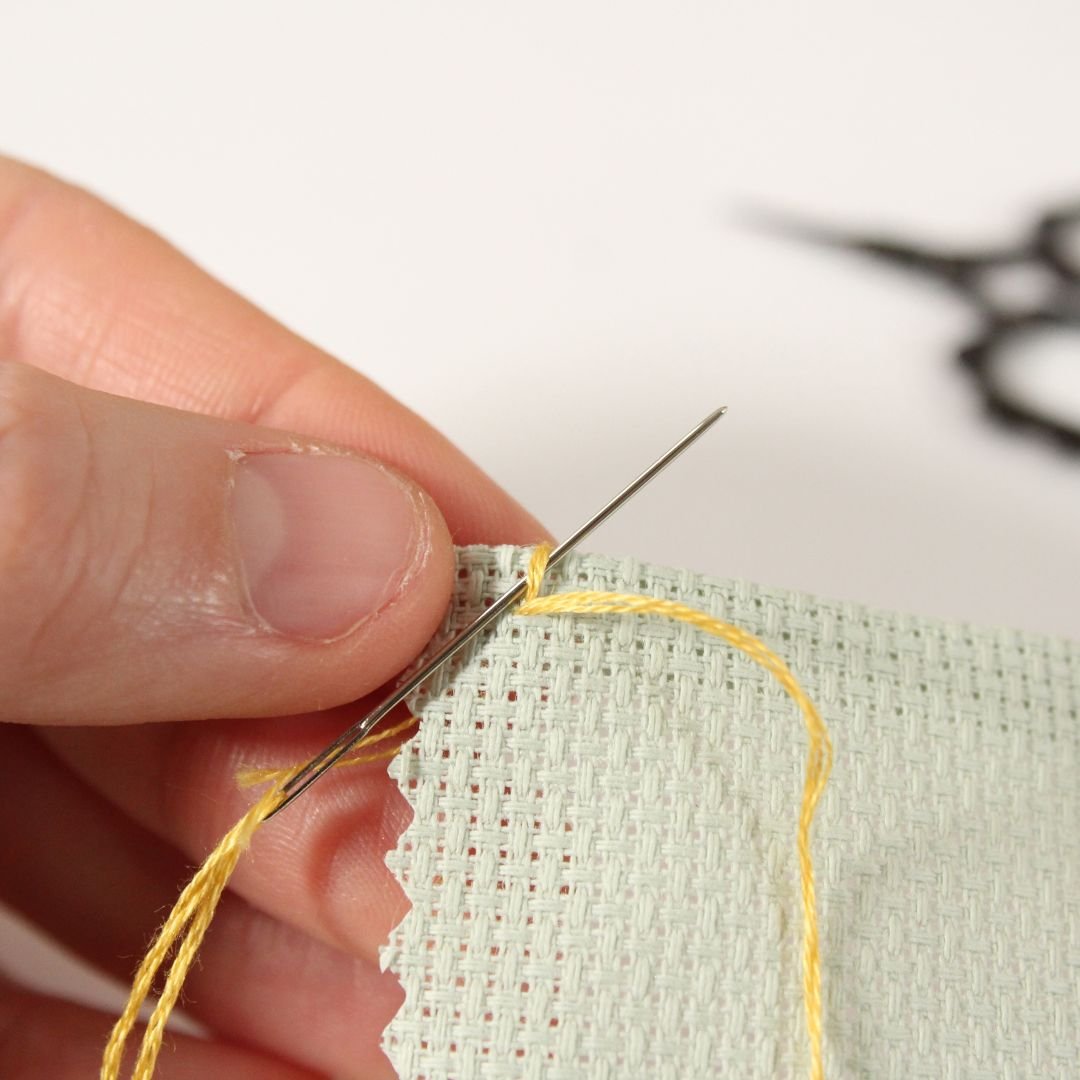
To set up the thread nicely for the first stitch, place the needle under the stitch and pull the thread through.
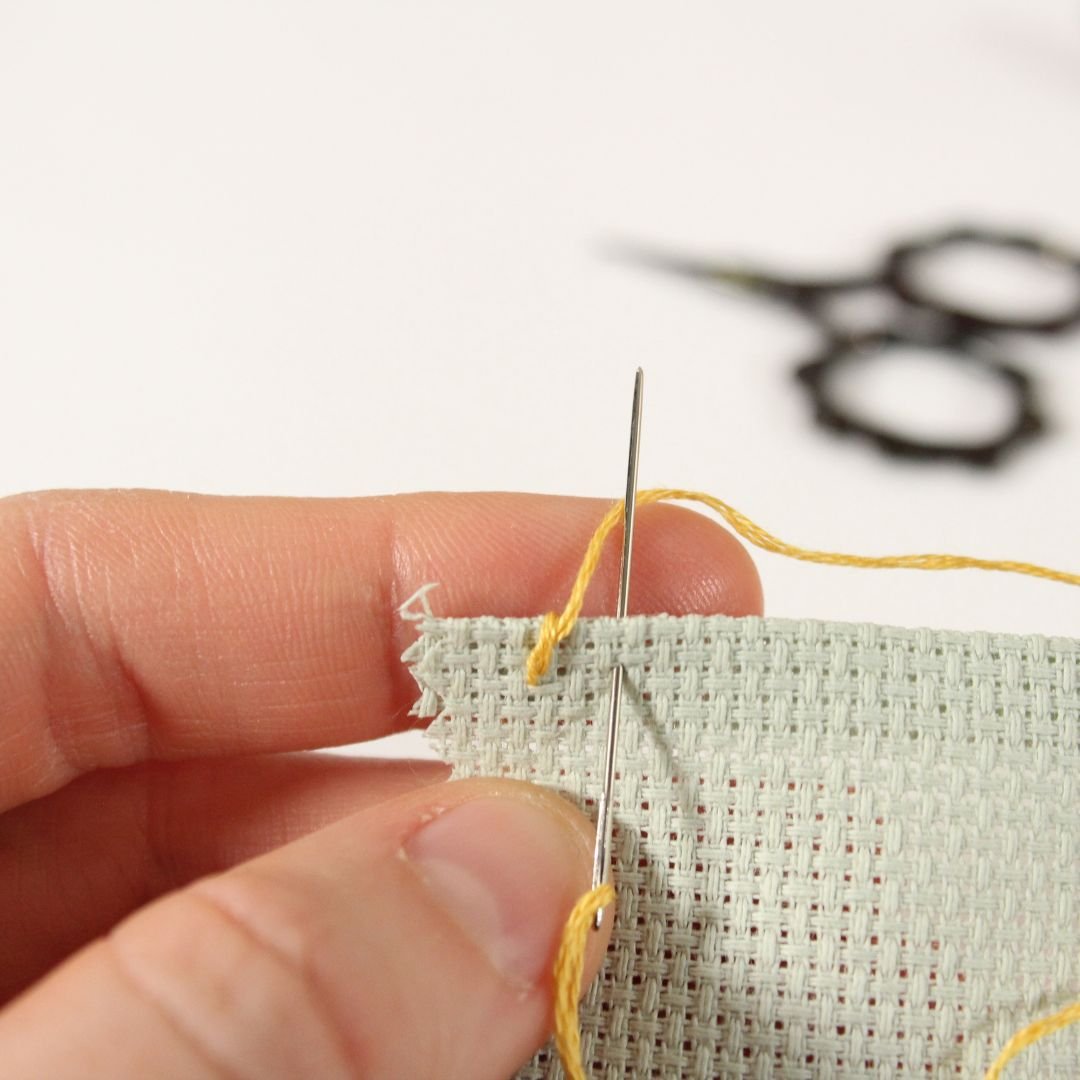
Skip a stitch length ahead and place the needle through the fabric and over the working thread. Pull the thread through.
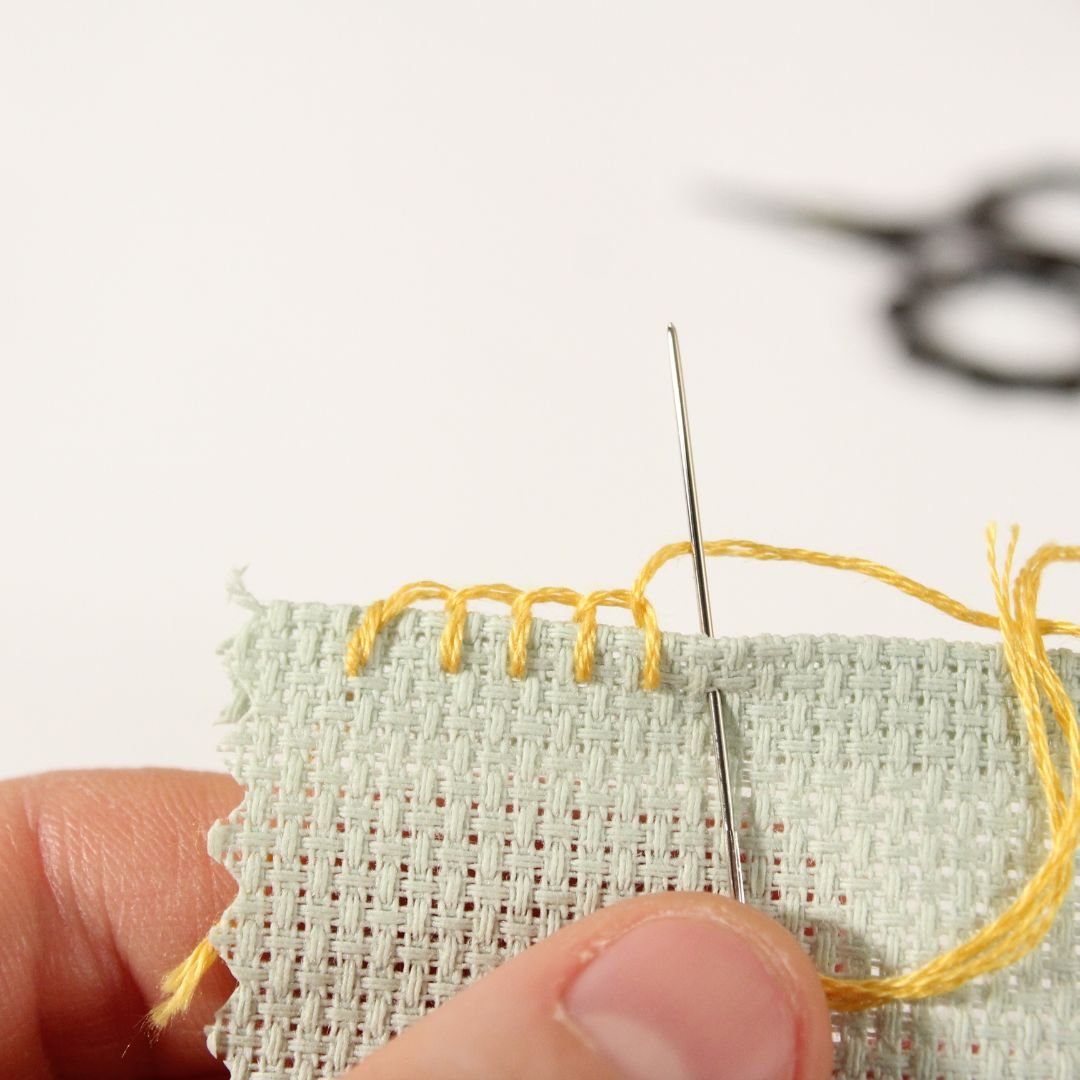
Repeat these stitches along the edge of the fabric.
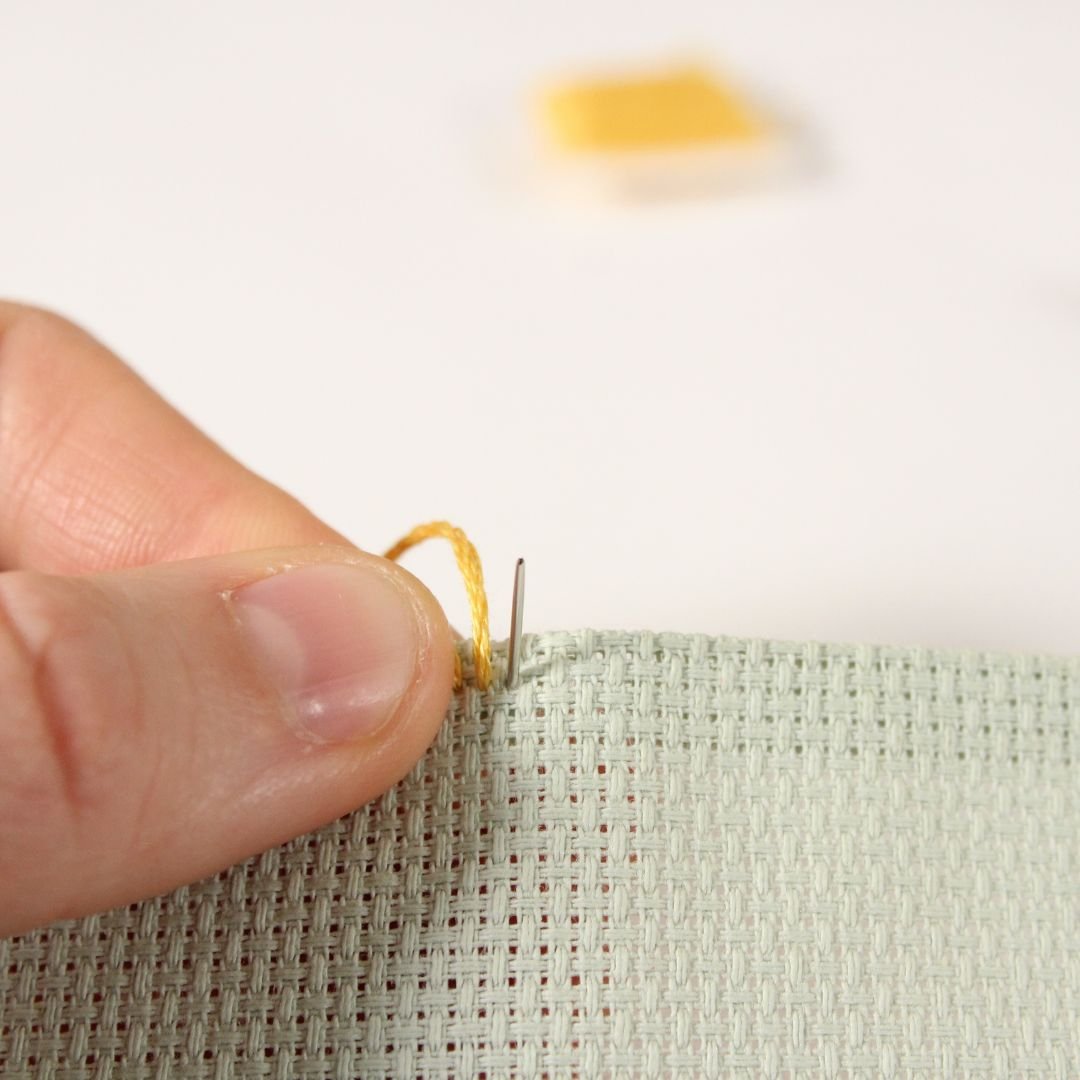
Overcast Edge with Picots
The overcast picot edge looks fancy, but don’t let its impressive appearance fool you; it’s actually quite simple to stitch.
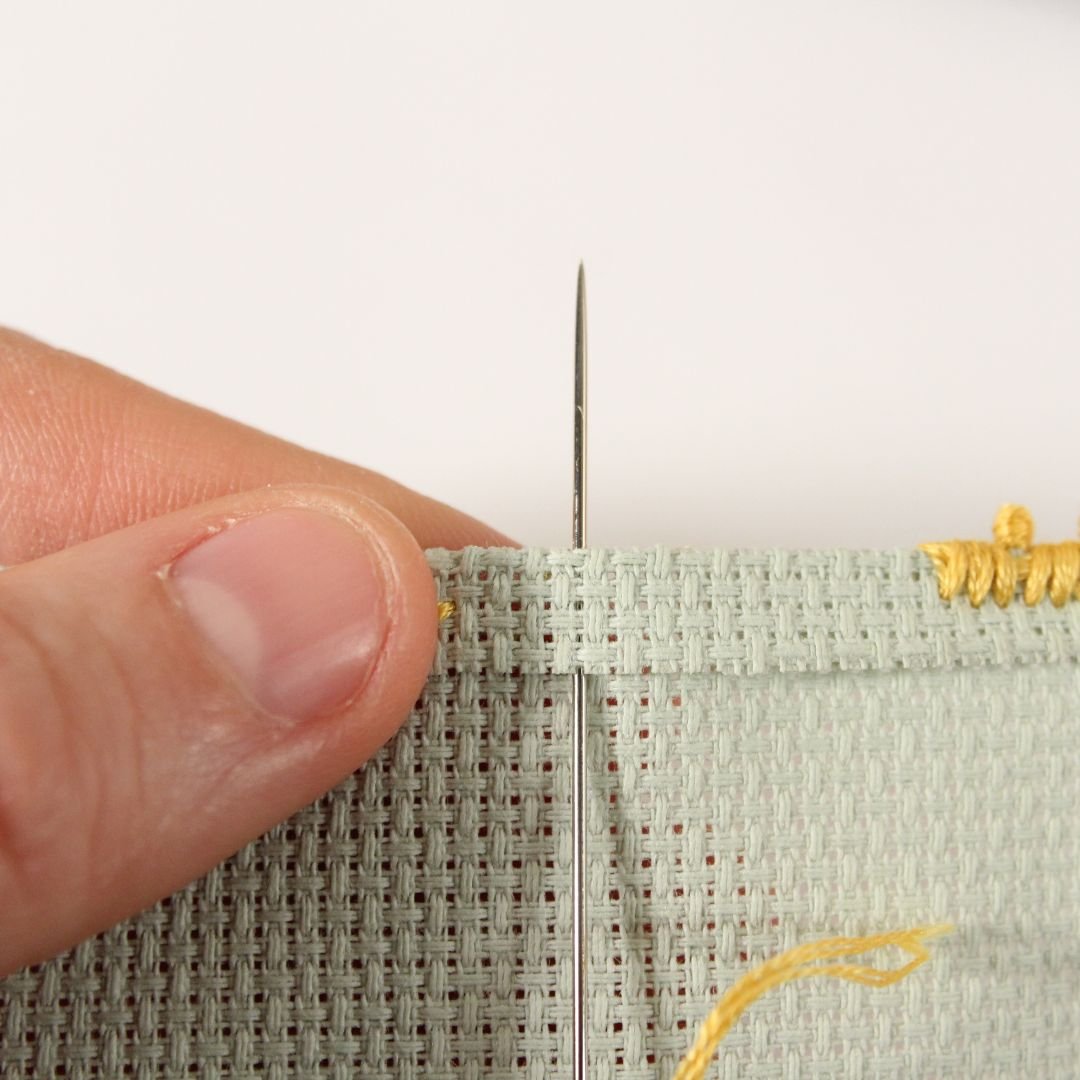
Make a few overcast stitches. Come up through the fabric along the edge.
Make another stitch by bringing the needle up through the fabric.
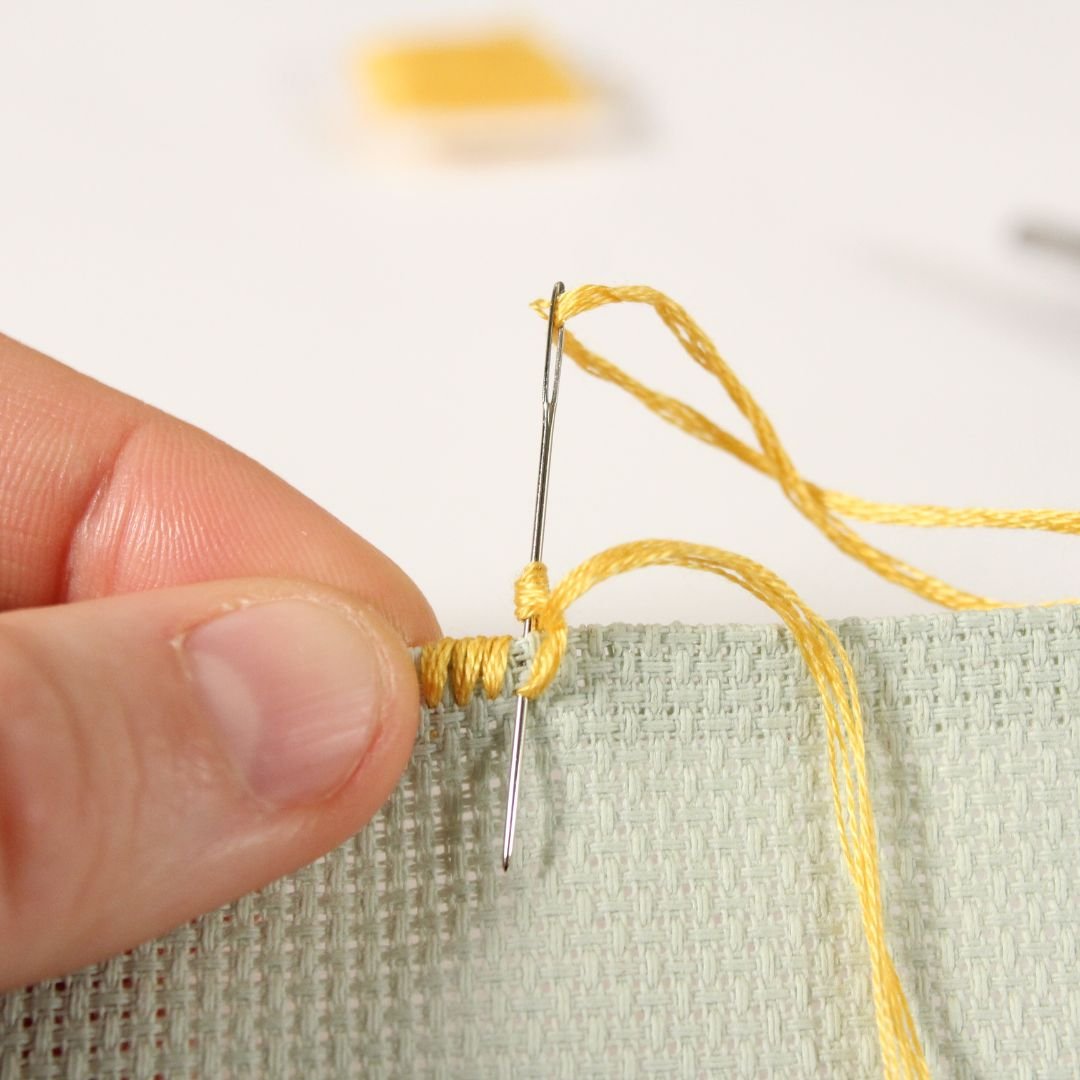
Make another overcast stitch. Then, in the same hole in the fabric, make the picot along the edge. Twist the thread 3-4 times around the needle. Bring your needle through the edge of the fabric, emerging at the base of the overcast stitch. Keep the wraps of thread tight as you pull the thread through.
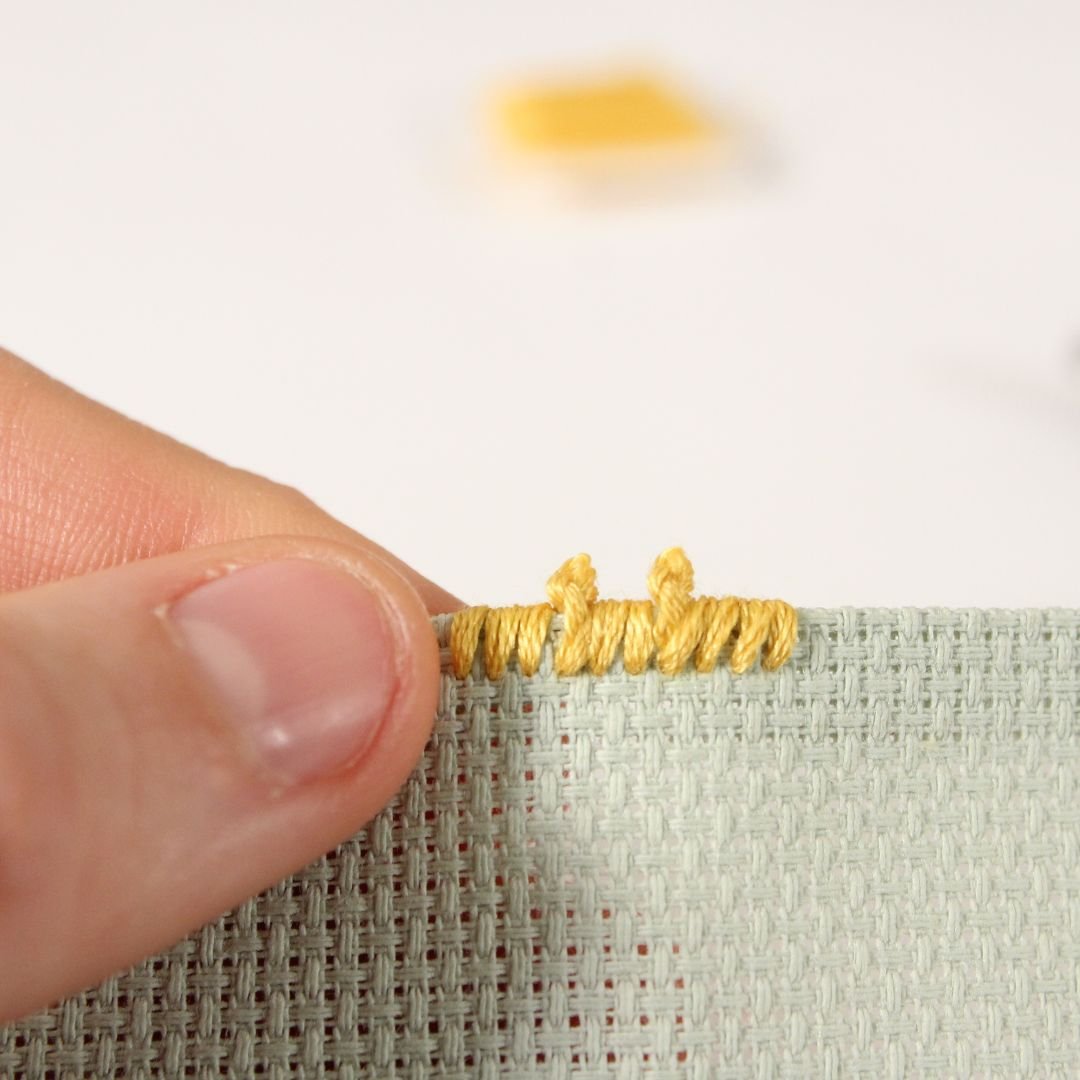
Repeat a series of overcast stitches followed by a picot stitch along the edge.
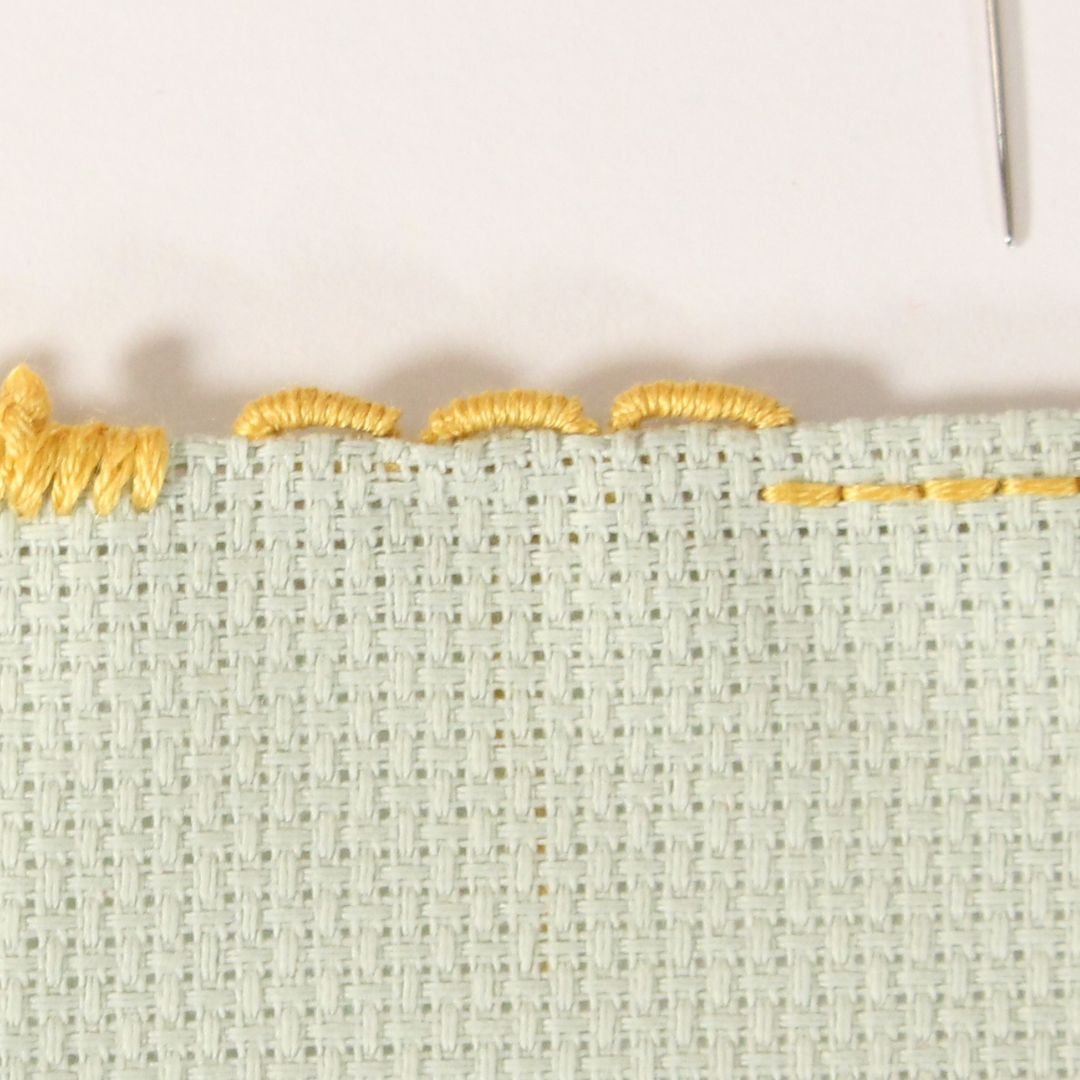
Bullion Picots
Bullion picots create a scalloped edge effect. This stitch is excellent for pieces where the edge will remain exposed. It’s also much easier to use a milliner’s needle for this stitch.
Flip the fabric over to the back. Bring the needle underneath the fold, emerging directly along the edge of the fabric.
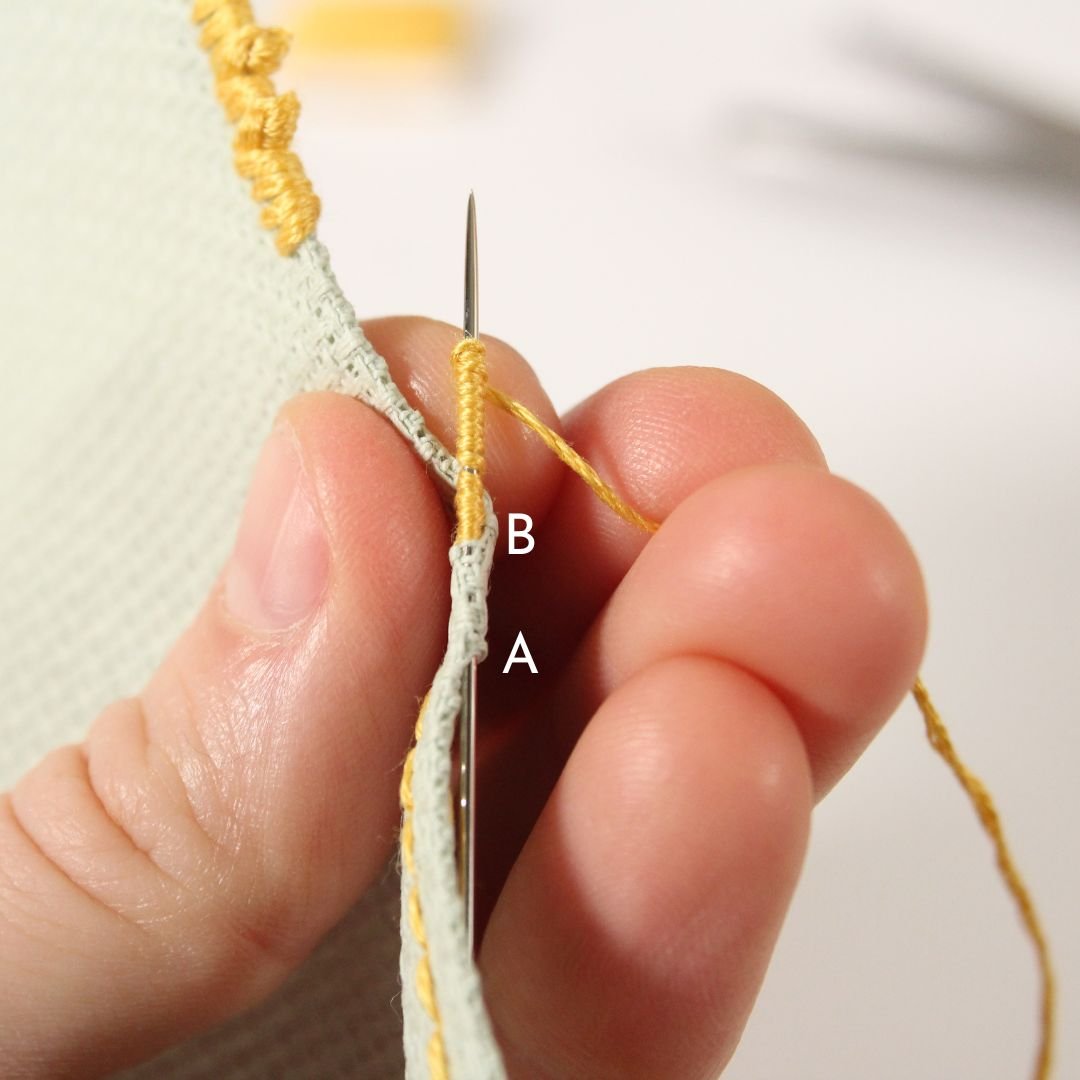
Grab the fabric along the edge from A to B with the needle. Then make 10-12 wraps of thread on the tip of the needle.
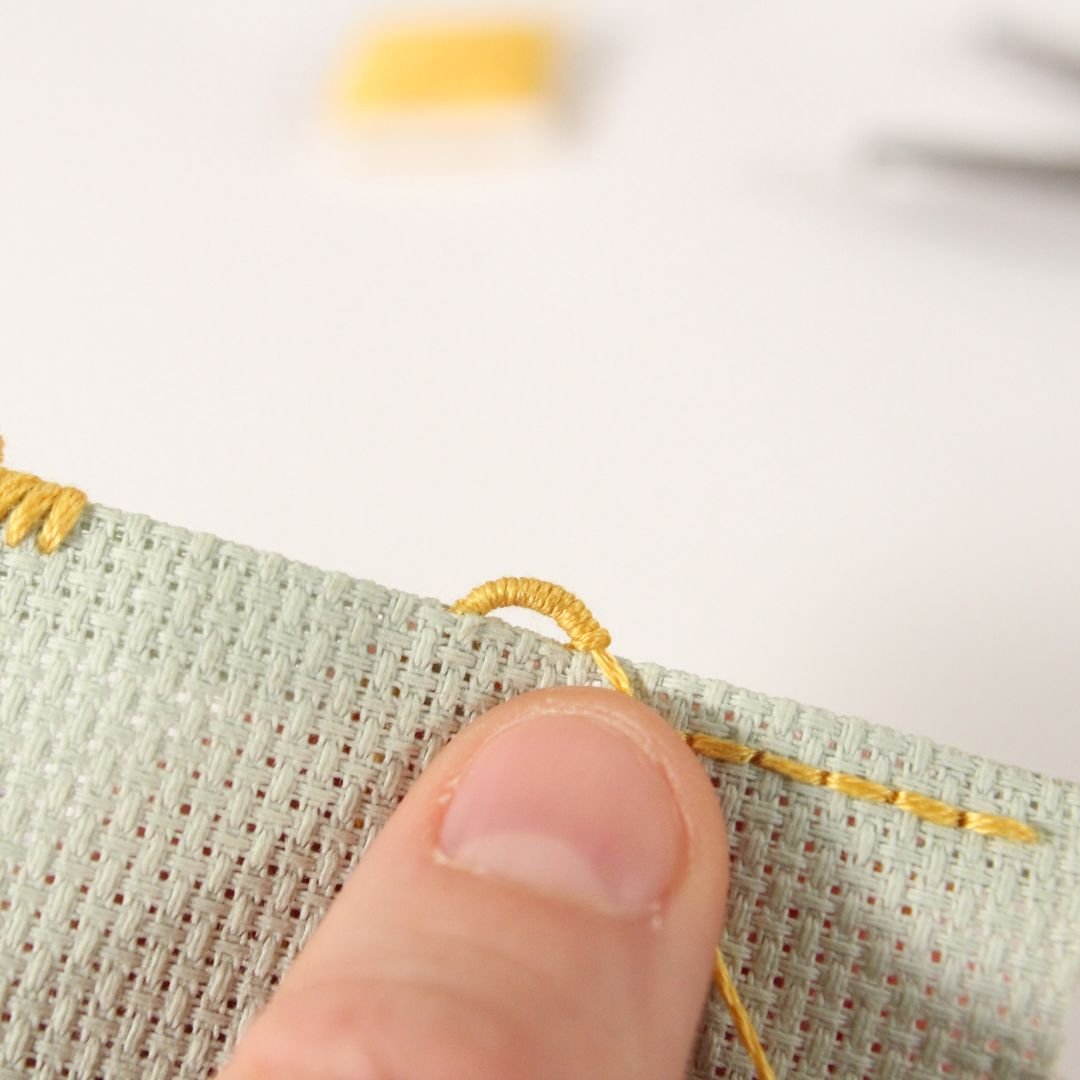
Pull the needle through the wraps of thread. A small bullion picot should form.
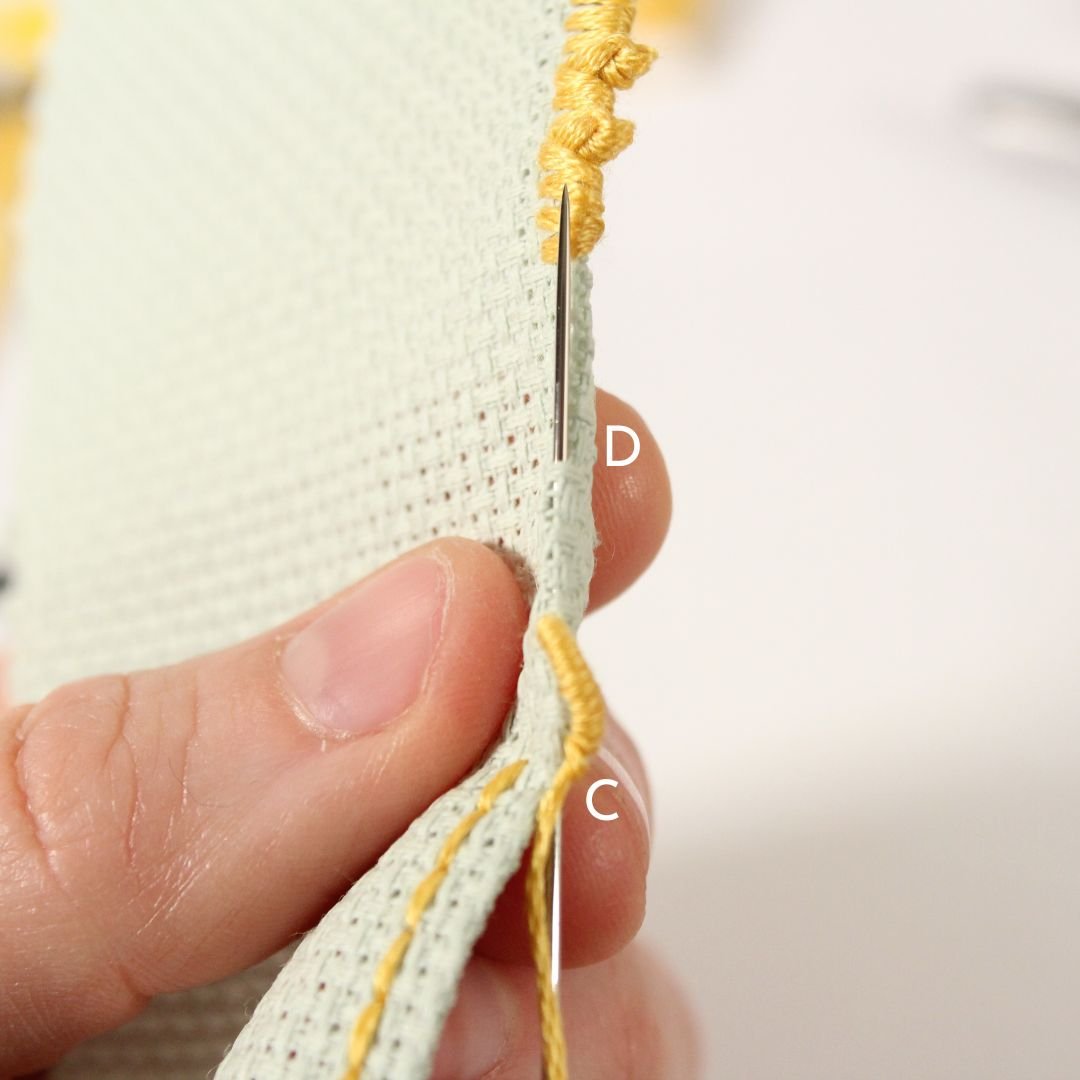
Place the needle down at the base of the picot at C, then travel the needle under the fabric (underneath the fold) to D. Then pull the thread through.
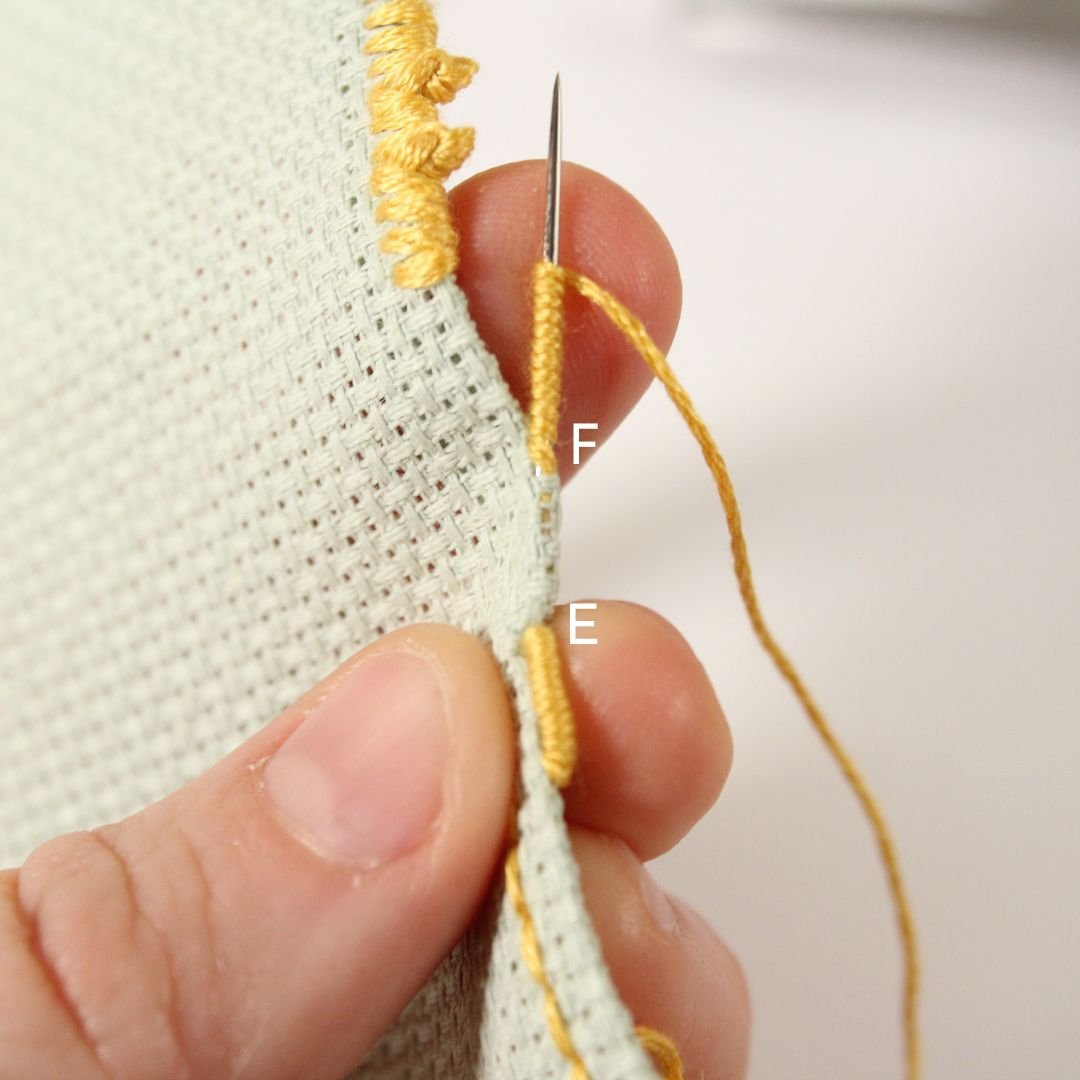
Make another bullion picot, repeating the entire process.
I hope you got some fun ideas for finishing the edges of your cross stitches! If you enjoyed this tutorial, I think you’ll love this article about framing cross stitch or this one all about creating cross stitch bookmarks.