Using The Sewing Method For Cross Stitch (Speed Up Your Work!)
Cross Stitch Sewing Method
The sewing method for cross stitch is a technique commonly used when cross stitching in-hand.
This method involves grabbing the fabric with your needle and passing through two holes at a time, allowing you to work along the surface of the fabric and create a half stitch in one motion.
Pros
- Compared to the stabbing method, it’s notably faster.
- It is a much more straightforward method to use when you are stitching without a hoop.
- Some stitchers report that it puts less stress on their wrist and elbow.
Cons
- It can be harder to control how the stitches lay – the tension of your stitches may be a bit looser compared to the stabbing method.
- It’s easiest to use this method in hand, which can take some getting used to.
- Harder to do on large cross stitch projects that require a frame or hoop.
If you’ve never hand-sewn before, this method may feel a little unnatural at first, but with practice, you may find it enjoyable.
If you’re a hand quilter or sewer, you may find that this feels much better than using the stabbing method.
How To Stitch In-Hand
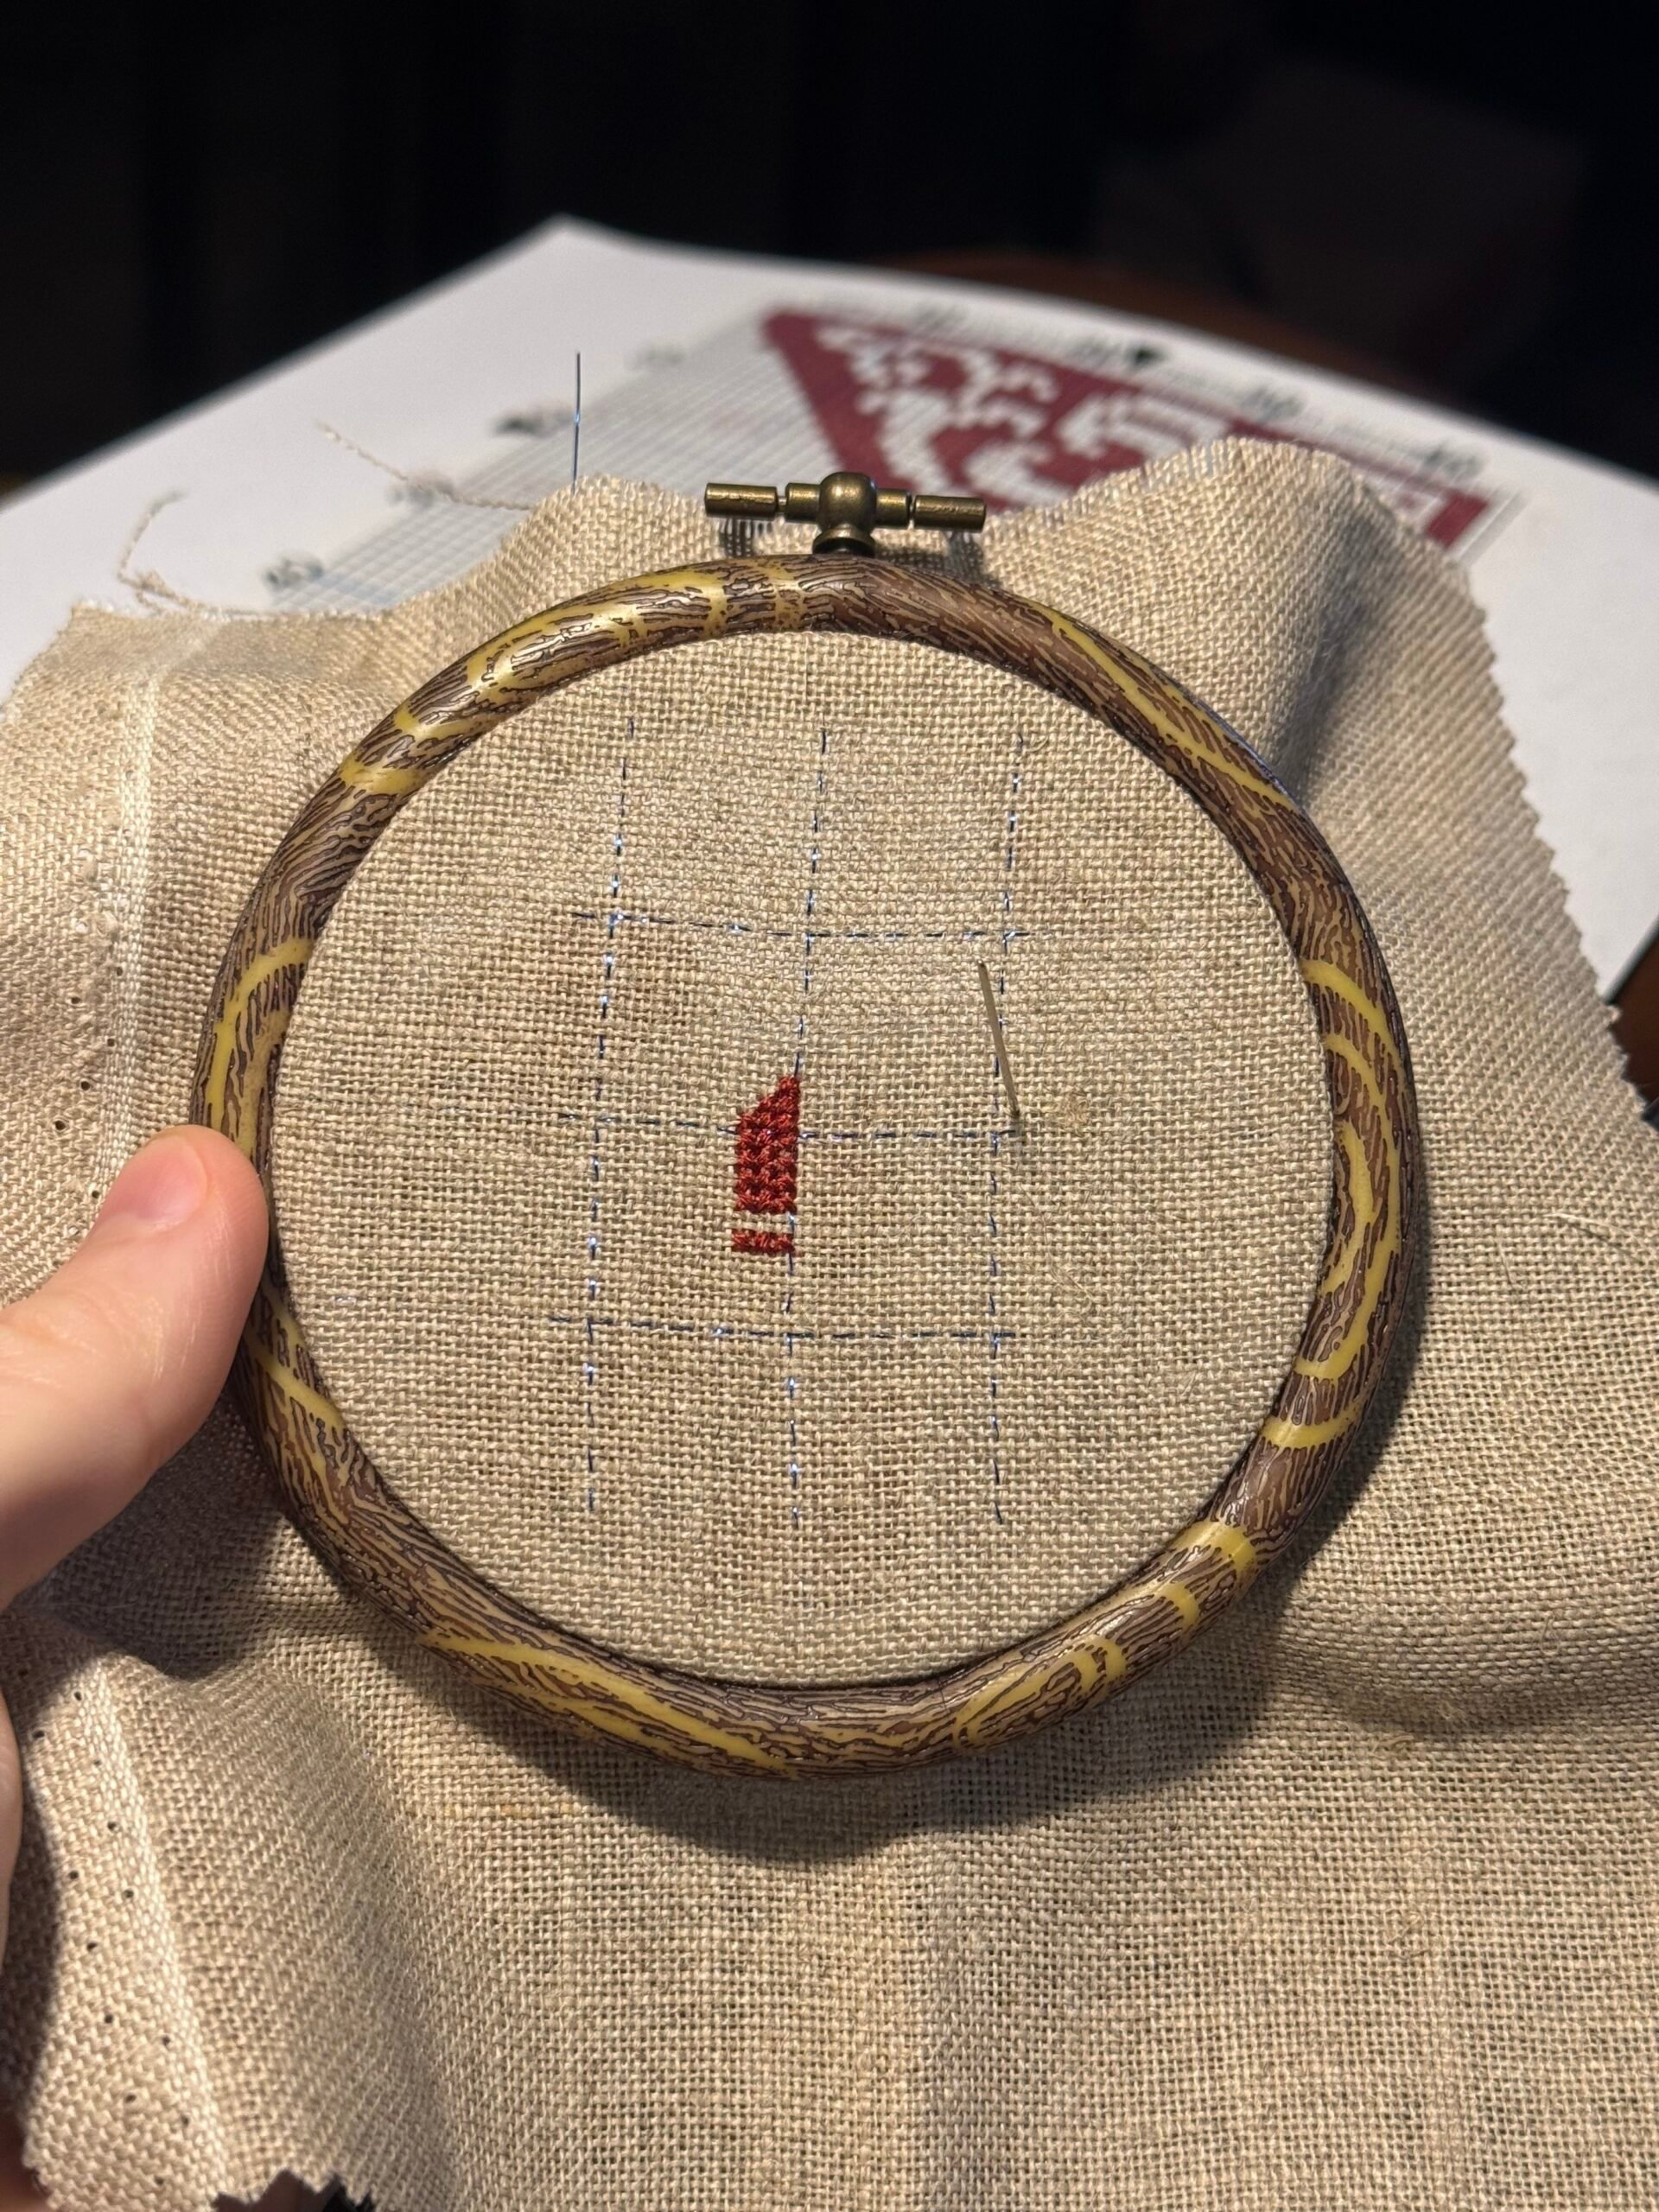
When using the sewing method, you can use an embroidery hoop; however, the fabric should be slightly looser to allow for easy manipulation with your needle.
If the design is small, you can usually get away with stitching without one, with the fabric in your hand.
To stitch with the fabric in hand, roll one side of it up along the side that you plan to hold in your non-stitching hand. Roll the fabric until the area you are about to stitch is within reach.
I usually hold the fabric with my thumb and forefinger along the surface, and the rest of my fingers support the back of the fabric.
You can also use your fingers along the back of the fabric to feel and manipulate the needle. Just make sure to use a blunt needle if you do this.
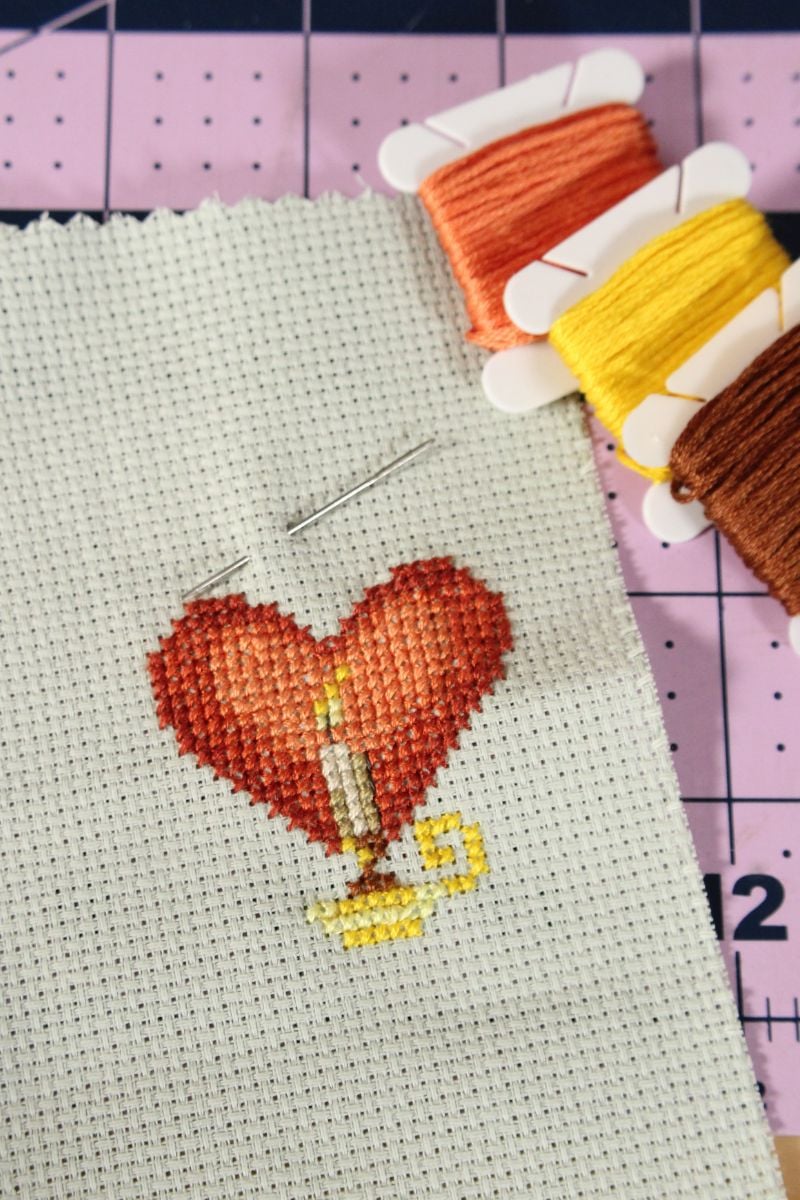
Sewing Example
When there are rows or columns of the same color, I prefer to use the Danish method where you make half stitches first, then go back and make the whole cross stitch for each one all at once.
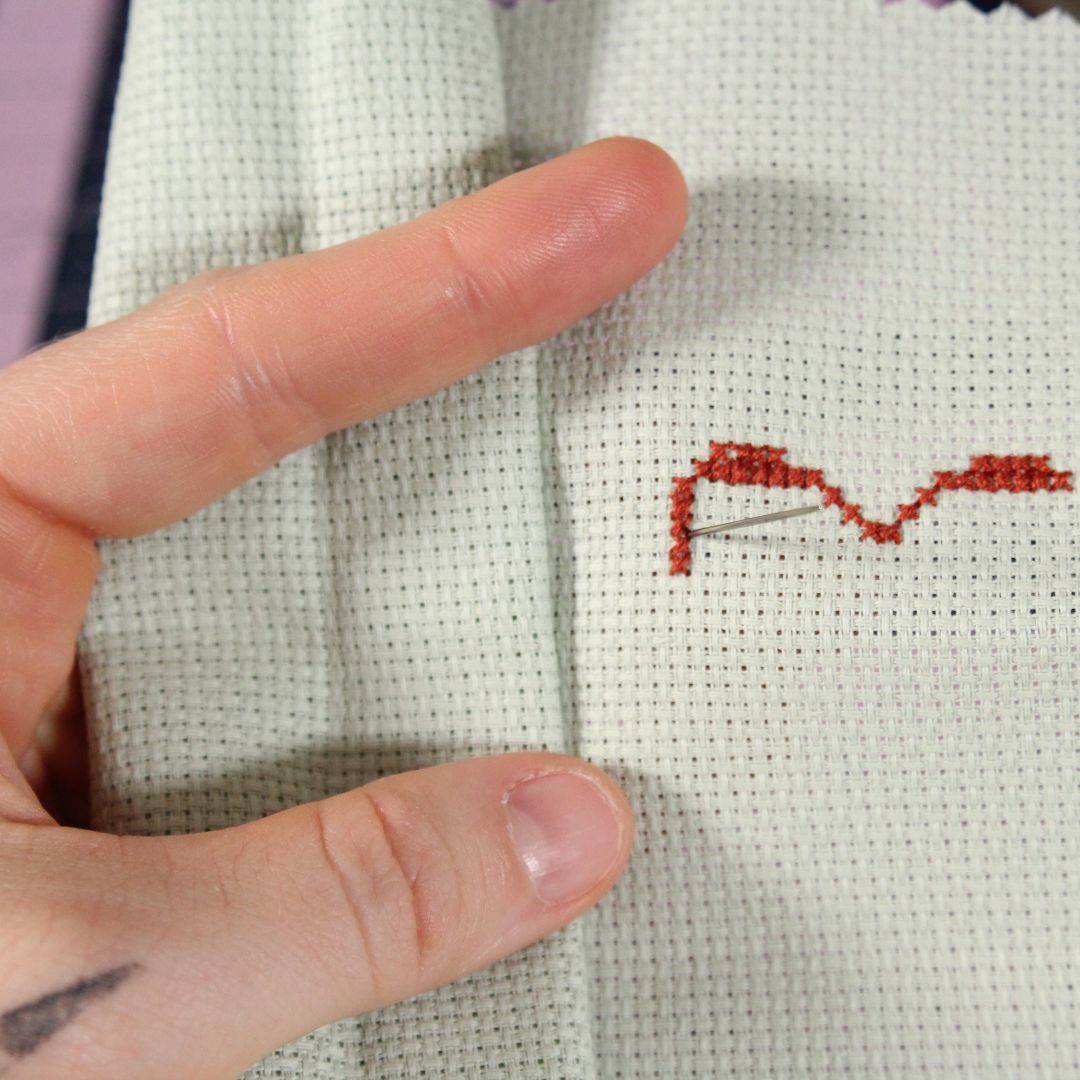
The order and direction in which you place the needle will depend on where you need to make stitches, as well as which half stitch you prefer to stitch first. For this example, I am making the left-leaning half stitches first.
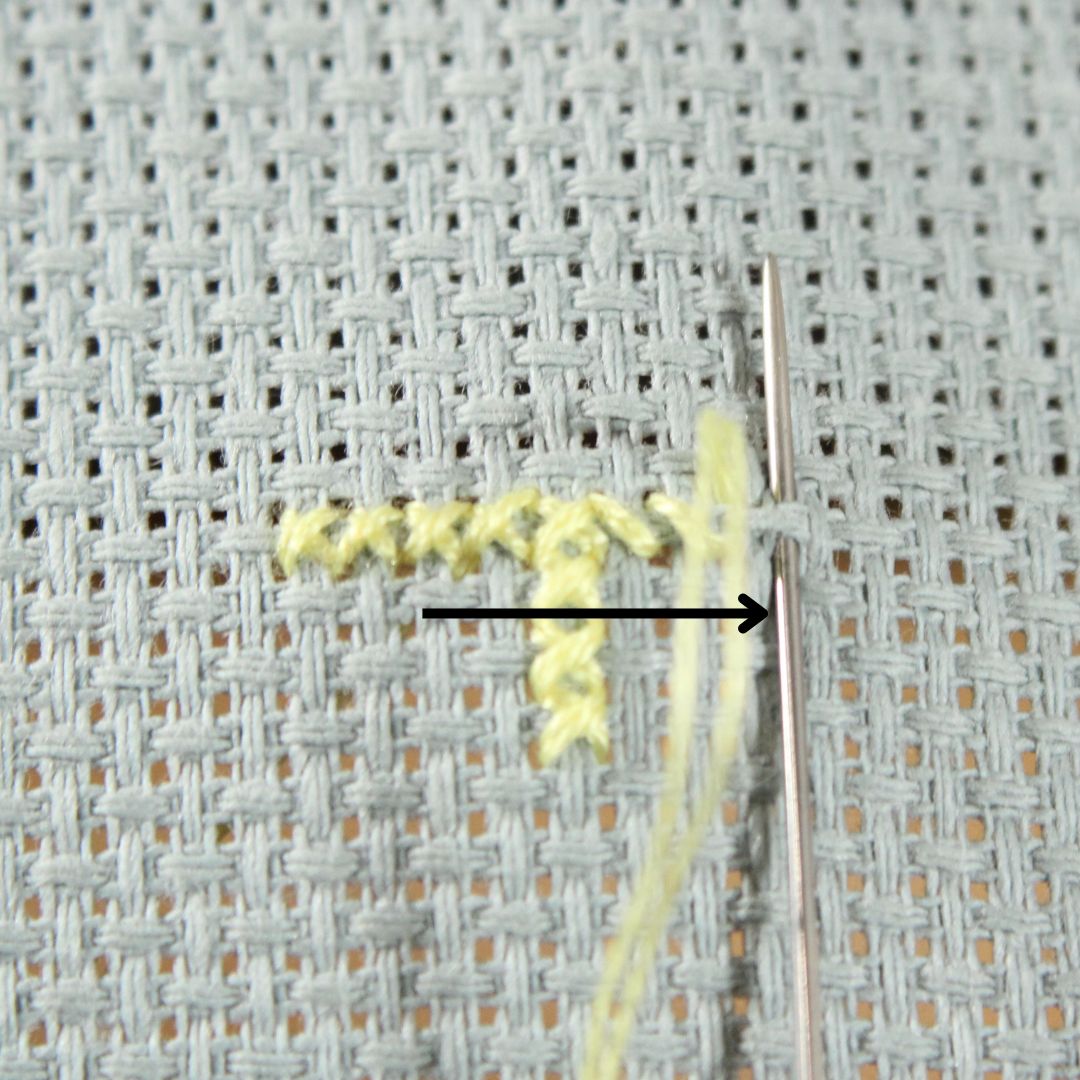
I like to work along the columns and rows as much as possible instead of working diagonally. This approach allows me to place the needle vertically through the fabric to make each half stitch along horizontal rows and horizontally through the fabric for the vertical columns. (If this sounds confusing, the example will make it clear in a minute.) It saves a bit of thread, and it’s simpler to remember!
When I’m working left-leaning stitches vertically, I prefer to work from top to bottom.


Then work my way back up to the top, making the right-leaning stitches to complete each cross stitch.

And when I’m working these left-leaning stitches horizontally, it’s easiest to work from left to right, then back to the left.

As I mentioned, this is just one way among many to approach sewing the stitches. Remember, the first point where you place the needle is usually the end of one stitch and the beginning of the next, so try to think ahead as you’re working.
Awkward Spots and Angles You Can’t Sew
There will be parts in a design where it may not be convenient to sew everything at once. I’m here to tell you that it’s totally ok to do a mixture of stabbing and sewing! In fact, I alternate between both quite a bit. These methods are here to help you, but you don’t need to follow them strictly.
If you have your heart set on sewing most of the design, don’t forget that you can alternate your work so that you can stitch in the most natural direction as well.
Video Tutorial