Make Cross Stitch Patterns With Graph Paper – It’s Easy!
While there are numerous cross stitch apps and software available for creating designs, it never hurts to learn the old-fashioned way. There are, of course, many more shortcuts and conveniences when you design digitally. However, you may be relieved to hear that it’s relatively easy to create cross stitch patterns with graph paper and something to color in or mark the design.

How To Make Cross Stitch Patterns With Graph Paper
Supplies Needed
- Graph paper – plain graph paper will work, or you can download cross stitch graph paper from Better Cross Stitch Patterns
- A photo or drawing of the design you want to create
- A pencil
- Pens, markers, or colored pencils in various colors
- A light box, tablet, or sunny window
Does graph size matter?
The size of the graph paper doesn’t matter, but it may be helpful and simpler to select one that matches the thread count of the fabric you intend to use. Designing at the exact size and scale will give you a more accurate representation of how the design will look when it’s finished.
Matching the thread count isn’t always possible, so here are some guidelines for sizing the design and the graph paper:
- If the photo or design you are using is the exact size you intend to stitch, select graph paper that matches the thread count.
- If the design is smaller than the desired finished size, consider selecting graph paper with a higher number of squares per inch. For example, if the fabric you intend to use is 14 count, but you’d like to enlarge the photo or design, using graph paper with a higher count will allow you to stitch the cross stitch design slightly larger.
- If the design is larger than the desired finished size, use graph paper with fewer squares per inch.

How To Resize A Design
Manually resizing a design can be confusing, so here’s an example: Let’s say you have a design you’d like to make into a pattern that is 4 x 6 inches. You intend to use 14-count Aida fabric, but you’d like to make the finished stitched design slightly larger than 4 x 6 inches. If you selected 20-count graph paper, you can calculate how much larger the design will be with a little bit of math.
First, we’ll determine how many squares make up a 4 x 6-inch design on 20-count Aida. Each inch of fabric contains 20 squares. So 4 x 20 = 80 squares, and 6 x 20 = 120 squares.
Based on these calculations, this means that the design on 20ct graph paper would be 80 x 120 squares.
To calculate the final size on 14-count fabric, you would divide 80 / 14 and 120 / 14. Therefore, if you stitch the design on 14-count Aida, the final size would be 5.7 x 8.5 inches.
(If you’re thinking, “ew, math!” You can double-check your calculations using a cross stitch calculator.)
How To Calculate Finished Measurements
Regardless of what size graph paper you end up using, you can calculate the finished dimensions of a design by dividing the number of squares by the fabric count. So, if a design is 150 squares wide by 150 squares tall, and the fabric you’re using is 14 count, 150/14= 10.7 inches.
Designing The Pattern
Phew! Now that the technical part is out of the way, let’s move on to designing the pattern.
Print out or grab your graph paper, drawing or photo, and coloring tools.
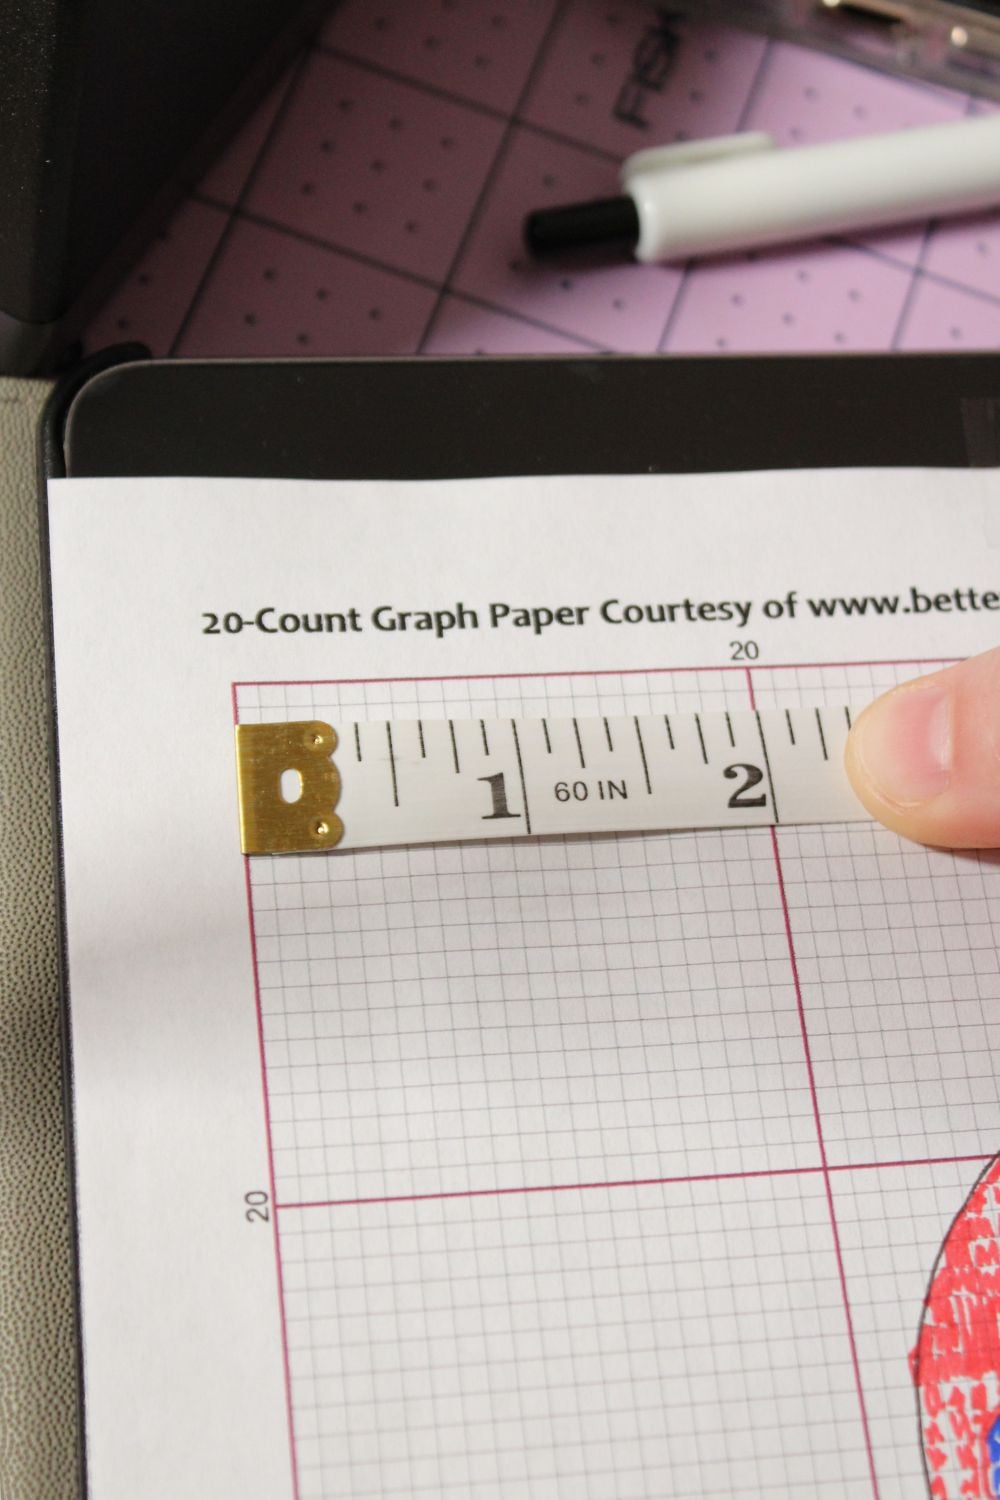
Tip: It never hurts to double-check that the graph paper has printed to scale by measuring an inch and counting the squares.
Place the design on a light source and the graph paper on top.
You can outline the design in pen or pencil first to mark out the general shapes, or you can jump right in and fill in the design with different colors.

Don’t worry about getting it absolutely perfect. You’ll probably have to go back over a design to refine it, because most photos or designs won’t fit perfectly in every single square

Troubleshooting
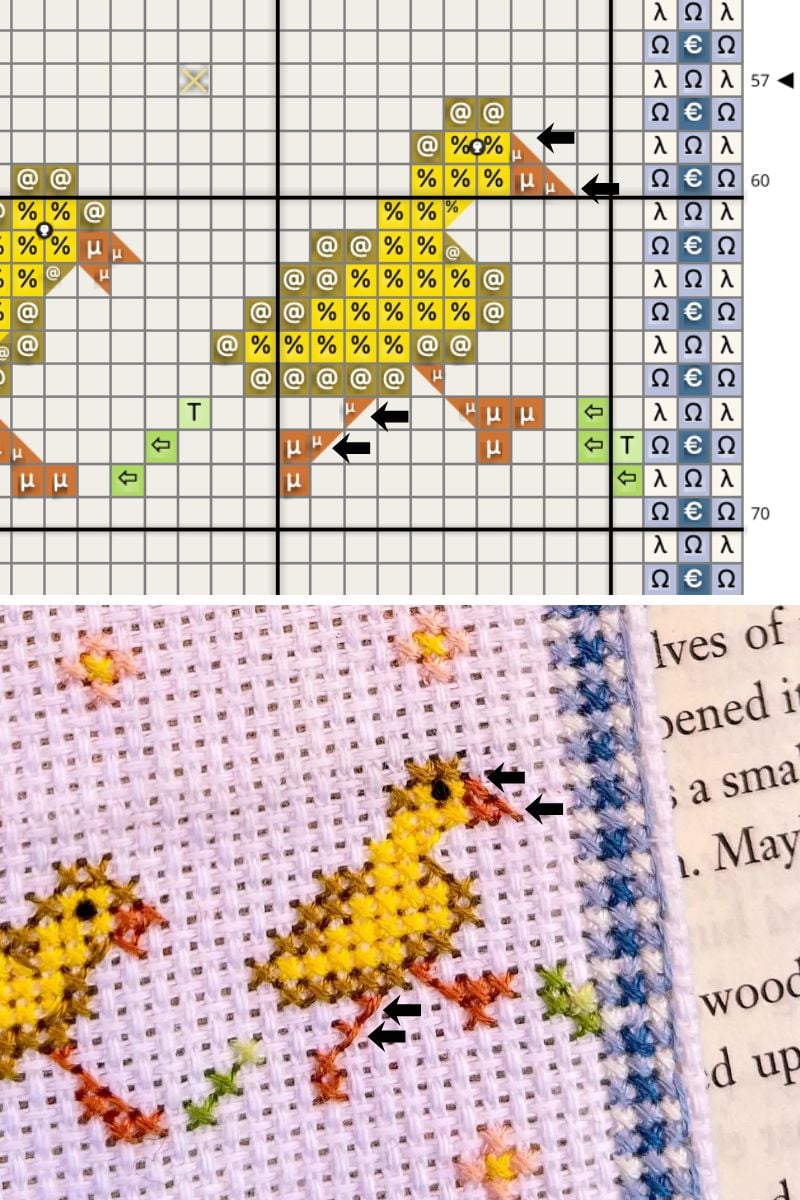
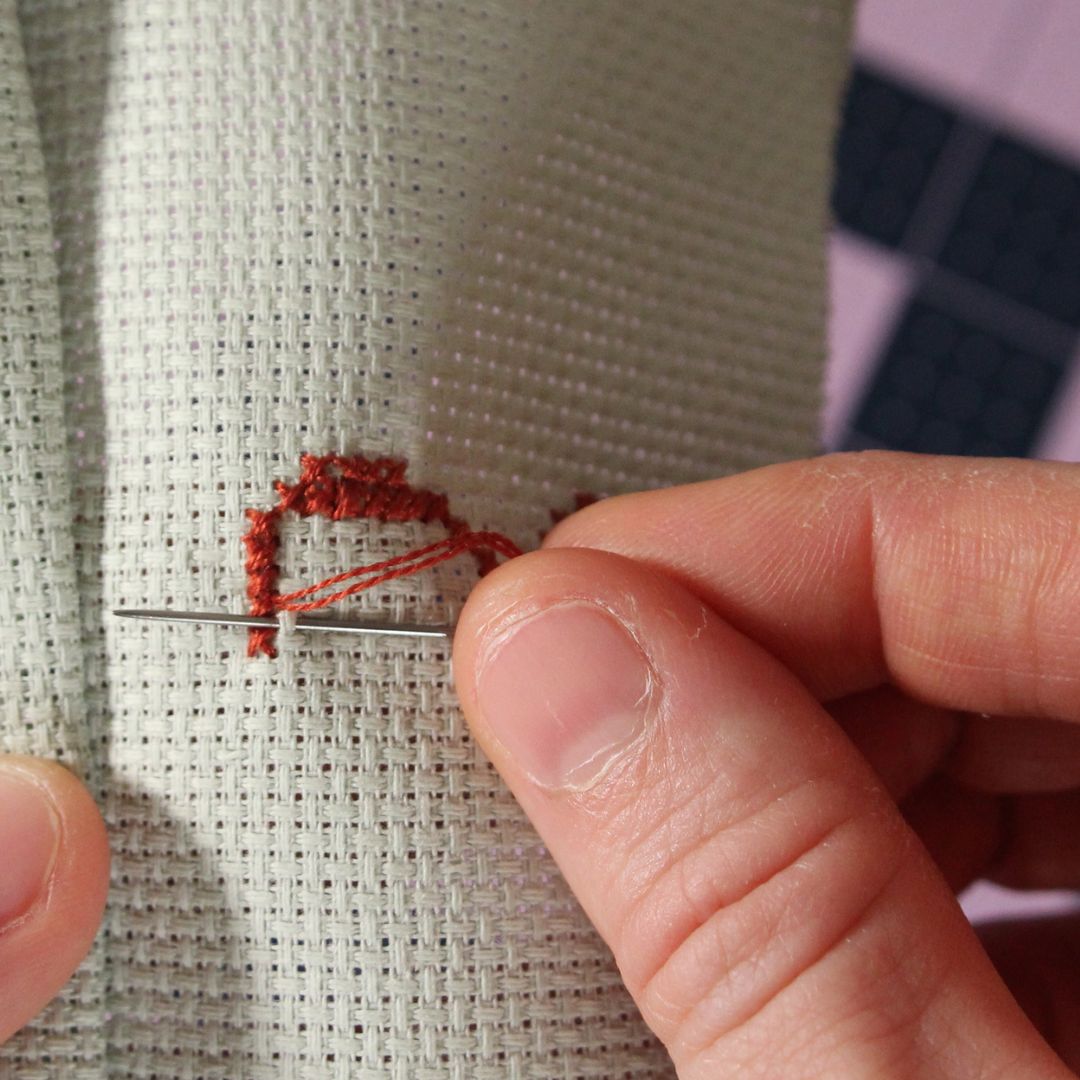
- Don’t forget that you can mark out back stitches, French knots, and fractional stitches depending on how complicated you want to make the pattern.
- To make it easier to see the grid, partially color in the squares, or you can add symbols or color coded dots.
- If you’re unable to fit the amount of detail in the pattern that you want, try enlarging the design or selecting graph paper with a higher grid count.
- To make something symmetrical, find the center line and fill in one side. Fold the paper in half, and then you can easily mark out the squares.
Video Tutorial

While this process can feel a bit confusing at first, you’ll likely find that it starts to be a fun challenge, and it will give you a better idea of how you can approach designing a pattern.
With the rise of AI embroidery patterns and the increasing reliance on technology, I’ve been feeling a pull to learn and do things the old-fashioned way. It allows me to be more creative and present in what I’m creating. I hope you enjoyed this tutorial. Give this technique a try sometime to see if you feel the same way!