How to Make Your Own Cross Stitch Pattern
For the longest time, I had no idea how to make cross stitch patterns. I thought it would be super complicated.
Luckily, with the help of some online resources, it really isn’t as complex as it seems! I’ll be going over the easiest way to make your own cross stitch pattern in this post.
How To Make A Cross Stitch Pattern
The Anatomy Of A Pattern
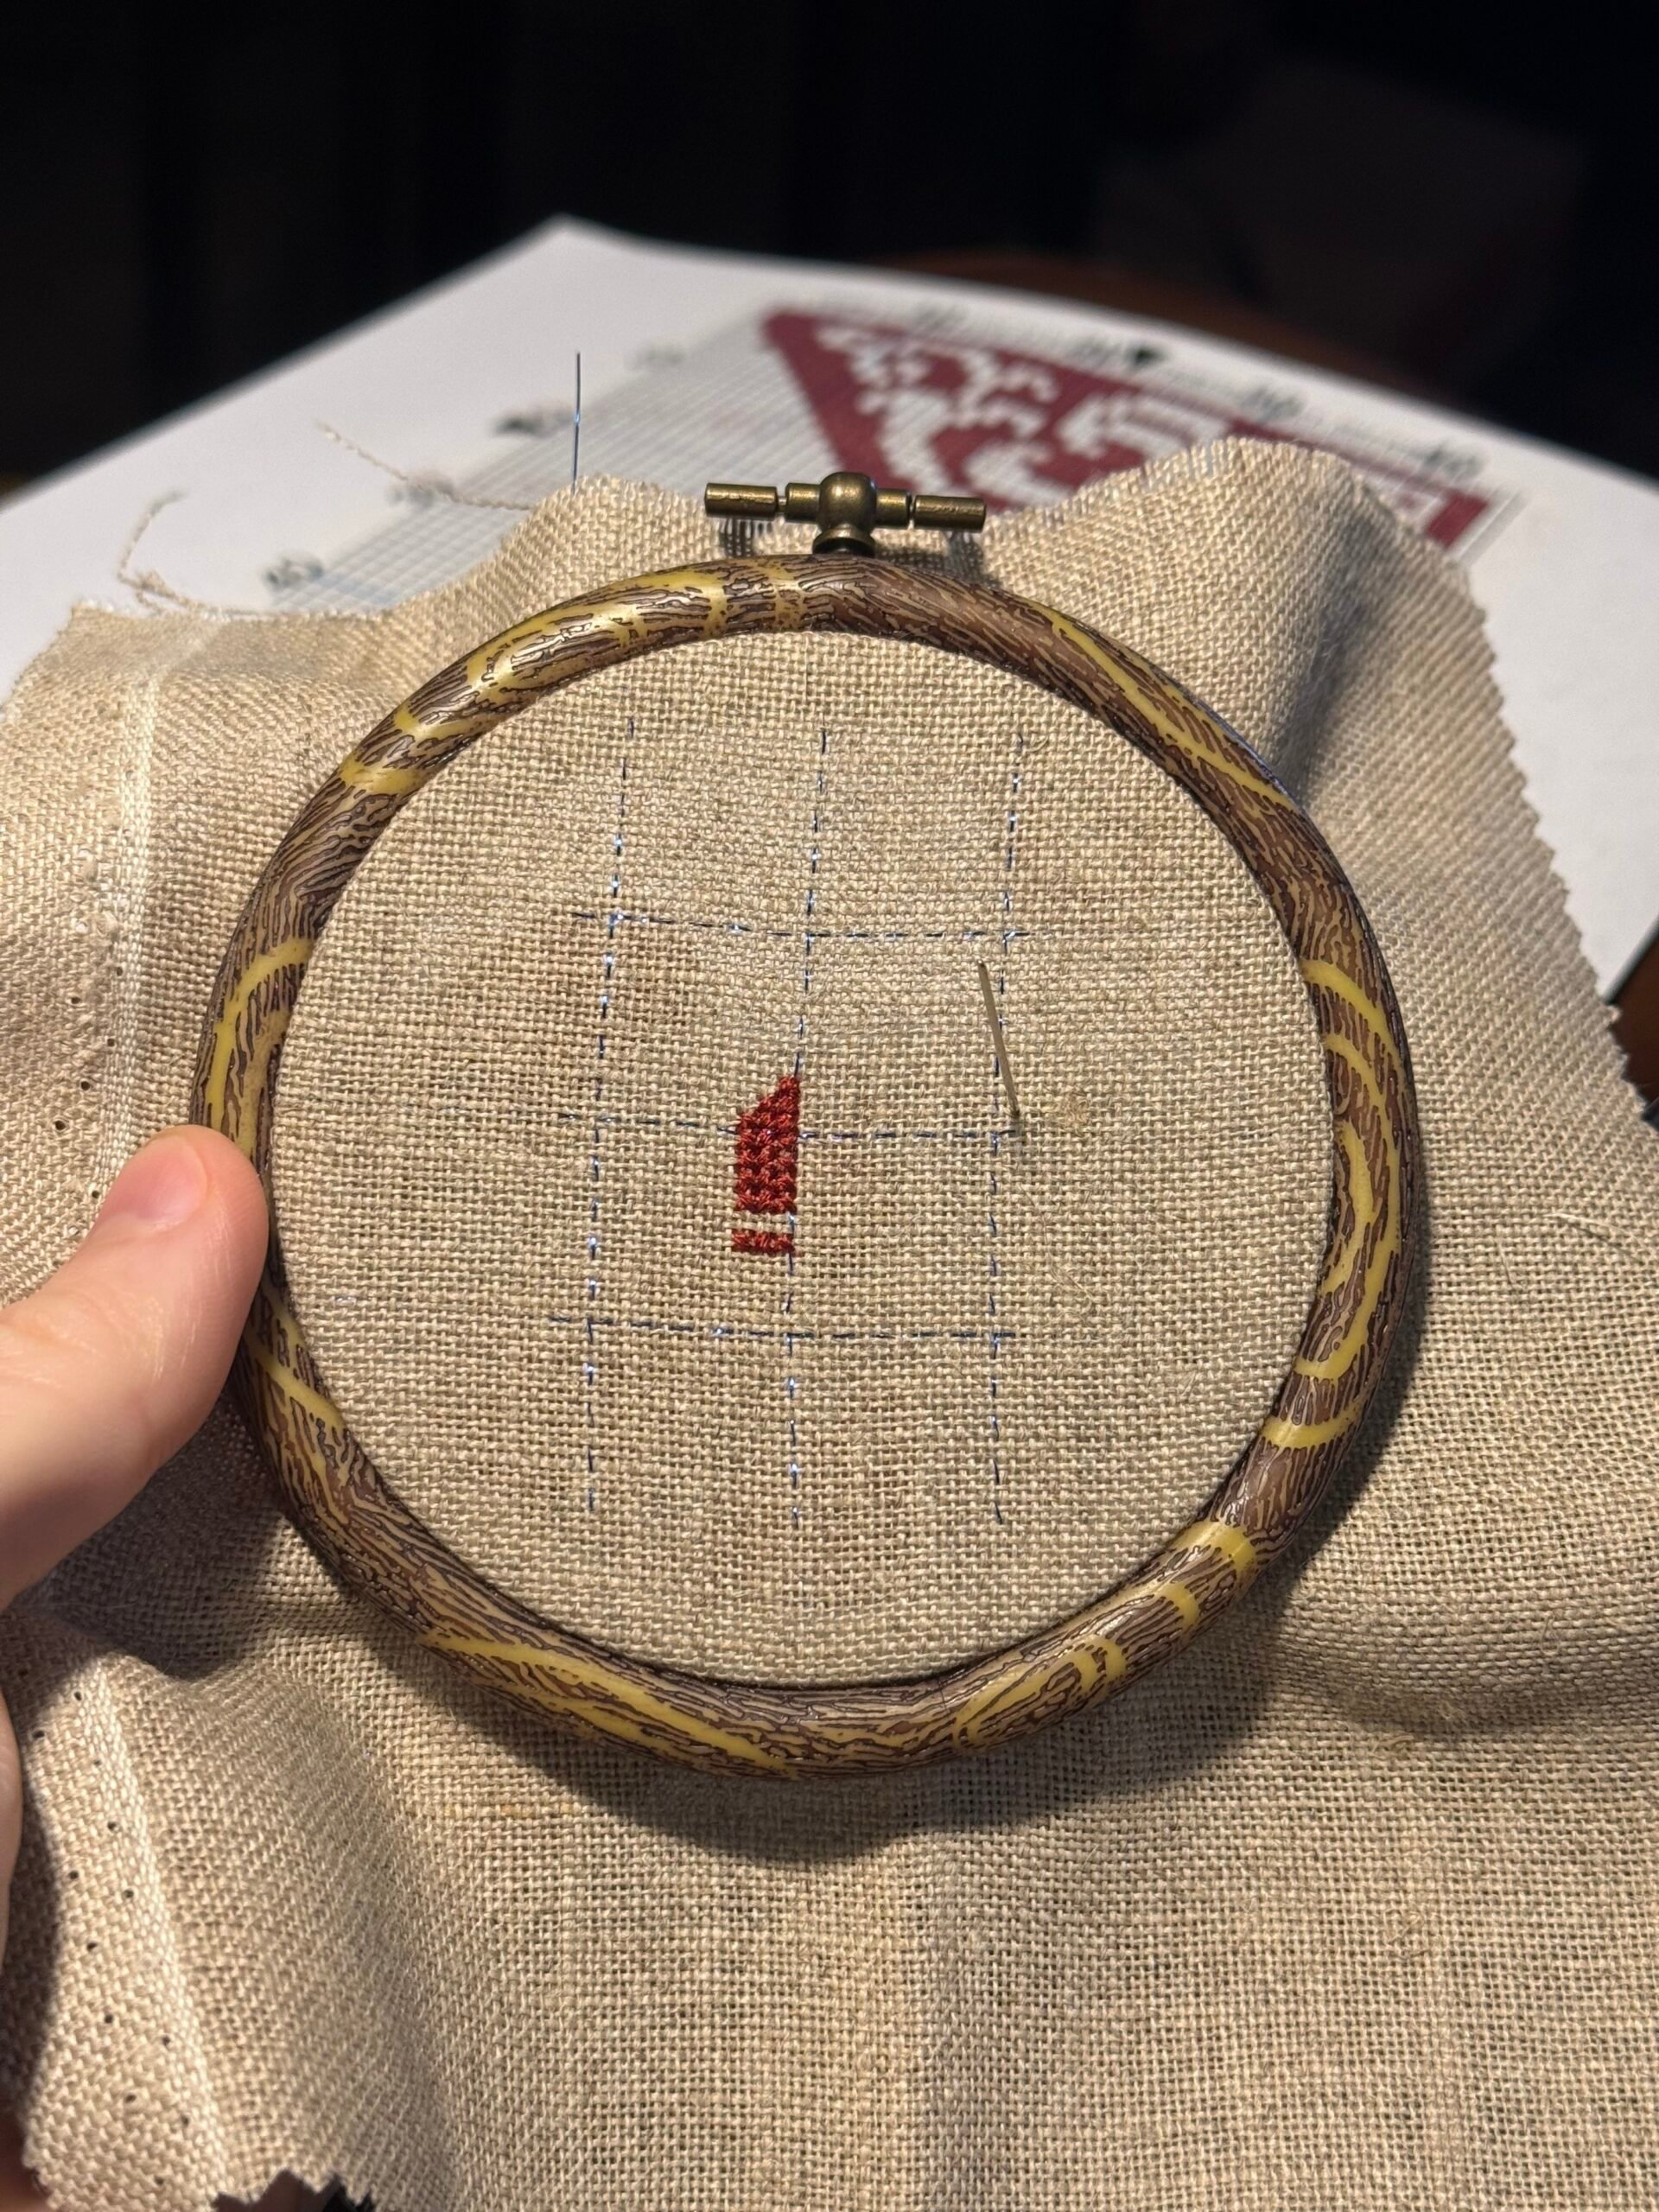
Cross stitch differs from surface embroidery because it is a form of counted needlework that uses the squares in the Aida/even weave fabric like a grid. Instead of using a line drawing to transfer over your design, the easiest way to approach cross stitch is with a pattern that’s all mapped out on a grid that looks similar to graph paper.
This makes it possible to stitch a design without drawing anything onto the fabric, (although there are a few ways to transfer cross stitch designs if you feel more comfortable that way).
Each pattern has symbols and/or colors that correspond with different thread colors and cross stitch techniques. The symbols and colors have a key so you can easily reference each one.
Most of the time, each square of a pattern represents one stitch that is made across one square or thread along the fabric.
If you don’t follow a cross stitch pattern in this format, you can easily get lost in the pattern or end up running out of room!
Pattern Making Techniques
There are a few different ways to design patterns: you can do it on plain old graph paper or use a variety of online tools or programs. I’ll be sharing about my favorite tool to use in this post.
Before you start: If you’ve never used a cross stitch pattern before, I highly suggest you try one out and become more familiar with how to read cross stitch patterns first. This will help you better understand how to organize and design your own pattern!
Using An Online Cross Stitch Pattern Maker
I found this free online tool called Stitch Fiddle that I use to make my own cross stitch patterns. I highly suggest signing up for a free account so you can save your work.
There is a paid version, but it just gives you some more room to save projects and more options like duplicating portions of the design, cutting, and pasting. While it’s more convenient, it’s not absolutely necessary.
Designing The Cross Stitch Grid
First, you’ll select what kind of project you’re doing, and you can pick between different types of embroidery thread: Anchor, DMC, or other.
After you’ve selected the kind of floss you’re using, you have the option of creating a blank cross stitch graph or uploading a picture. For this example, I’ll be selecting the blank canvas.
The next thing you’ll need to do is decide what size project you’d like to make. There is a handy cross stitch calculator to figure out what size you’ll need depending on the count of Aida you have!

This is so important, because otherwise you may run out of room when you’re designing your project! You can either enter in the measurements of your fabric or the desired cross stitch count and it will calculate the chart/project size for you.
The biggest thing I’ve learned while making patterns is to over estimate the size you’ll need, especially for a pattern that’s more intricate.
Once you’ve selected the size, you’re ready to start creating! You can choose from literally any of the DMC colors in the sidebar with the color selections.
Here’s an example of a cross stitch alphabet I made with the program.

How to Make a Cross Stitch Pattern From A Photo
This is another feature that’s really cool with this program and a few other converters. You can upload a photo and it will generate a cross stitch pattern from it. This is a great way to quickly come up with the beginnings of a pattern. It’s usually much easier than designing larger, more complicated patterns from scratch.
I’ll be going over some of the basics here, but check out how you can create your own cross stitch alphabets this way, or read through my step by step tutorial on converting photos to cross stitch patterns if you want to learn more.
Once the image is uploaded, you’ll get to tweak the cross stitch count and you can see a live version of what the pattern will look like.
Tip: The larger the cross stitch count, the better the quality of the image will be. Try to avoid making it excessively large though, or you may never finish it!
You’ll most likely have to clean up the pattern a little bit; modifying some of the squares and narrowing down some colors. If you don’t want to have to do a lot of revisions, the best kind of photos to use are ones that are extremely simple with a minimal color palette.


Finishing and Downloading Your Pattern
Downloading the pattern is easy and there are a bunch of different file options you can use including image files, docx, PDF, etc. I always like to save it as a PDF file and I try to keep the size of the pattern XXS or XS, as the larger patterns will make the pattern too big to fit on an A4 piece of paper.
The pattern will print out with the color key and the finished cross stitch pattern you created.