How To Cross Stitch: A Must Read For Beginners!
This guide will cover everything you need to start with the wonderful, meditative craft of cross stitch. You’ll learn about basic supplies, fundamental techniques, and stitches, how to plan and size your projects, and much much more. Let’s get going!
This tutorial will walk you through each essential skill, but you can also jump to the video tutorial if that’s more your thing.
What is Cross Stitch?
Cross stitch is a form of counted thread embroidery that is worked on evenly woven fabric such as linen, even-weave, or Aida. Rather than embroidering in a freeform manner along the fabric’s surface, cross stitch involves making each stitch across the individual threads that make up the fabric. This method entails counting each stitch meticulously, with the cross stitches worked systematically in a grid-like pattern to complete the design.
Cross-stitching has a unique and neat appearance. Up close, it looks similar to pixel art. From afar, more intricate patterns can look like paintings.

Disclaimer: This post contains affiliate links, which means I may earn a small commission if you choose to purchase an item.
Cross Stitch Supplies
You’ll need a few basic materials to get started:
- Aida fabric – Amazon
- An embroidery hoop or frame
- Embroidery floss – Amazon
- Tapestry needle and embroidery needle
- Thread snips or small embroidery scissors
Don’t have everything you need? This cross stitch supply list provides places to purchase everything.
Getting Started
Selecting Fabric
Cross stitch is ideally done on fabric with a consistent and uniform weave, such as linen, even weave, or Aida fabric. The patterns are designed on a grid that correlates with the threads of the fabric.
You’ll keep track of and count the number of stitches you make along the fabric, so the weave should be easily visible.
The easiest fabric for beginners to start with is Aida fabric.
What’s Thread Count?
You may have noticed that cross stitch fabrics come in different thread counts.
Thread count is the number of threads woven together in one square inch of fabric.
The threads that make up the fabric are warp (threads that run the length of the fabric) and weft threads(the perpendicular threads that run the width of the fabric).
Fabrics with higher thread counts contain more warp and weft threads per square inch. Consequently, you’ll be able to create more stitches within each square inch of the fabric. (Take a look at this example to see how different thread counts change the finished size of a pattern if you’re curious!)
When choosing the thread count, consider the requirements of the cross stitch pattern or the desired finished size. We’ll cover how to calculate the project size later on, but it’s essential to understand this concept before we move on!
How To Measure Thread Count

If you already have Aida fabric but are unsure what the thread count is, you can measure an inch of the fabric and count the horizontal or vertical squares. The total number is the thread count!
Selecting Embroidery Floss
Cross stitching is easiest with stranded cotton floss. This kind of embroidery floss consists of 6 individual strands of thread that can be separated. If you are following a pattern, it will specify what brand of floss to use and the specific colors required. Each floss color has a number assigned to it, making it easier to match and shop for.
A general rule of thumb is to use two strands of embroidery floss when stitching unless the pattern notes otherwise.
Preparing The Hoop
Once you have measured and cut out the fabric, you can place it in an embroidery hoop.

- Loosen the top screw and separate the inner and outer rings from one another.

- On a flat surface, place the fabric on top of the inner ring. Make sure that the fabric is centered and there is enough extra fabric around all sides of the hoop.
- Place the outer ring on top of the inner ring and the fabric. You may need to loosen the screw a bit more to get it to fit over the layer of fabric.

- Gently pull the fabric so that it is tight without any wrinkles.
- Tighten the screw, and you’re ready to get stitching!
Types of Stitches
Only a handful of stitches are used in cross stitch, and some projects only use one—the basic cross stitch!
How To Do A Cross Stitch
The basic cross stitch is straightforward to do.

- Make a diagonal stitch by beginning at the bottom corner and extending to the opposite top corner, spanning one square on the fabric.
- Then, make another diagonal stitch going in the opposite direction across the first stitch to form an x.
And that’s it. Pretty easy, right?!
Working Rows Of Stitches
You can work each cross stitch one at a time or in rows. This is especially helpful when large areas of the fabric require the same color of thread.
Working them this way has a few benefits: you’ll work each stitch in the same order, so your stitches will look more uniform, and it also helps to speed up the process a bit.

- Make a diagonal stitch across each square of the fabric for the color you want to fill in.
- Work vertically or horizontally until you’ve filled in the desired area with diagonal stitches.
- Work your way back through the row of cross stitches to fill in the other diagonal stitch, completing each cross stitch.
Variations Of The Cross Stitch
Now, let’s go over a couple of cross-stitch variations. These are called fractional cross stitches, allowing you more control over filling in patterns and designs.

- The 1/4 stitch is one diagonal stitch that starts at the edge of a square and goes down through the middle of the square.
- The 1/2 stitch is simply one diagonal stitch that starts and ends at the edge of one square.
- The 3/4 stitch is one 1/4 stitch and one 1/2 stitch.
- Finally, the full stitch is just a single cross stitch.
If you think about it, there are a lot of different combinations and ways you can use these fractional stitches to create your design! But don’t feel intimidated: the pattern you stitch will generally specify which way a 1/2 or 3/4 stitch faces and which corner a 1/4 stitch is made.
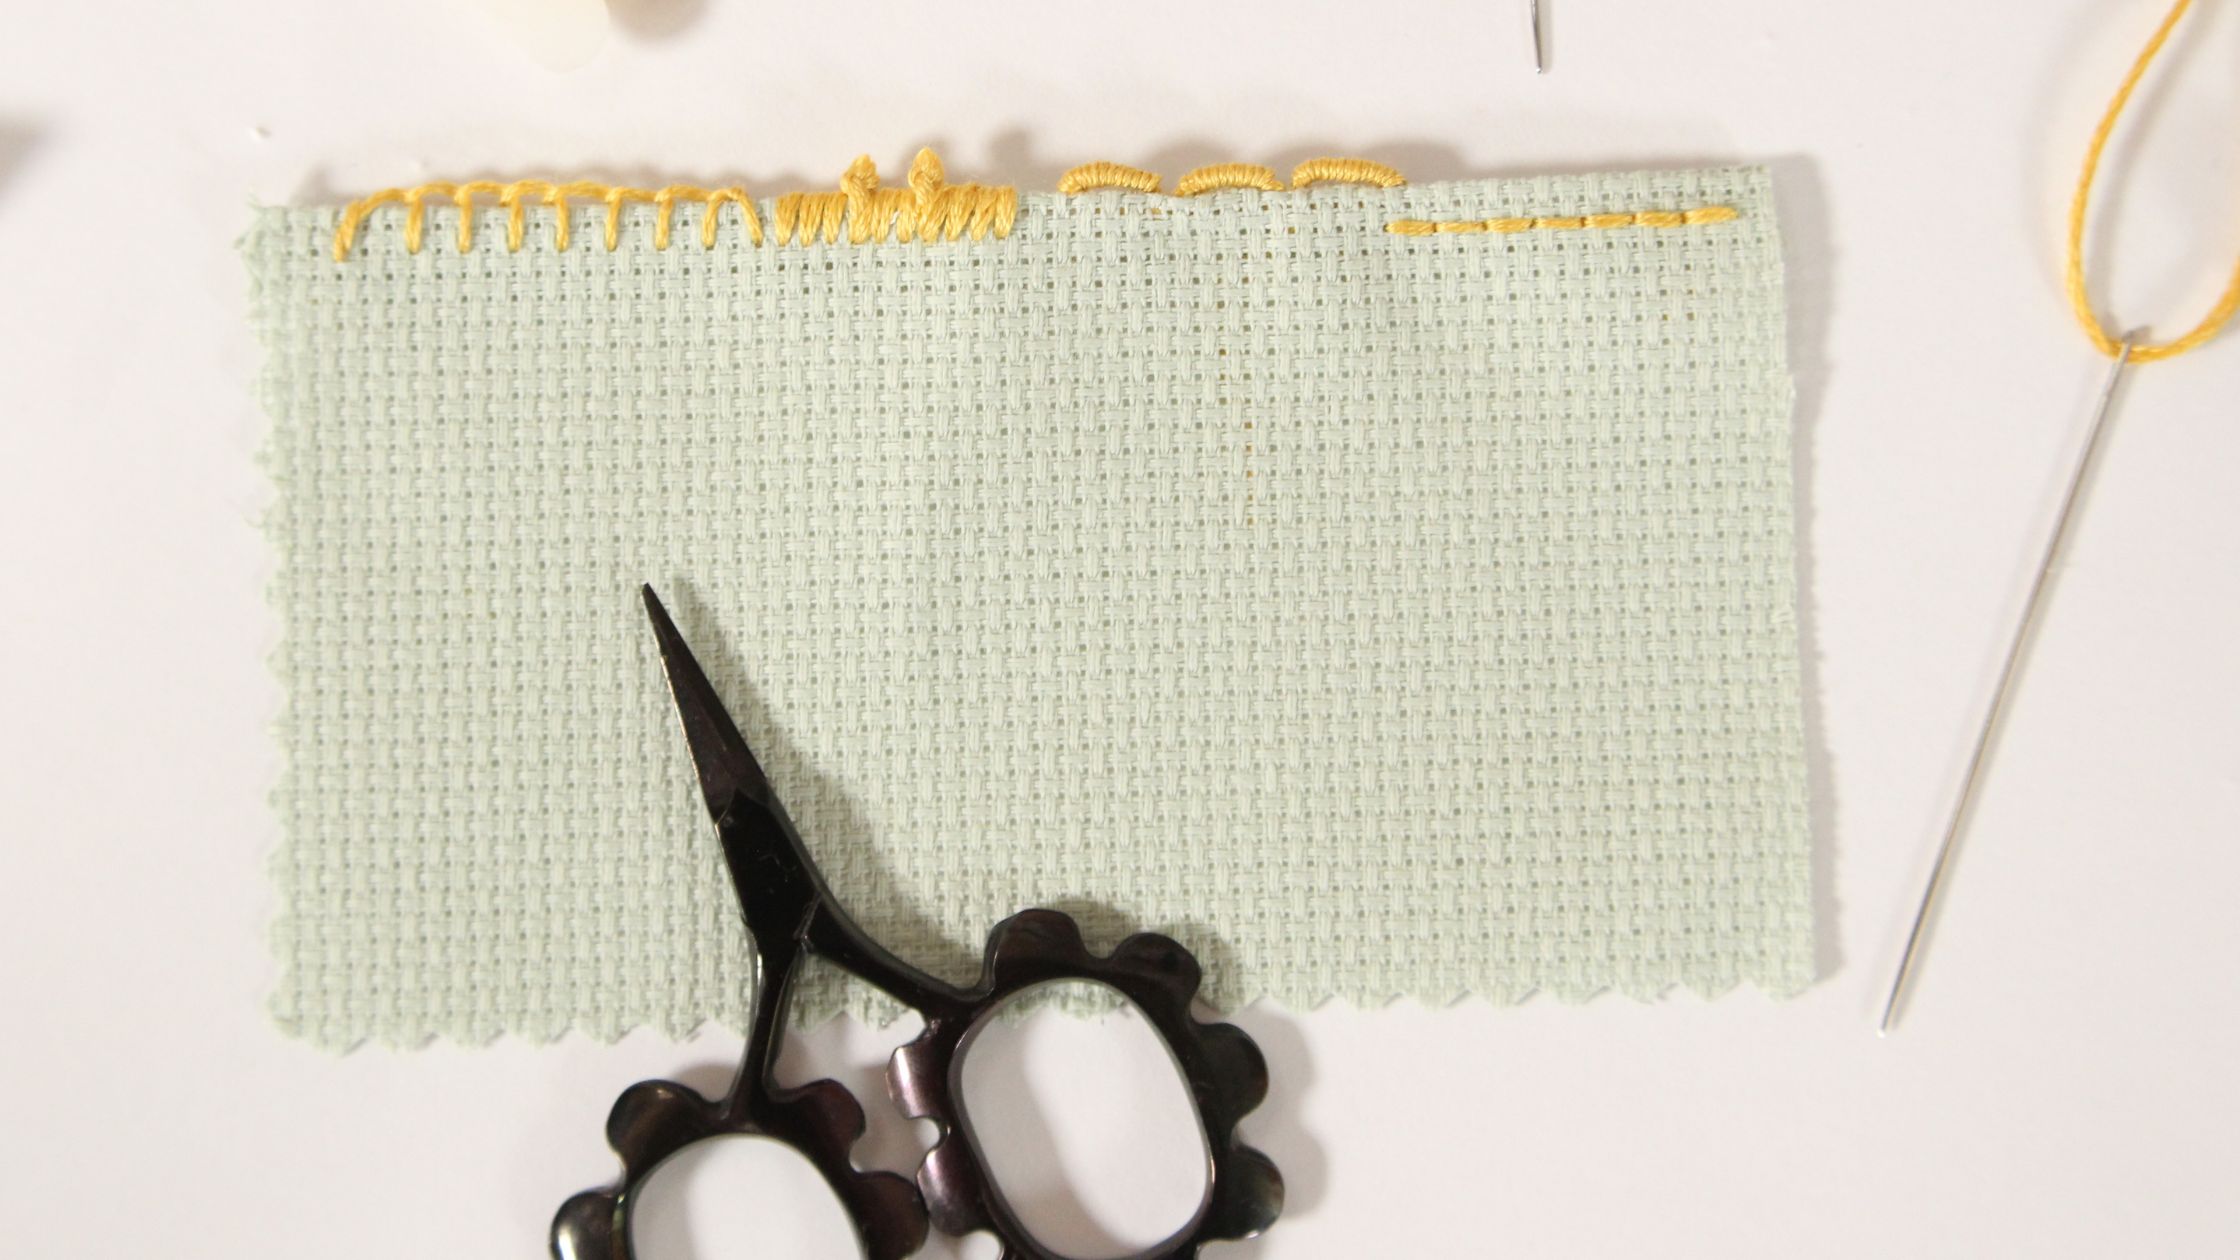
How To Back Stitch In Cross Stitch
People often use back stitches for letters, outlines of shapes, and small details in cross stitching. Not every pattern uses the back stitch, but it’s good to understand if you come across it!
When working on Aida fabric, you can use one or two strands of floss, following the natural holes of the fabric to keep the stitches even.

- Come up through the hole in the fabric where you intend to make the stitch and make a stitch into the next hole.
- Pull the thread through, then take your needle and thread it through the next hole in the fabric.
- Go back down the hole where the last stitch ended.
- Repeat the desired length.
Work the back stitch with holes above, below, beside, or diagonal to your last stitch. Depending on the pattern, you can skip 2-3 threads at a time to make each stitch longer if desired.
How To Make a French Knot In Cross Stitch

The French knot is a stitch that appears occasionally in some patterns. It can be challenging at first, but it’s fun once you get the hang of it!
- Come up through the back of your fabric at the corner of the square where you want to stitch.
- Keeping the needle close to the fabric’s surface, wrap the thread around the needle 1-3 times, depending on the desired size of the knot.
- Bring your needle down through the fabric while holding tension on the wrapped thread. (If you’re using Aida fabric, this should be in the center of the square; if using linen fabric, it should be in the hole directly beside where you initially came up.)
- Carefully pull the thread all the way through to the back of the fabric, and a small knot will form.
My biggest tip for working a French knot is to avoid going down through the same hole you initially created. Otherwise, you’ll accidentally pull the knot through the hole to the back of the fabric.
Starting And Finishing Stitches
Starting Stitches
This first method ensures that the thread’s starting tail is securely anchored and hidden within the cross stitches, resulting in a tidy finish on the back of the fabric.

- Leave a thread tail at the back of the fabric, holding it with your finger to prevent it from slipping through.
- You can either stitch over the tail, incorporating it into your cross stitches, or use your needle to carefully tuck the tail underneath the stitches once you’ve completed a few whole cross stitches.
- If you tuck the tail, gently guide it under the backside of the stitches using your needle to hide and secure it. Then trim any remaining thread.

Loop Start
The loop method is another clean and even easier way to start a piece of thread.
- Begin by folding an extra-long strand of embroidery floss in half, making a loop at one end and the two cut ends of thread at the other.
- Thread the needle with the end of the floss that contains the two cut ends of thread, leaving the looped end free.
- Bring the threaded needle up through the back of the fabric, starting where you want your stitching to begin. Leave a small tail of thread along the back of the fabric.
- Insert the needle back down through the fabric to create the first half of the cross stitch, making a half stitch.
- Flip the fabric over to the backside.
- Insert the needle through the looped end of the thread, pulling it snugly to secure the thread to the fabric.
Finally, check out this method for anchoring the thread called a pin stitch. This method may be a little bit trickier to learn, but it does a great job of keeping knots and tangles to a minimum on the back of your work.
Ending Stitches

Leave the thread’s tail long enough to tuck it underneath the surrounding stitches easily. Trim the leftover end of the thread to finish it neatly.
It’s best practice to avoid using knots on the back of your work. This can make the fabric bumpy, and the knots can sometimes show on the front of the fabric or get in the way while you’re stitching.
Reading A Cross Stitch Pattern
Now that you have learned some basic stitches, it’s time to get started on a pattern! The first thing you’ll want to do, even BEFORE starting your cross stitch pattern, is to determine what size fabric you’ll need to use.
Calculate Cross Stitch Fabric Size
To determine the size of a design, divide the number of vertical squares in the pattern by the fabric’s thread count. Then, repeat this process for the horizontal squares.
For example, 140 vertical squares / 14-count Aida = 10 inches, and 100 horizontal squares / 14-count Aida = 7.14 inches. Thus, the finished design would be 10 x 7.14 inches.
If you’re not good at math and want an even easier way to calculate this, you can use a cross stitch calculator such as this one by Yarn Tree. This calculator is great because it not only considers how many threads each cross stitch covers, but you can also add a border or extra room you need to finish the project later.
Including several extra inches of fabric beyond the final design size in your calculations is wise. This ensures enough fabric to finish the project correctly and provides some leeway for any mistakes or adjustments you may need to make.
Once you’ve determined how large of a piece of fabric you’ll need, you can grab your supplies and get started!

Making Sense of Symbols and Diagrams
Reading a cross stitch pattern is relatively straightforward. Patterns usually list the thread count of the fabric you should use and suggest thread colors.
The pattern will be laid out like a grid or graph. (In fact, you can use graph paper to make cross stitch patterns!) Most patterns contain two copies: one with symbols and colors and another with just symbols. You can follow whichever pattern you want; from my experience, it’s easier to follow the color pattern.

The symbols and colors on the chart may seem overwhelming at first, but don’t worry! Each pattern will have a key for all the required stitches and colors.
Each square on the pattern equals one stitch on the fabric.
The grid is usually numbered or marked every 10 squares to help you more easily keep track of where you are in the pattern.
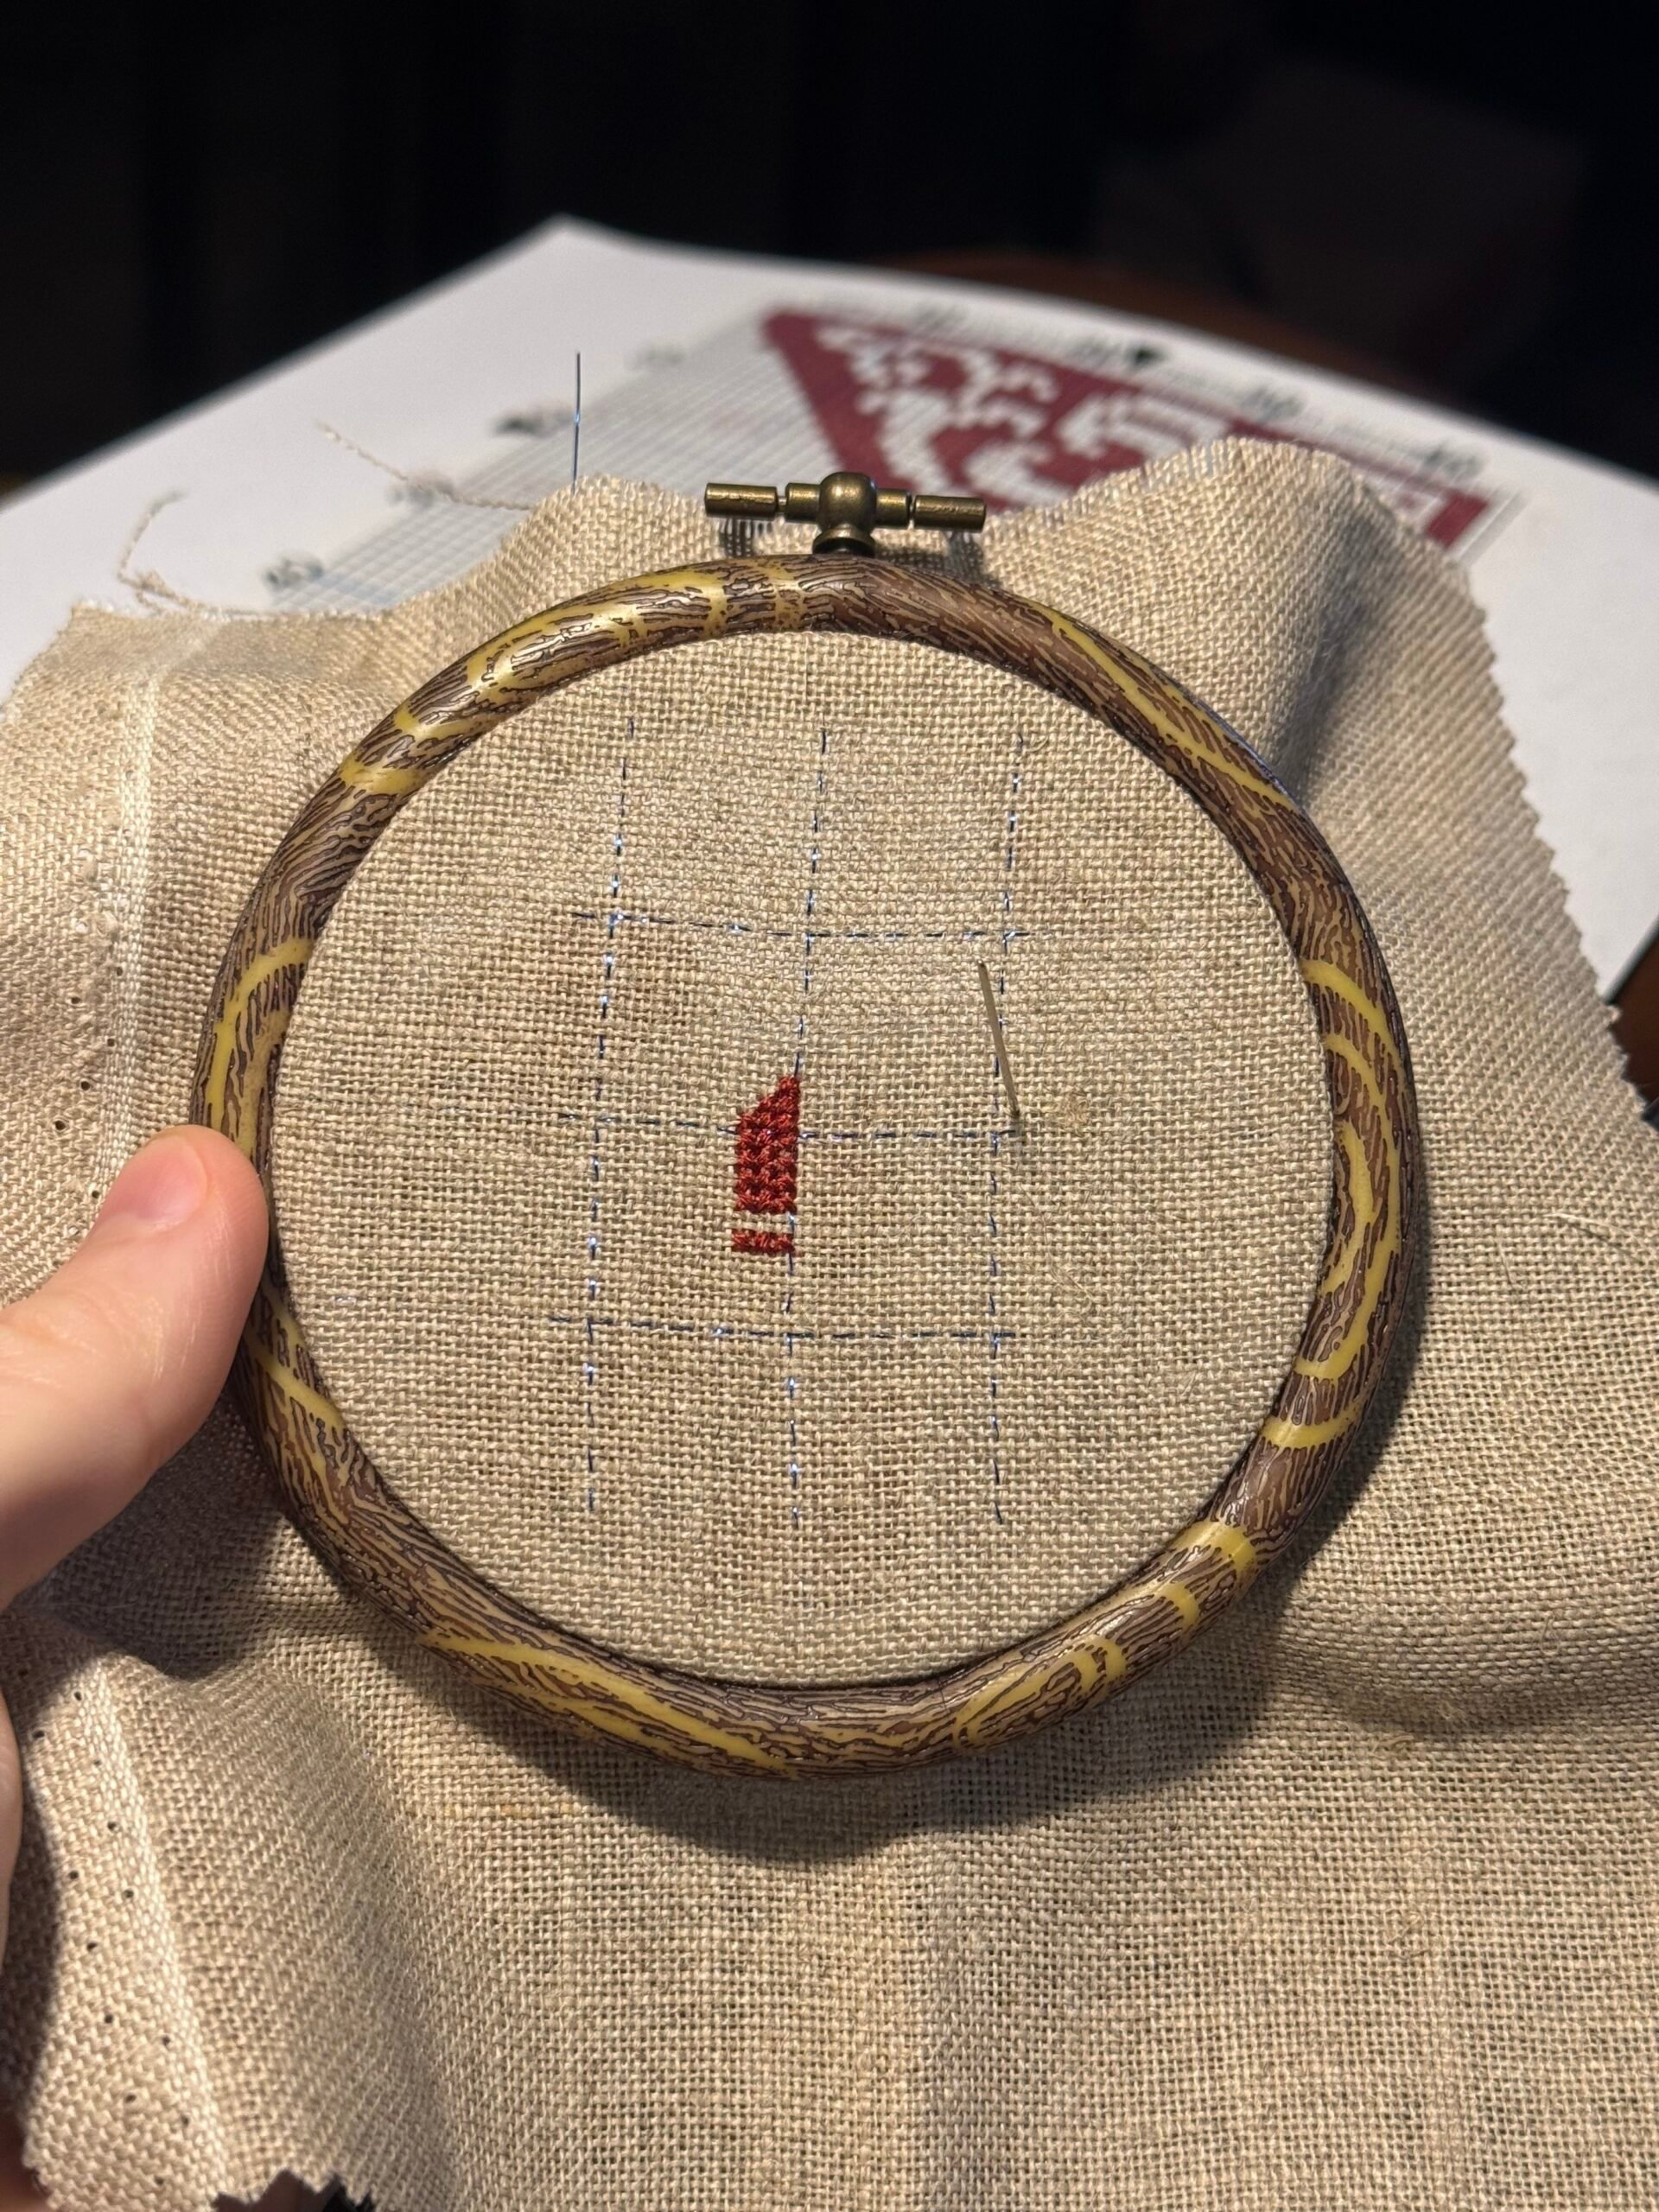
While it isn’t required, gridding your cross stitch fabric or transferring the cross stitch design before you start stitching can help you more easily coordinate with the pattern.

Start At The Center Of The Fabric
Starting in the center of the fabric and pattern will properly position the design on the fabric so you won’t run out of room!
Before making any stitches, you must locate the middle of your pattern and the middle of your fabric. The easiest way is to fold the fabric in half and then in half again. Use a pencil or water-soluble marker to mark the center where the lines intersect.
Many cross stitch patterns have the middle of the pattern marked out. If your pattern does not indicate this, you can take the total number of graph squares lengthwise and divide that number in half. Then, repeat for the width of the pattern.
Once you’ve located the middle, find the stitch on the gridded pattern closest to it. Note how many stitches away it is from the center, and start there.

Working Your Way Around The Pattern
Follow the symbols and colors to coordinate the colors and stitches you should make for each stitch across the fabric.
You’ll want to pay close attention to the colors, symbols, and where you are stitching, especially in areas with large amounts of the same color. It can be easy to lose track of where you are, so a general rule of thumb is to start in one area and then work your way out.
Avoid trailing the thread long distances on the back of your work, as this may become visible on the front of the fabric. For a neater finish, end each color of the thread whenever you are finished in an area.
Don’t jump around in the pattern! Skipping around will most likely result in you making stitches in the wrong place and getting lost. While stitching all one color at once may feel easier, it’s an easy way to miscount and mess up the pattern. Work your way around the pattern from one area to the next.
It’s helpful to occasionally stop and check your work against the pattern to ensure you haven’t miscounted or made a stitch or two out of place. Fixing mistakes can get a bit more complicated once you’ve gotten further along in the pattern, so doing this will save you the headache of fixing it later.
Fixing Mistakes
Mistakes can be unfortunate, but they’re bound to happen! Here are a few troubleshooting tips when you need to fix something.

Removing Stitches
Removing stitches is quite simple if you’ve caught a mistake early enough.
- Place your needle underneath the stitch and carefully loosen it to pull it out.
- Repeat for the remaining stitches you want to remove.
If you realize that you have made a mistake several stitches back, you have several options to fix it:
- You can leave it alone
- Stitch over it with the right color
- Undo all of the stitches you made with that particular strand of thread back until you have reached the mistake.
Undoing Knots
Knots can occasionally happen when you are stitching when the thread twists around itself. If the knot appears looped, it’s relatively easy to remove.

Place your needle through the loop and pull upwards. The knot should loosen.

Then, pull the two ends of the thread to remove it.

If the knot isn’t budging, the other option is to remove the thread carefully with a seam ripper. This is usually a last resort because you’ll most likely have to undo several stitches to secure the remaining thread once you’re done.
Avoid using scissors to remove the stitches because this puts you at risk of tearing the fabric.
FAQs
Video Tutorial: Learn Cross Stitch Basics


You May Also Like
- Want to learn even more about what makes cross stitch unique? Take a look at these two comparison posts on how it differs from embroidery and needlepoint.
- Learn how to finish cross stitch in a hoop or mount it so it can be framed.
- Check out these common cross stitch mistakes