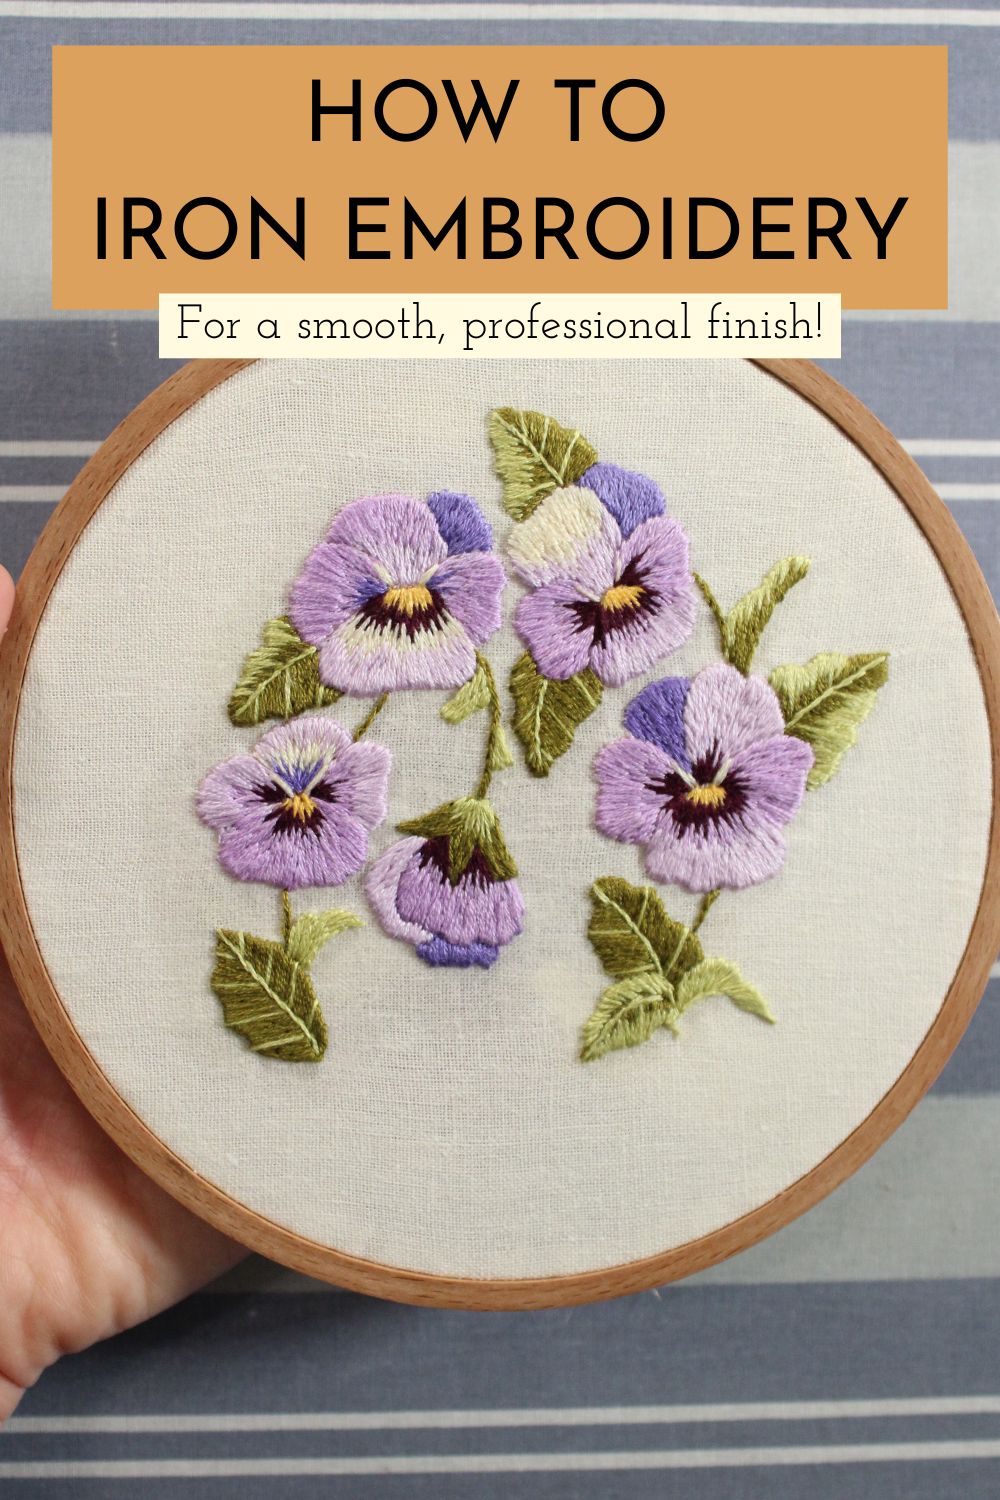
How To Iron Embroidery For A Smooth, Polished Finish
If you’ve finished an embroidery only to realize that you have some hoop burn or stubborn wrinkles, or if you plan to mount and frame it, ironing the embroidery is an essential step. While it’s not difficult to do, there are some helpful considerations to keep in mind while pressing your embroidery art. Here’s how to properly do it!
How To Iron Embroidery
There are several effective methods for pressing embroidery. You can:
- Dampen the embroidery
- Use a damp towel on top of the embroidery
- Use an iron with steam
To dampen the embroidery, submerge it under running water and place it flat between two towels to press out excess moisture. Don’t wring or scrunch the embroidery!
Place a dry towel, cotton quilt batting, or a piece of felt on top of the ironing board to use as a cushion for the embroidery.
Using the setting appropriate for the fabric (in this case, cotton), heat the iron.
Place the embroidery face down on top of the cushioning when ironing it. (Pressing from the right side can flatten or disturb the threads.)
If you are using a damp towel, place it on top of the embroidery.
With heavy pressure, run the iron across the fabric along both the horizontal and vertical grain lines. Avoid running the iron along the bias (diagonal to the grainlines) of the fabric, as this can stretch and distort the foundational fabric.
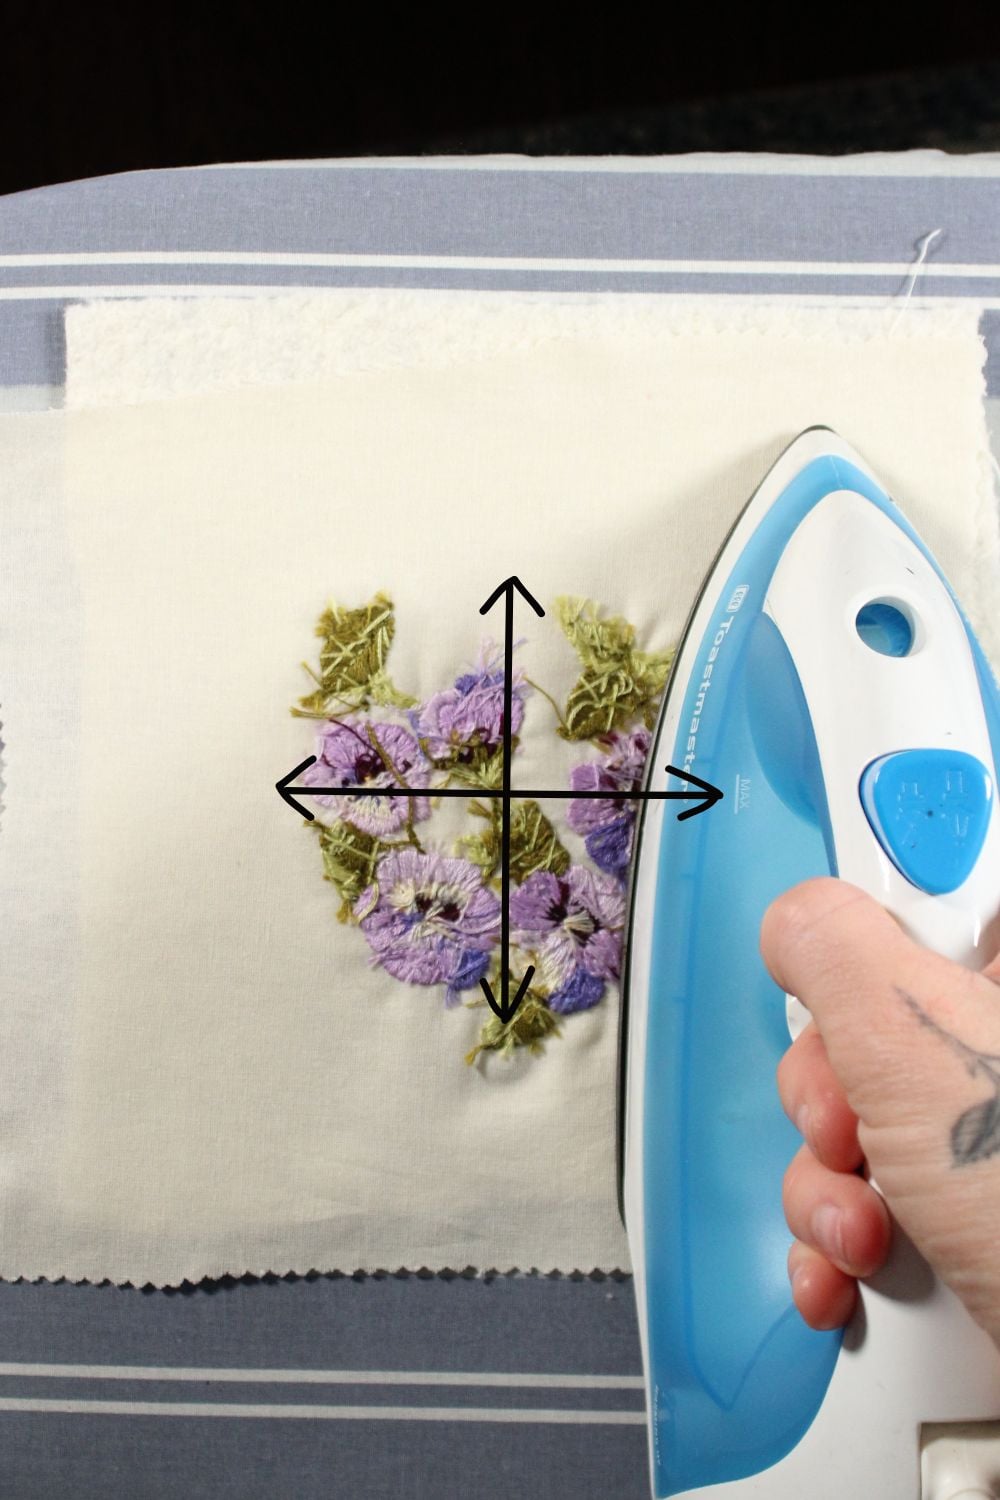
Be sure to keep the iron moving and avoid ironing the fabric for too long, as this can cause scorching and discoloration.
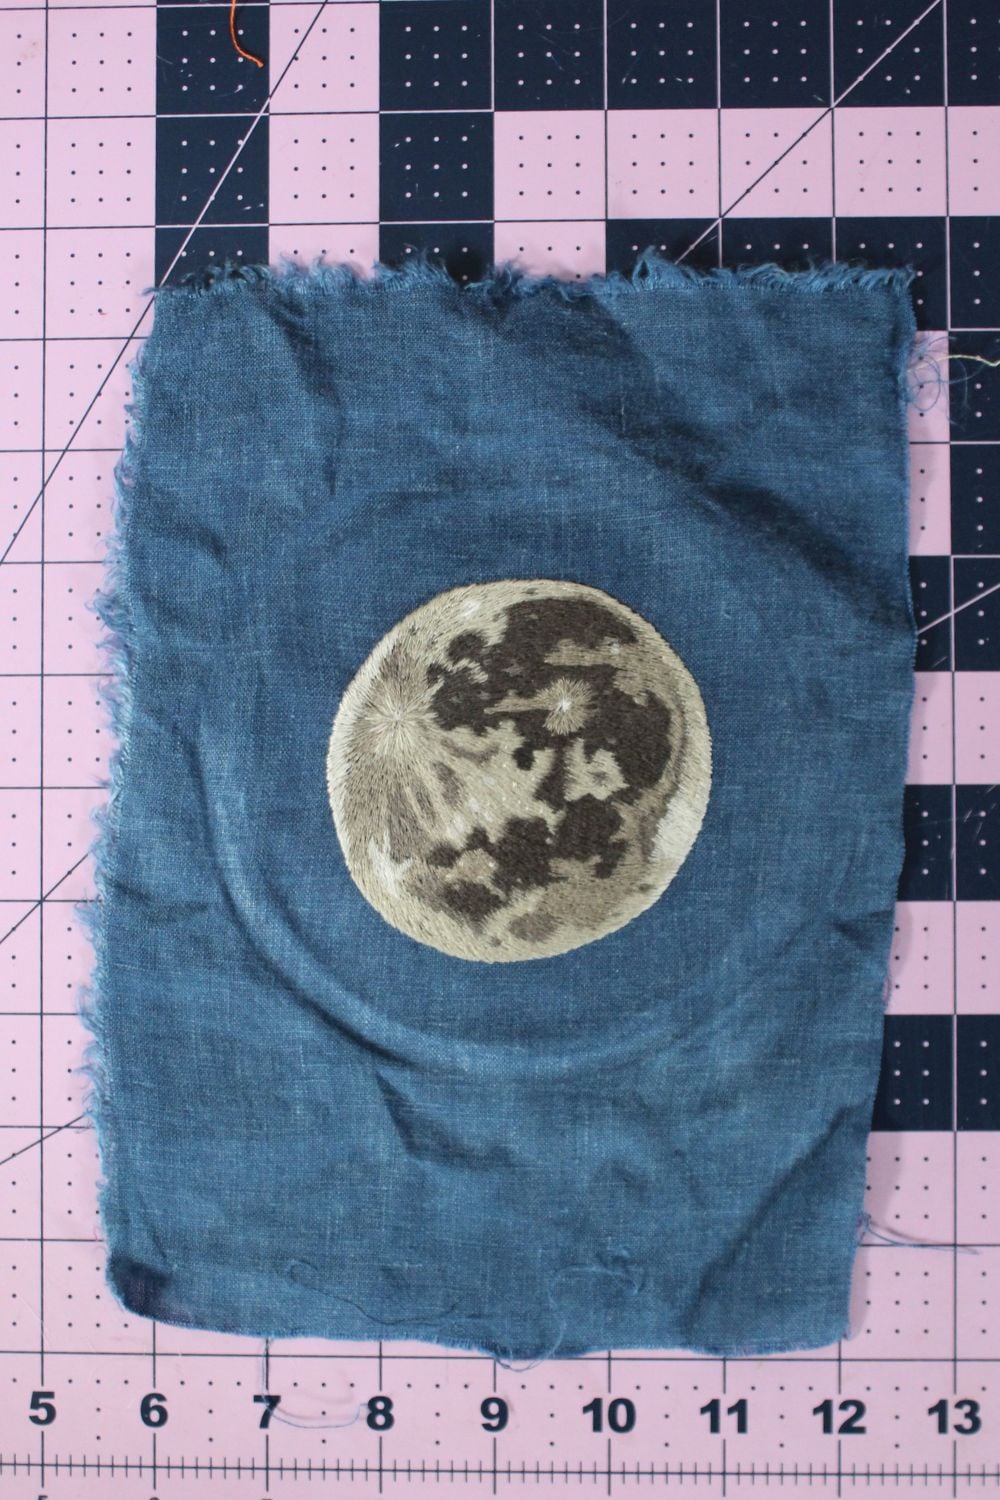
How To Iron Out Hoop Burn
Hoop burn, the wrinkles that an embroidery hoop leaves, can be really challenging to remove. The easiest way to remove these marks is to dampen the embroidery or use steam, and then press around the wrinkles on both sides of the fabric. If the creases still won’t come out, try applying spray starch before ironing.
To minimize hoop burn, try binding your embroidery hoop before using it.
How To Get Out Stubborn Wrinkles and Puckers
Sometimes, even after you’ve ironed the embroidery, there can be puckering around the embroidery.
While some wrinkles may smooth out by stretching the embroidery over a mounting board or displaying it in a hoop, others are nearly impossible to smooth out by simply pressing the embroidery, especially if the embroidery stitches are too tight or pulling the weave of the fabric out of alignment.
A practical option to fix fabric puckering is wet blocking, which involves wetting the embroidery, then stretching and pinning it in place while it dries.
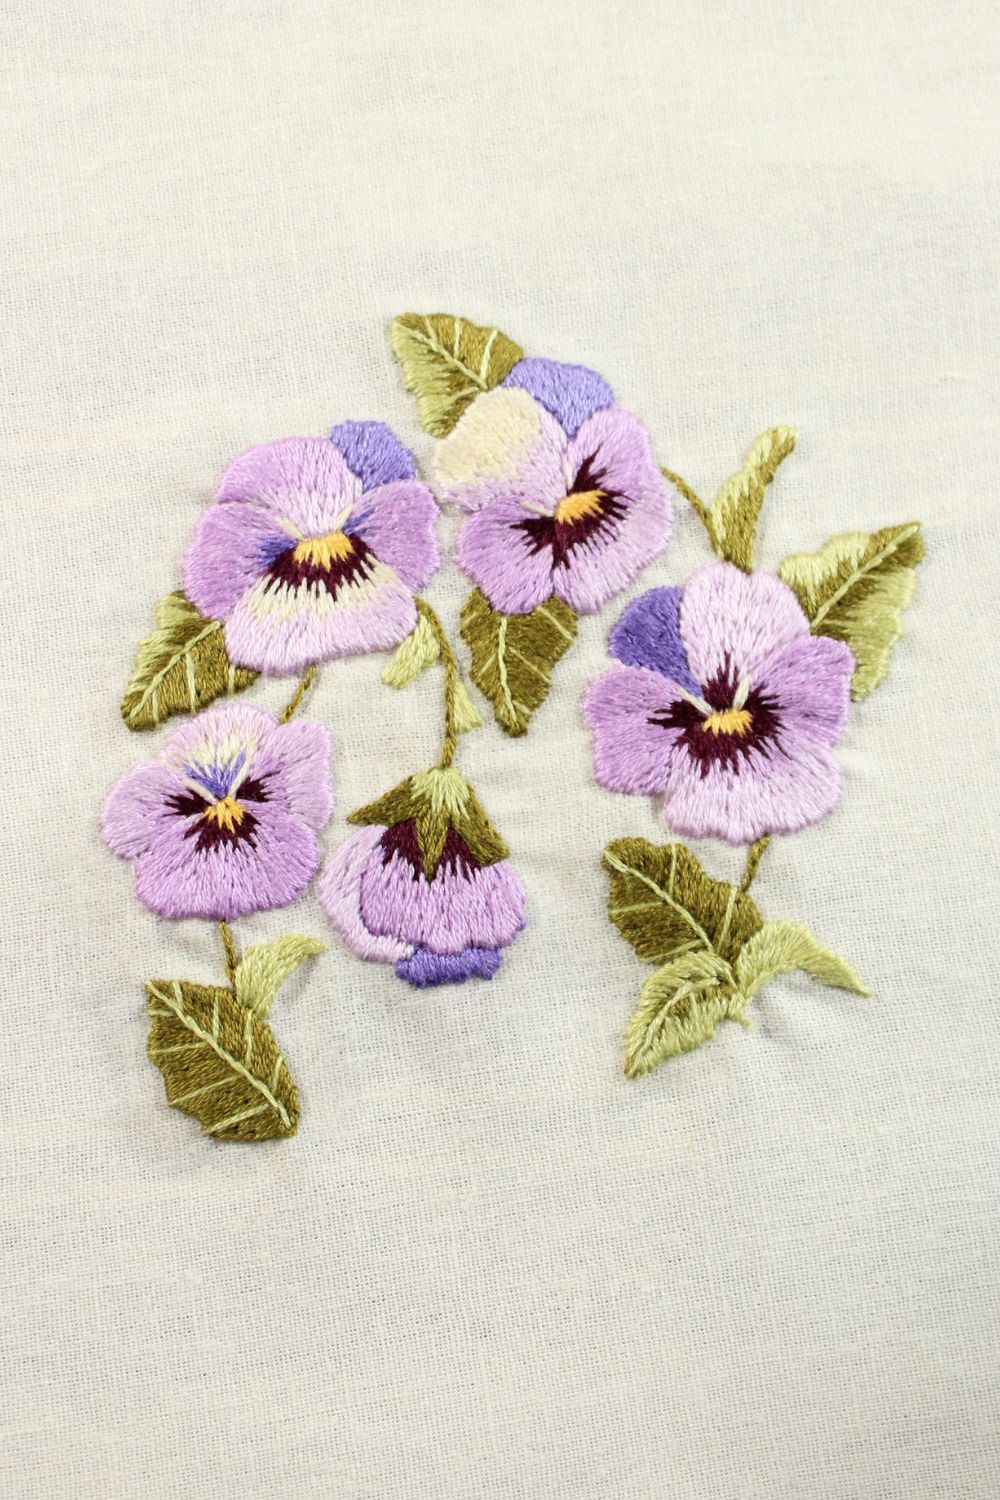
Should You Always Iron Embroidery After You Finish It?
You can’t go wrong with ironing an embroidery project. If you plan to wash the embroidery to remove marks on the fabric, it’s good practice to press after washing. Otherwise, the embroidery will most likely have some creases in the fabric due to the hoop and the drying process.
Ultimately, it’s up to your discretion whether the embroidery needs to be pressed!
If you enjoyed this post, I think you’ll find lots of these ideas for finishing embroideries helpful.
Books Referenced
To ensure accuracy and clarity in my tutorials, I reference a variety of trusted sources.
- The Needlework Book by Wanda Passadore (1969)
- The Creative Art of Embroidery by Barbara Snook (1972)


