How To Embroider Handkerchiefs
This DIY embroidered handkerchief is a project you can complete in under an hour. They make great personalized gifts!

Supplies You’ll Need

- Cotton Handkerchief
- Embroidery Needle
- Embroidery Floss – I used DMC 6 stranded cotton
- 3 or 4 inch Hoop
- Heat erasable or water-soluble pen
- Scissors
There are a few things to keep in mind whenever you are embroidering on clothing or accessories.
First, you’ll want to consider the kind of material you’re using. It’s preferable to get a 100% cotton bandana and not one that is made of synthetic fabric because synthetic materials can be fragile and hard to work with.
Another helpful thing to have is a heat erasable or water-soluble pen. You don’t want any marks to show through the embroidery on the fabric, so you definitely want something that will wash away or disappear.
The final thing to consider is the thread you’re using. You’ll want to use high quality floss, such as DMC embroidery floss because it is colorfast, which means it won’t bleed if washed and the colors won’t fade over time.
Prewash
You may want to prewash the handkerchief if it’s brand new. Prewashing will also soften the texture of the bandana as well as wash out any excess dye. Handwashing and air drying is recommended if you’re going to do this.
Mark the Handkerchief

The first thing you’ll want to do is mark out the name you would like to embroider on the handkerchief. Another reason why heat erasable or water soluble pens come in handy is because it may take you several tries to get the cursive lettering just right, so you may need to wash or iron off the marks a few times!
Take a look at this post for some cursive inspiration.
Prepare Your Handkerchief

Once you’re happy with the lettering, you’ll want to put the bandana in an embroidery hoop. If you’re embroidering on the edge of the bandana, it’s ok if the bandana doesn’t completely fit in the ring of the hoop. (see photo) You just want enough support that the bandana doesn’t pucker while you’re stitching.

Then, thread the needle (I am using all 6 strands of floss) and tie a knot in the end of the thread.
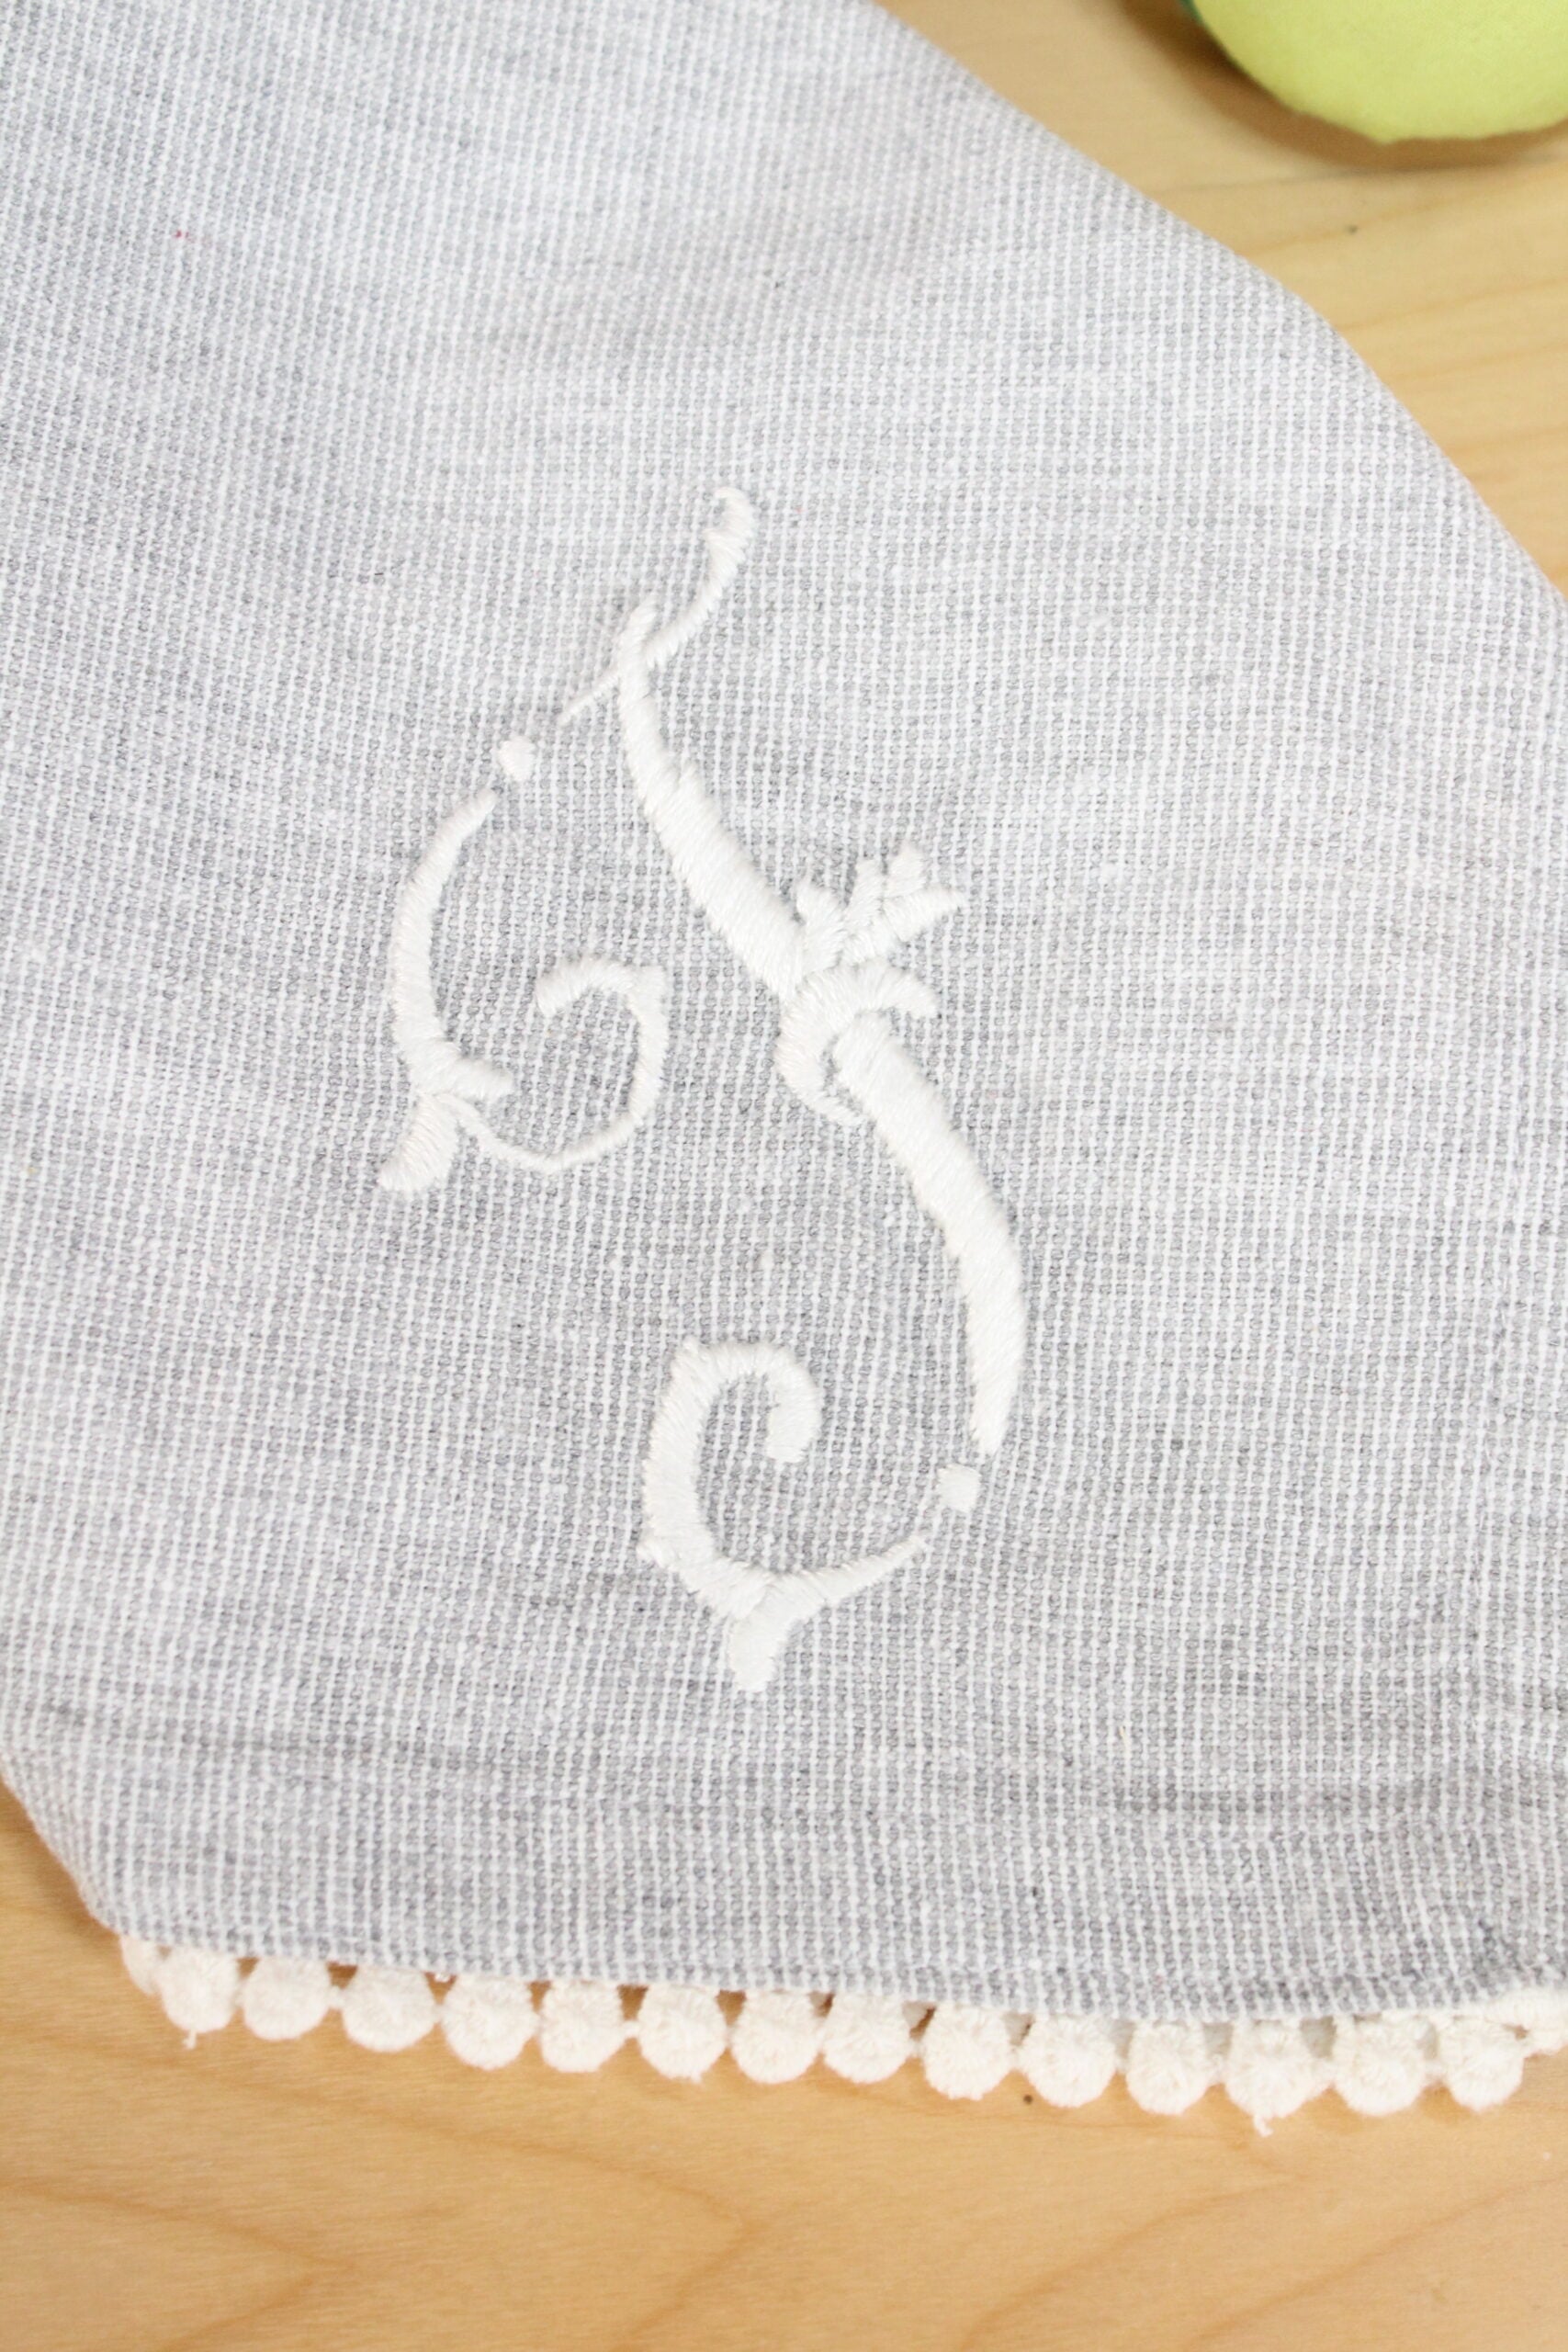
How To Embroider Cursive On The Handkerchief
For this project, I chose to use the back stitch to embroider the cursive letters onto the handkerchief. There are, however, several other embroidery stitches that are great for lettering.
How To Do The Back Stitch
If you’ve never used this stitch before, it’s super simple to do.

- Make a straight stitch from A to B.
- Skip some space and come up at C.
- Then bring your needle back down at D, right against the last stitch you made.
- Repeat the desired length.
When embroidering along curved lines, you’ll want to make your stitches shorter so that the line will appear smooth.

Finishing

You’ll want to double knot any loose threads to make sure none of the stitches come loose. Trim the ends, and you’re done!
Care
Hand washing and air drying is best, especially for 100% cotton material that will most likely shrink if it is exposed to heat.