Long and Short Stitch Tutorial – The Secret To Seamless Blending
Have you ever been amazed by the stunning realism of thread painted embroidery? The long and short stitch is the secret behind those smoothly blended colors and today I’m going to show you how to master it – even if you’re a beginner!
The long and short stitch is one of the primary blending techniques used in needle painting. But even outside of this style of embroidery, it can be used for filling in shapes, adding fine details, as well as adding realistic shading and depth to any surface embroidery. Once you learn the basics, you’ll be creating beautiful gradients of color in no time.

Disclaimer: This post contains affiliate links, which means I may earn a small commission if you choose to purchase an item.
Long and Short Stitch Tutorial
For this example, I am using 1 strand of cotton floss at a time. It’s a lot easier to blend colors together when you use a finer piece of thread.
Mark a small square on the fabric and grab 2 similar shades of colors before you get started.

1. Start at the bottom edge of the shape and make a row of straight stitches that alternate between long and short.

2. Work from one side to the other, varying the length of each stitch and making sure each one lays neatly next to the other.

3. Continue making long and short stitches until the bottom half of the square is filled in.

4. To blend two colors together, fill in the top half of the square using a darker or lighter shade of the same color.
Continue stitching in the same direction, overlapping the new color into the first to create a smooth gradient.

Using Different Amounts Of Thread

You can use as many strands of thread as you’d like when you work this stitch though it may affect the overall appearance of the area you are filling in. I find that I can achieve a more “painterly” look with 2 or 3 strands and a more realistic and smooth blend with 1.
Experiment with different amounts depending on what look and feel you’re going for!
Helpful Tips
- The colors will more easily blend together if you vary the stitch lengths at random – each long and each short stitch shouldn’t be the exact same length and you don’t need to follow an exact pattern of long, short, long, short. Your eye can pick up on patterns, so mixing up the lengths will help to disguise the color changes.
- It’s best to avoid skipping around: work from one area to the next (e.g. from light to dark or dark to light)
- It may be helpful to mark out the row or area where you plan to change colors. Try not to get too precise about it though – the colors will blend more naturally if you loosely follow these marks and overlap the stitches enough.
- Trish Burr, a well known author and embroidery artist, recommends to go up through the stitches to blend colors together more seamlessly.
- It’s easier said than done, but try not to overthink it! This technique is rather simple when you break it down…take your time and enjoy the process.

Help! The Colors Aren’t Blending Together Well
First, trying overlapping more of one color into the other. You usually need to overlap them more than you think you do. This is one of the most common mistakes I see (and one I personally made) when you first learn this technique. Don’t be afraid to really overlap them!
If that doesn’t help, it may be that the 2 colors you chose aren’t close enough in value. Select another color that’s in between the 2 colors, adding long and short stitches over top of where the 2 colors meet.
Long and Short Stitch On A Curve
Not every shape needs to be filled in with stitches that run in the exact same direction. The next step is learning how to smoothly fill in irregular shapes and gradually change the stitch direction along curves.
For this next exercise, I drew the shape of a flower petal. This shape is narrow at the base, wide at the edge of the petal, and it has a slight curve to it.

- Draw some marks in the shape to plan out the stitch direction. We’ll plan to make the stitches so that they run the length of the petal and slightly fan out along the edges.

2. Mark where the color changes should occur. We’ll be using 3 colors and working from dark to light. I marked the color changes so that they followed the contour of the edge of the shape. This will make the color changes appear more natural and give the petal a more 3-dimensional look.

3. Starting with the darkest color, begin making long and short stitches at the base of the petal, following the stitch direction markings. Keep your stitches relatively short so that you can gradually and subtly change the direction of them as you work along the curve.

4. Use the next color to fill in the next marked area, overlapping the color into the darker color and fanning the stitches out as the shape gets wider.

5. Using the lightest color, fill in the edge of the petal with long and short stitches. The stitches will fan out slightly along the sides but be mostly vertical towards the center.
Video Tutorial

Next Steps
I’m sure you’re starting to see the power and versatility of the long and short stitch! You can achieve a super realistic look with it and even embroider things like animal fur and flowers. (Take a look at this long and short stitch flower tutorial.)
And if you found this stitch somewhat challenging, don’t get discouraged…it sometimes takes time to get the hang of it. Keep practicing and trying out different colors!
Long and Short Stitch Patterns
Now that you know the basics, practice your new skills with one of these patterns! All of them use the long and short stitch and each pattern will walk you through each step, making them suitable for all levels.
-
 Product on saleBaking Mouse Embroidery PatternOriginal price was: $10.00.$9.00Current price is: $9.00.
 -
Product on saleGarden Rabbit Thread Painting PatternOriginal price was: $10.00.$9.00Current price is: $9.00.
-
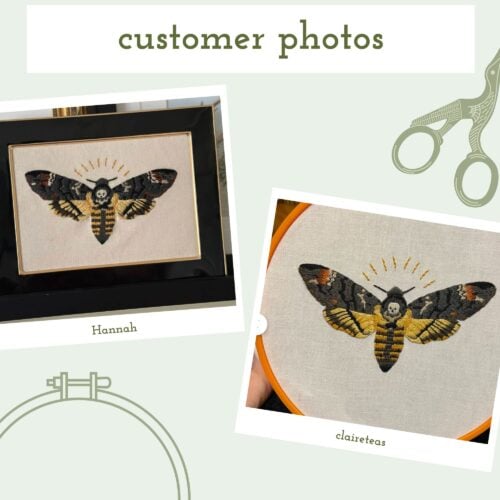
Product on saleDeath Moth Embroidery PatternOriginal price was: $10.00.$9.00Current price is: $9.00.


More Learning Resources
Recommended Reading
I highly recommend checking out Trish Burr’s book Needle Painting Embroidery: Fresh Ideas for Beginners if you’re wanting to practice your skills even more.
Exclusive Video Tutorials
I have lots of exclusive videos available on my Patreon. If you’re looking to perfect the long and short stitch and explore thread painting, it’s a great place to be a member. The morning glory flower and candle pictured above are just 2 of many tutorials that are available. Learn more about the different memberships.


