Split Stitch Embroidery Tutorial
Although the split stitch isn’t the most visually striking of stitches, it has a surprisingly wide variety of applications. For this reason, I strongly believe that everyone should learn it!
In this tutorial, I’ll share with you how to do the split stitch. Then we’ll explore some of it’s common uses, some helpful tips, and some of the fascinating history behind it.
How To Do The Split Stitch Step By Step
The split stitch is a type of backstitch that can be used for outlining or filling. It creates a flatter, finer line than the chain stitch with individual stitches that are less noticeable than the back stitch.

- Make a small straight stitch.
- Come up with the needle and thread through the middle of the stitch, splitting the stitch.
- Skip one stitch length ahead and place the needle back down through the fabric.
- Come up with needle and thread through the middle of the last stitch you made.
- Repeat steps 3 and 4 the desired length.


General Tips
- Make sure each stitch is the same length.
- When finer embroidery thread is used, it’s easier to work a back split stitch by going down through each stitch rather than up through it.
- If you’re using more than one strand of floss, it can be helpful to use an even number of strands to keep the stitch balanced and even.
- To create a smooth line along curves, shorten the stitch length – too long of stitches won’t lay nicely, making the “legs” of each stitch more visible.
What To Use It For
This stitch is great for adding in small details, stitching simple letters, and outlining shapes. But it can also be used on it’s own as a fill stitch or as the underlying padding for other fill stitches.

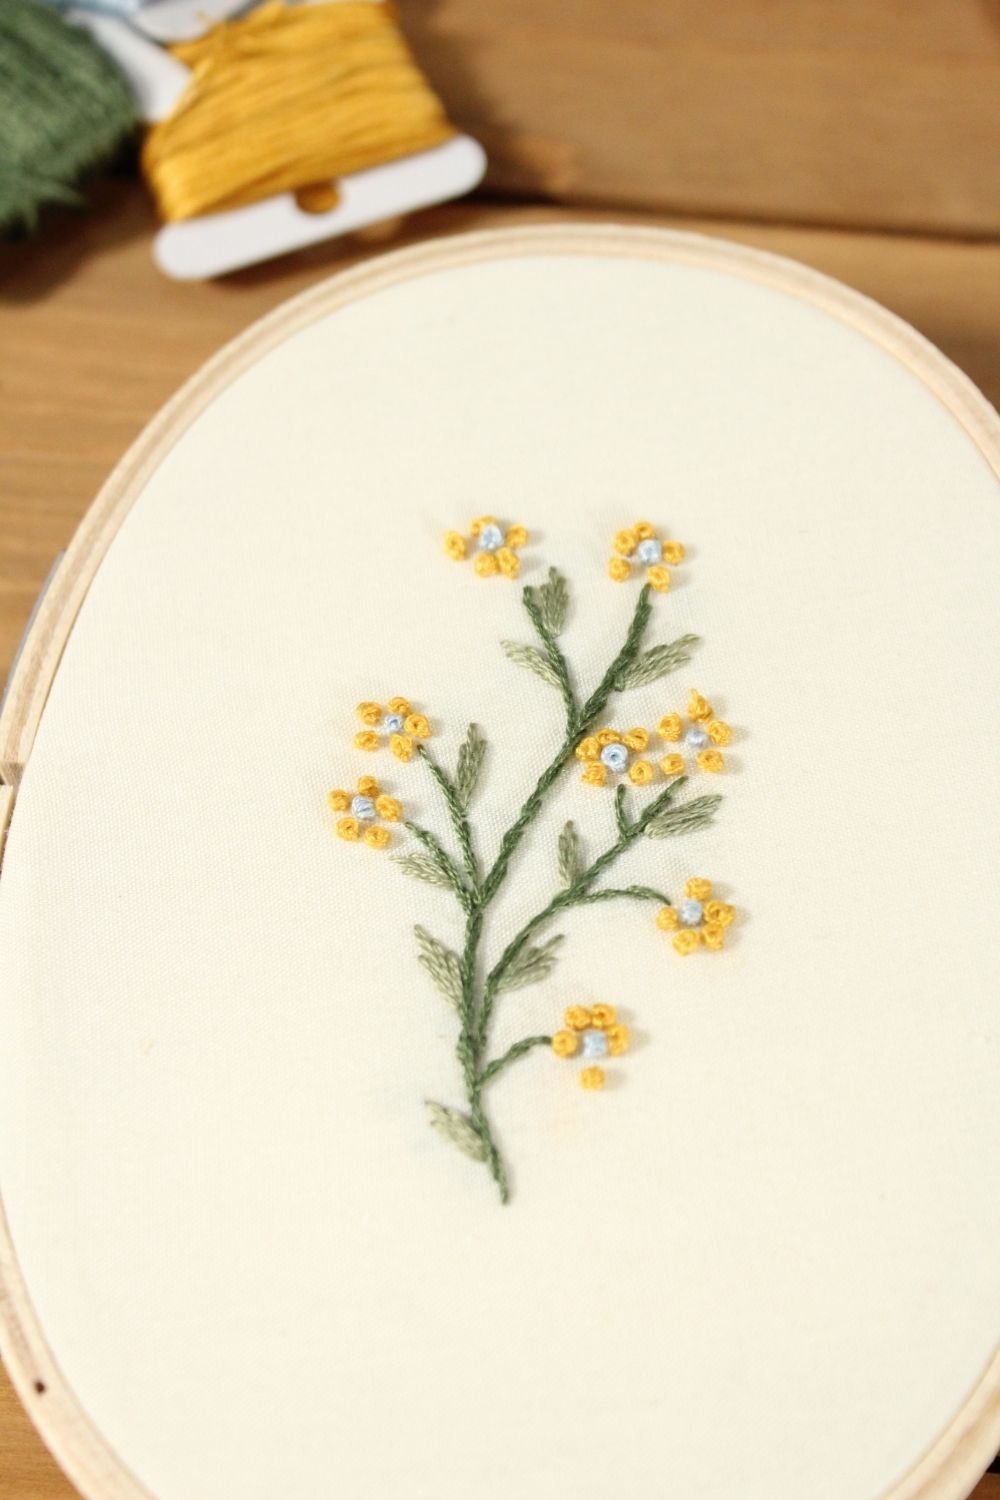
In the first example, the split stitch is made using a single strand of embroidery floss along the stems of the leaves.

In this next example, the letter is first outlined using a split stitch. Then satin stitches are worked over top of the outline. Using the split stitch as a base helps create a crisper, smoother edge for the fill stitch applied on top of it.

This embroidery shows the split stitch being used for the highlights along the edge of the rabbit’s eye.

Finally, this last embroidery uses it as a filling stitch. Rows of the stitches are worked in close lines using variegated floss.
A Brief History Of The Split Stitch
The split stitch, also referred to as the Kensington outline, was frequently used during medieval times in Opus Anglicanum needlework. Embroiderers were able to achieve extremely fine detail with this stitch for small features of the face and hands. An amazing example of it’s historical use is the St. Cuthbert embroidery that used the split stitch as a filling stitch for some of the leaves and figures.

Practice The Split Stitch
This stitch sampler will give you the opportunity to practice this stitch and several other outline stitches. Grab the free pattern and start practicing!
Books Referenced
To ensure accuracy and clarity in my stitch tutorials, I reference a variety of trusted sources.
- The Embroiderer’s Handbook by Margie Bauer (2005)
- Book Of Embroidery: A Guide To Essential Stitches, Techniques, And Projects by The Royal School Of Needlework (2018)
- Crewel Embroidery by Erica Wilson (1962)
<< Back To All Embroidery Stitches