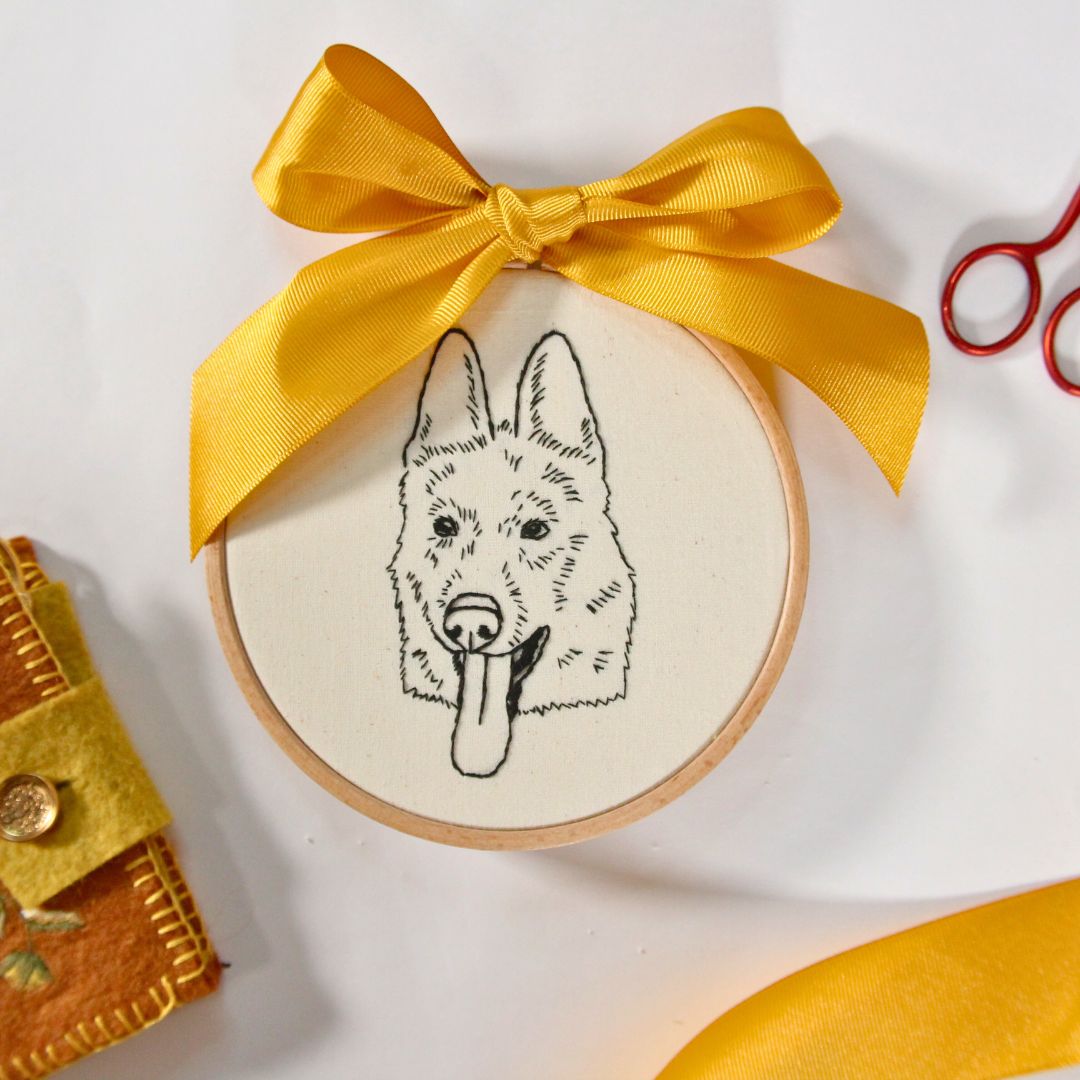
Create Your Own Simple Dog Or Cat Embroidery Portrait
Years ago, I started my art business by creating realistic, thread painted pet portraits. While I still teach those techniques on my Patreon, I wanted to share a way to create a simple dog or cat embroidery portrait using only a few basic materials and embroidery stitches. This project is a great way to get your feet wet with pet portraiture, and it also makes a really thoughtful embroidered gift that you can complete in a day or two!
Disclaimer: This post contains affiliate links, which means I may earn a small commission if you choose to purchase an item.
Simple Pet Embroidery Portrait
Supplies
- embroidery hoop (Amazon)
- black embroidery floss (Amazon)
- embroidery needle
- cotton or linen fabric – preferably a light color (Etsy)
- tracing paper
- printed out photo
- light box or sunny window
- pencil and a pen
- scissors
I made a supplementary PDF for my patrons over on Patreon. It includes additional examples for illustrating pets, a few hoop templates to ensure the image is sized correctly, and a few extra traceable designs for a more customized portrait.
Jump to the video or keep reading for a step by step tutorial.
Designing the Embroidery
If you’re using the Canva template included in the bonus PDF, you can upload the image and size it according to the hoop size you are using. Then download the file as a PDF, print it out, and you’re ready to get started.
Using a light source, place the tracing paper on top of the printed image.

Start by tracing the eyes, mouth, nose, and ears using solid lines. Outline the edges of the face in a zigzag fashion to accentuate the fur.

Add some dashes for the fur along distinct fur colors, in the ears, and above and below the eyes. Don’t forget to add some along the contours of the face as well.
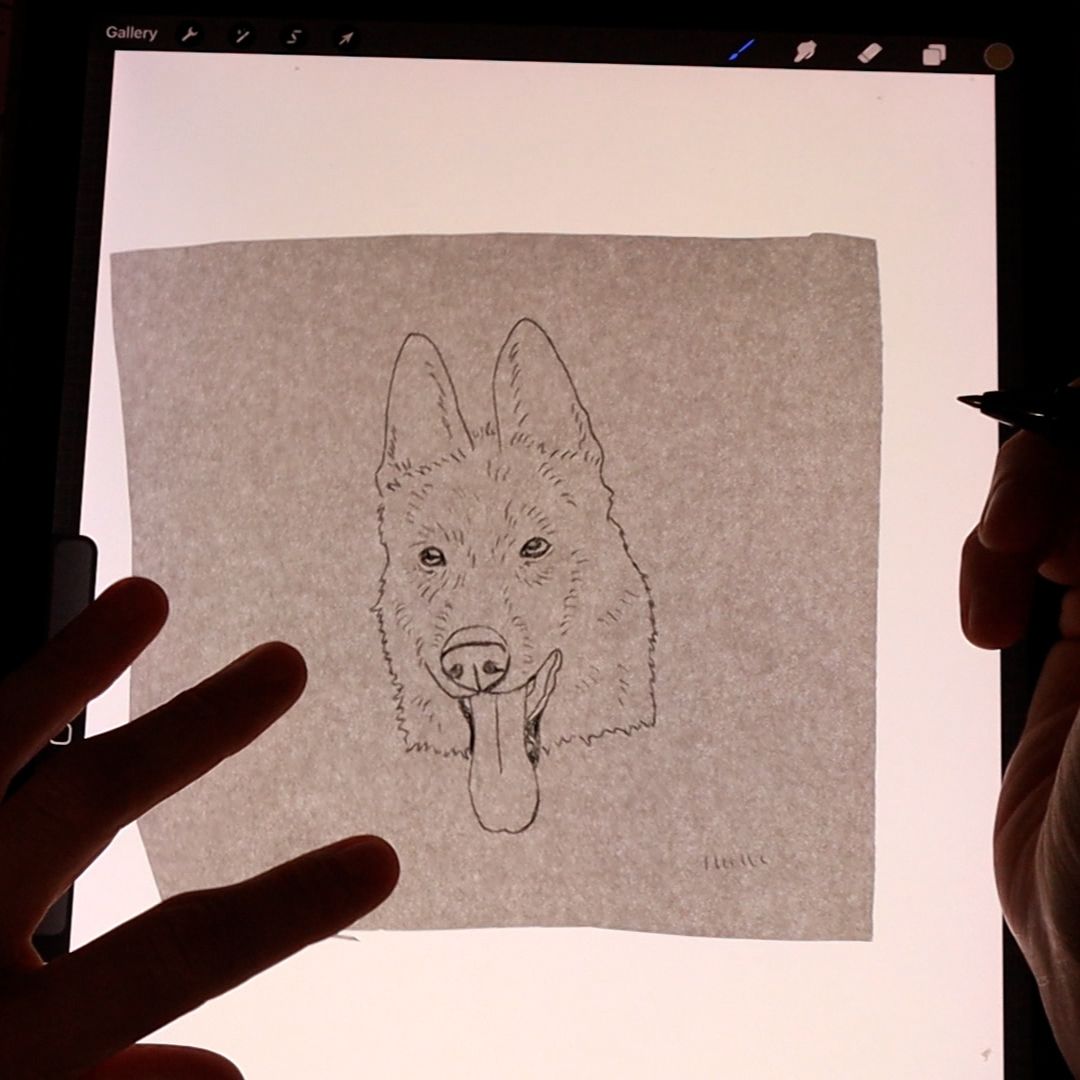
Fill in the pupils and some of the areas around the eyes, nostrils, and the edges of the mouth.
Embroidering the Portrait
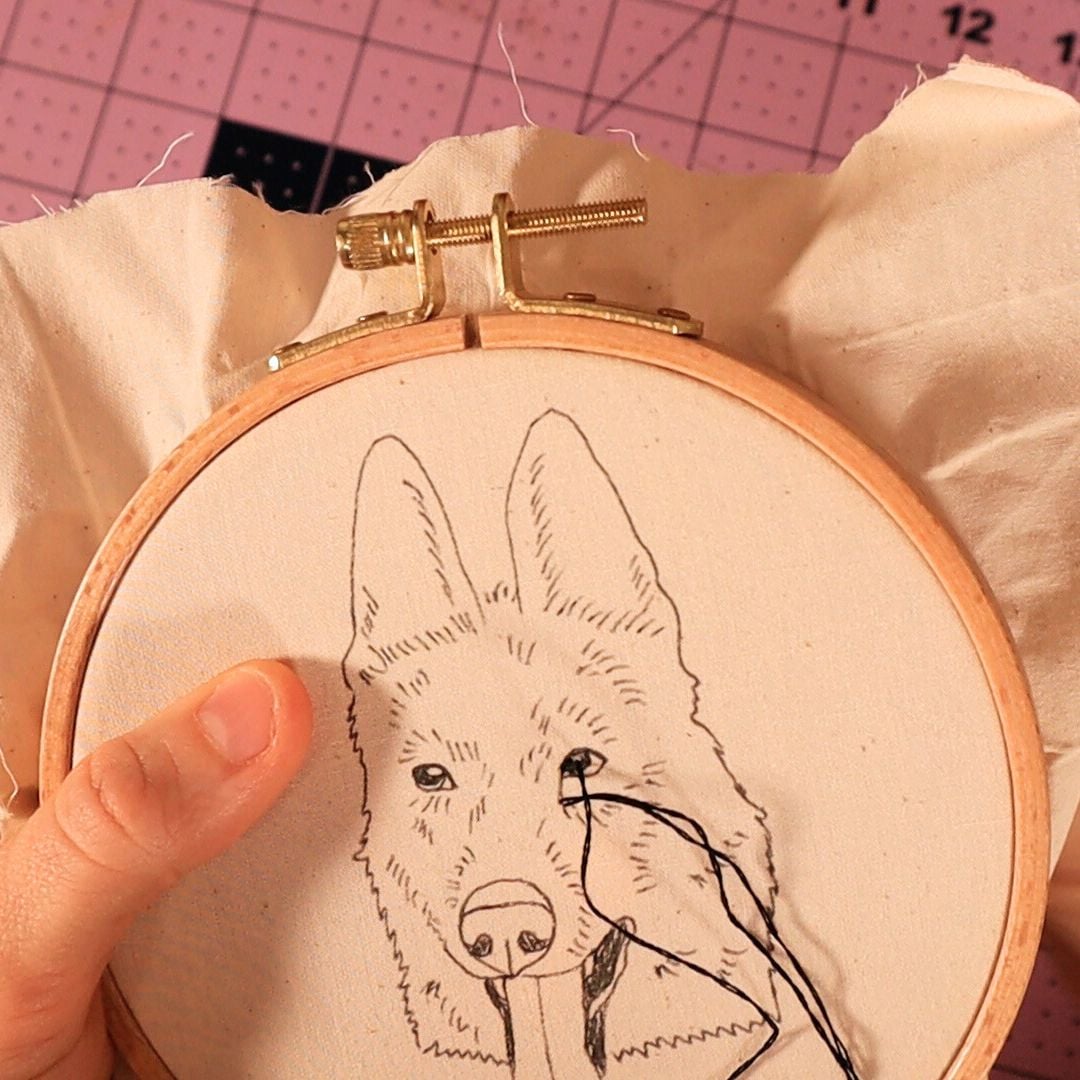
Using two strands of floss, fill in the pupils with satin stitches. Then outline the eyes with split stitches or back stitches.

Fill in the nostrils with satin stitches using two strands of floss.

Again, outline the edge of the nose with an outline stitch.

Fill in the solid areas of the mouth with long and short stitches and satin stitches, then outline the tongue if applicable.
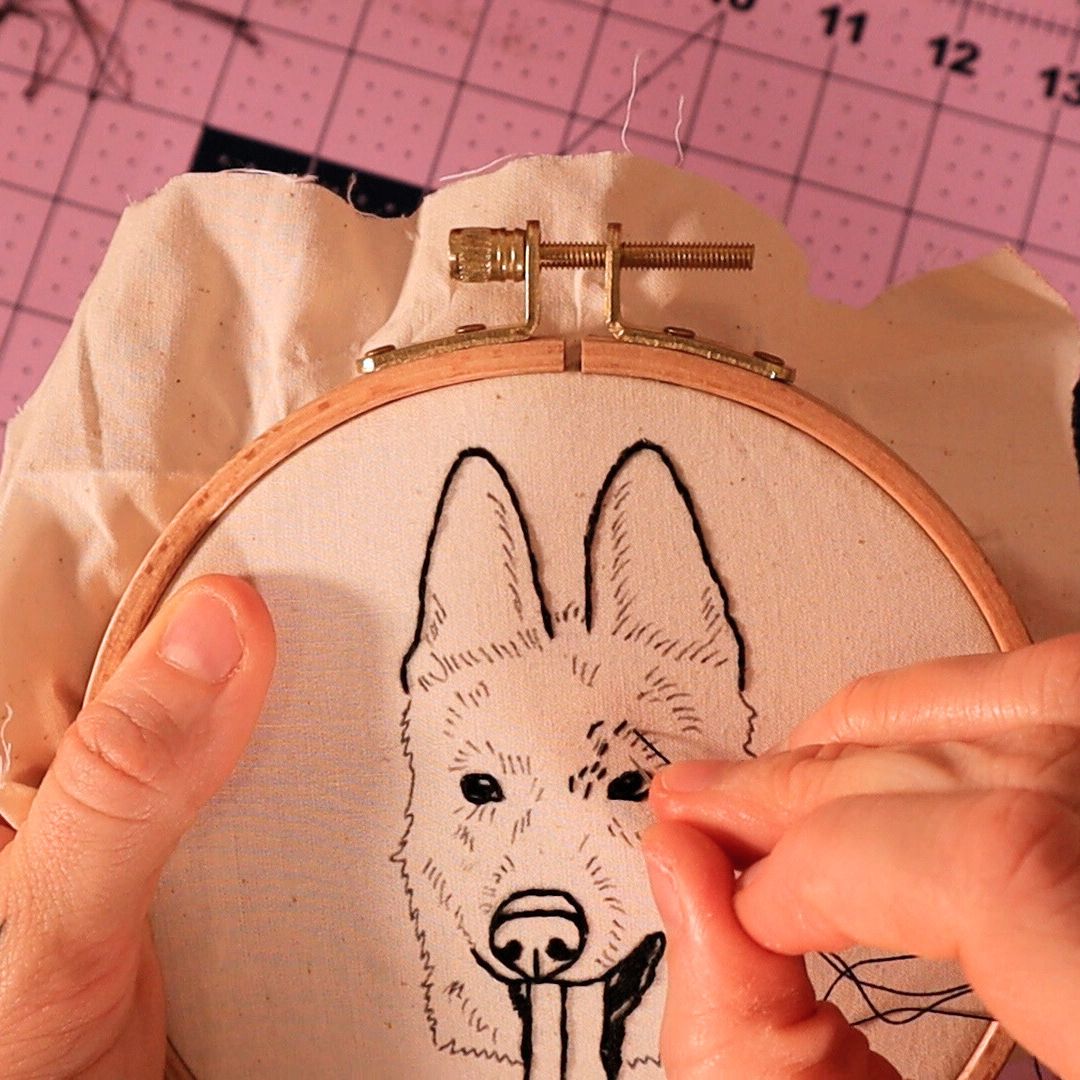
Switch to one strand of floss for the rest of the fur. Make small straight stitches for the shorter marks. For any longer, curved pieces of fur, make some split stitches.

Back stitch or split stitch along the edges of the fur to finish the portrait.
Video Tutorial

I hope you enjoyed this tutorial! If you’d like to learn about creating more realistic pet portraits, check out this post, which covers embroidering animal eyes, and this one for embroidering fur.


