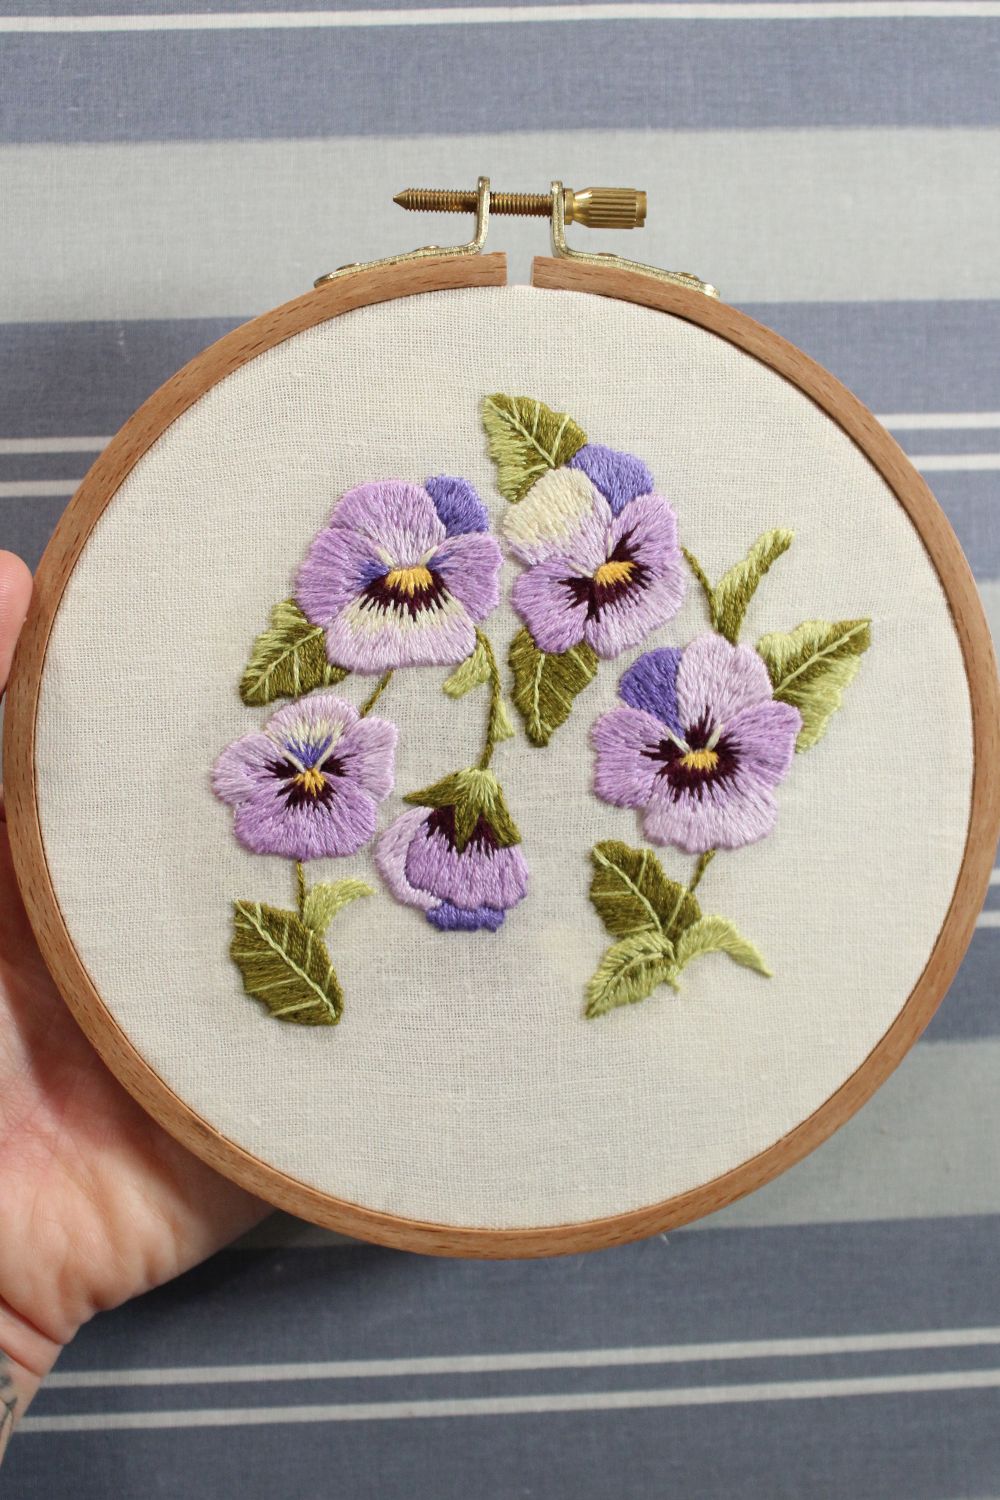
8 Interesting Alternatives To French Knots
The French knot is a staple in embroidery. But sometimes it’s nice to branch out and use a different embroidery stitch. Whether you’re looking for something identical or a stitch that achieves a nice textured fill, these eight embroidery stitches are great alternatives.
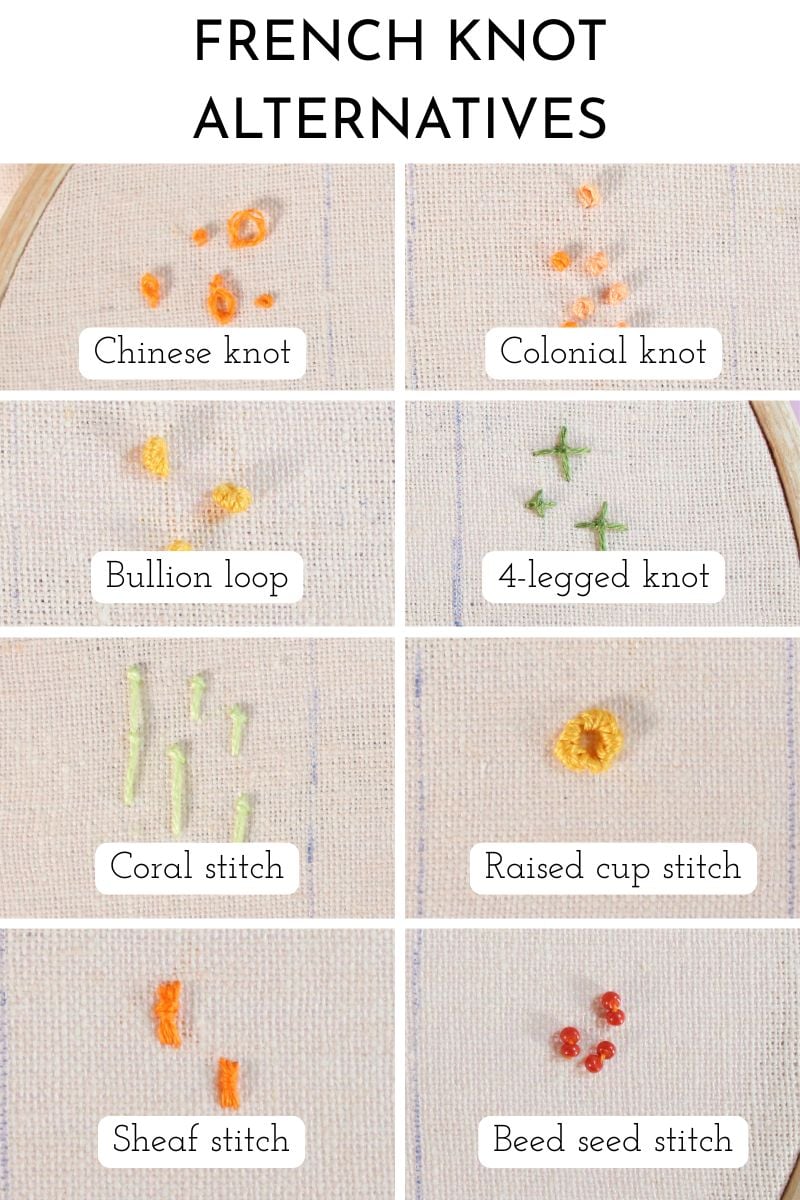
French Knot Alternatives
Chinese Knot
The Chinese knot, also referred to as a forbidden knot, can be a small, compact knot or a knot with a loop.
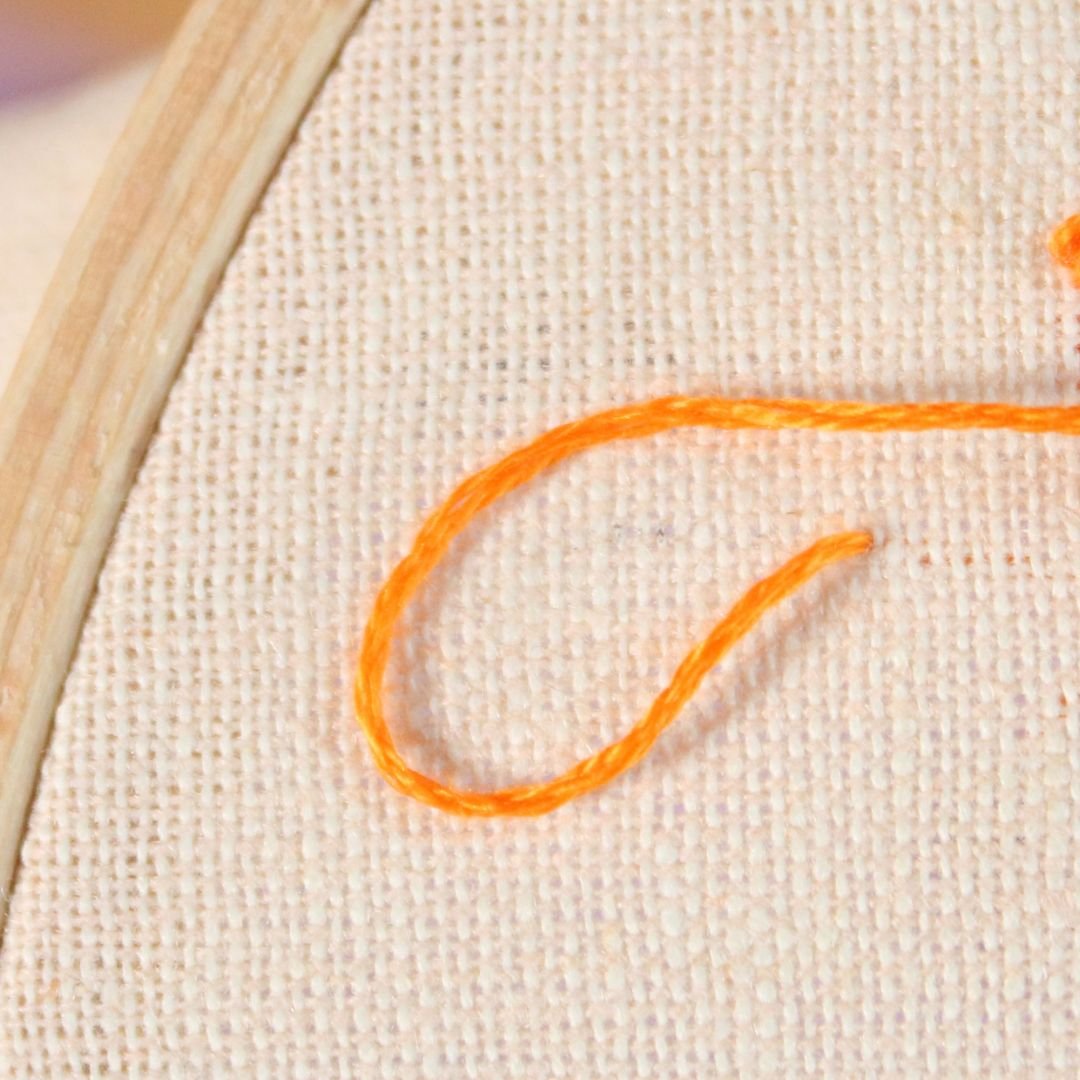
Come up through the fabric, curving the thread in the shape of a “c”.
Flip the looped thread around so that the working thread is under the part of the thread that emerges from the fabric.
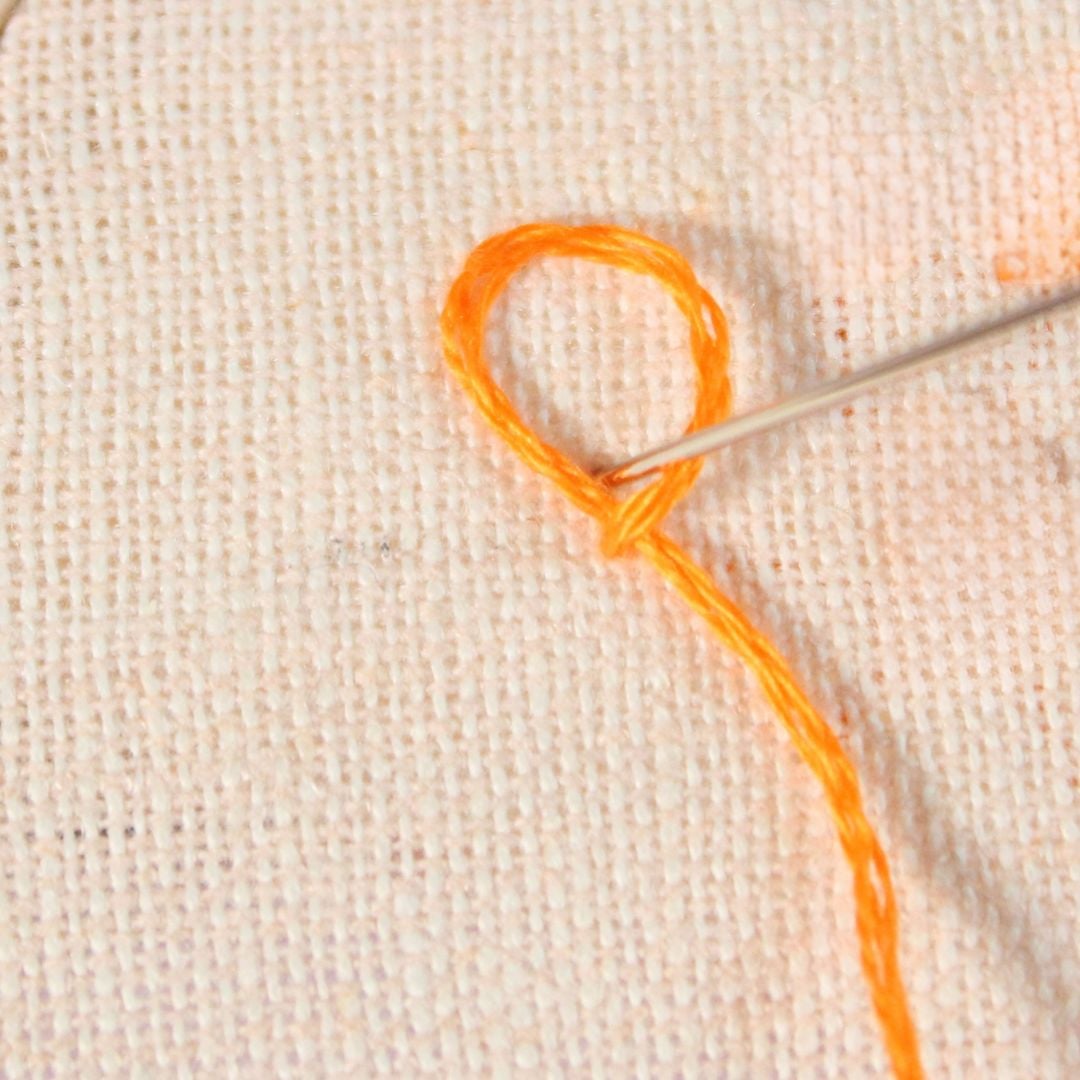
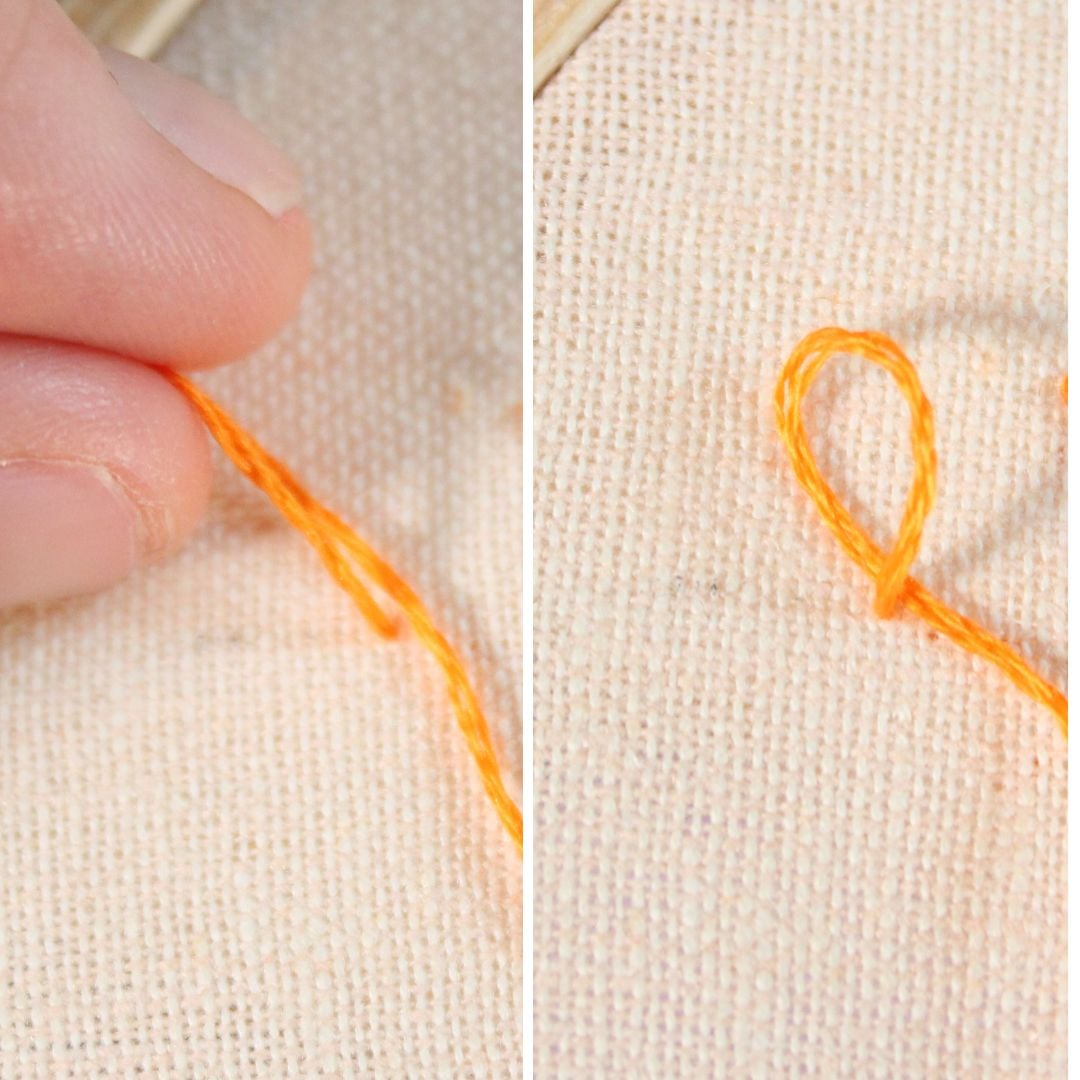
Place the needle tip down through the fabric at the base of the loop.

Gently pull the thread. If you want a looser loop knot, leave the thread loose.
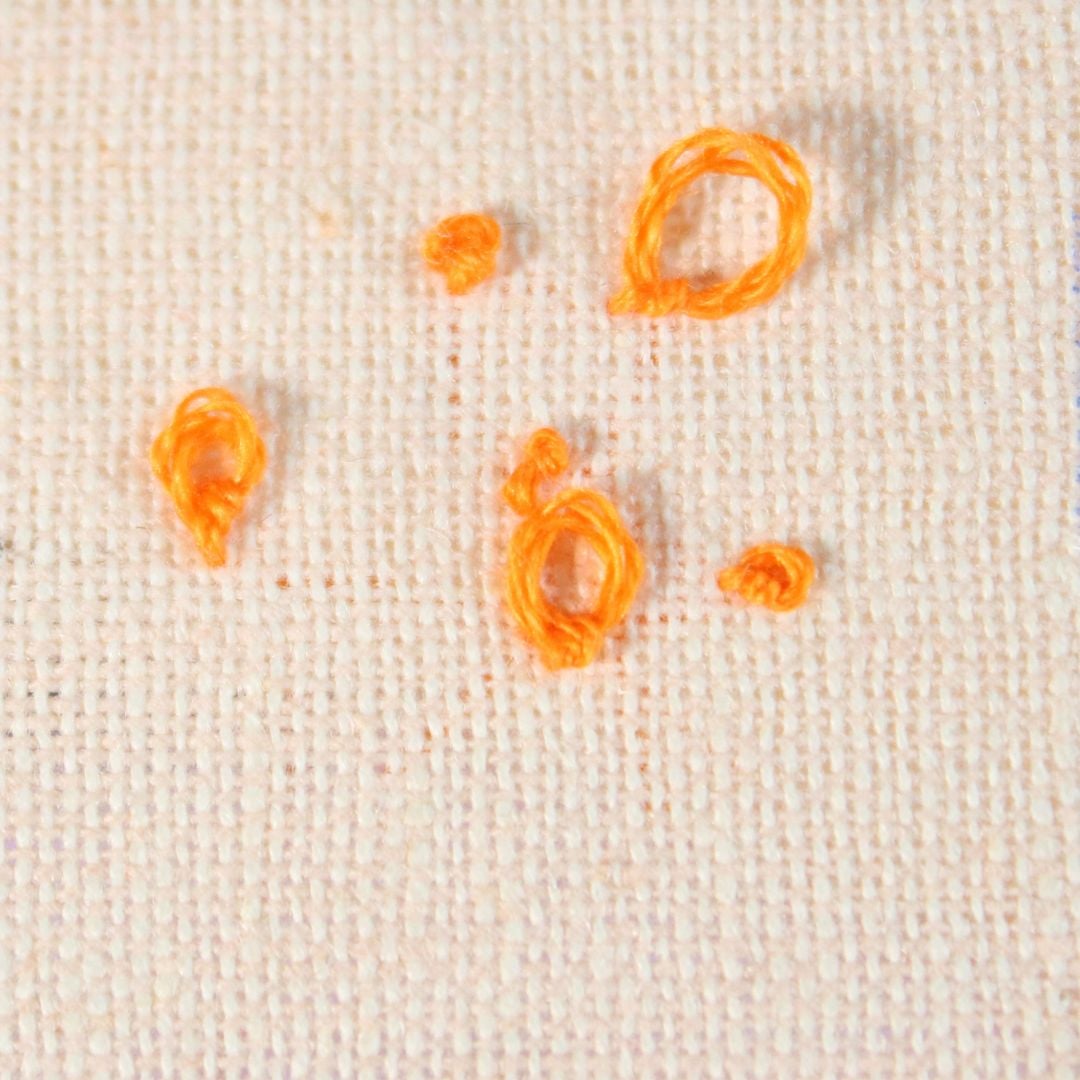
Pull the thread through until the knot forms.
Colonial Knot
The colonial knot is a small, neat-looking knot that closely resembles a French knot. These usually sit more evenly on the fabric, but at first glance, you may find it hard to tell the difference! Use a milliner’s needle for an easier time.

Come up through the fabric, curving the thread in a backwards “c” shape. Place the needle inside the curved thread.
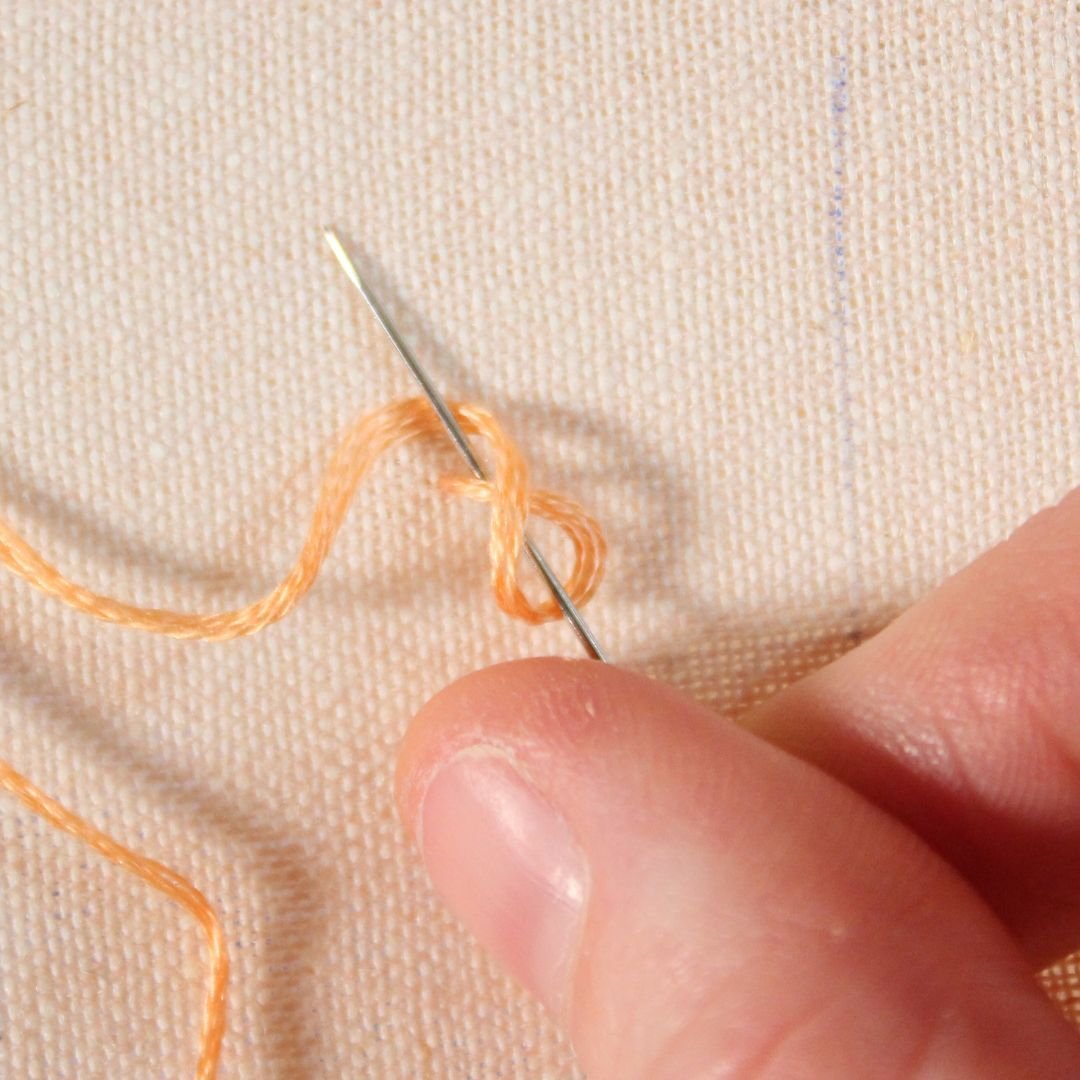
Place the working thread over the needle tip, forming a figure 8.
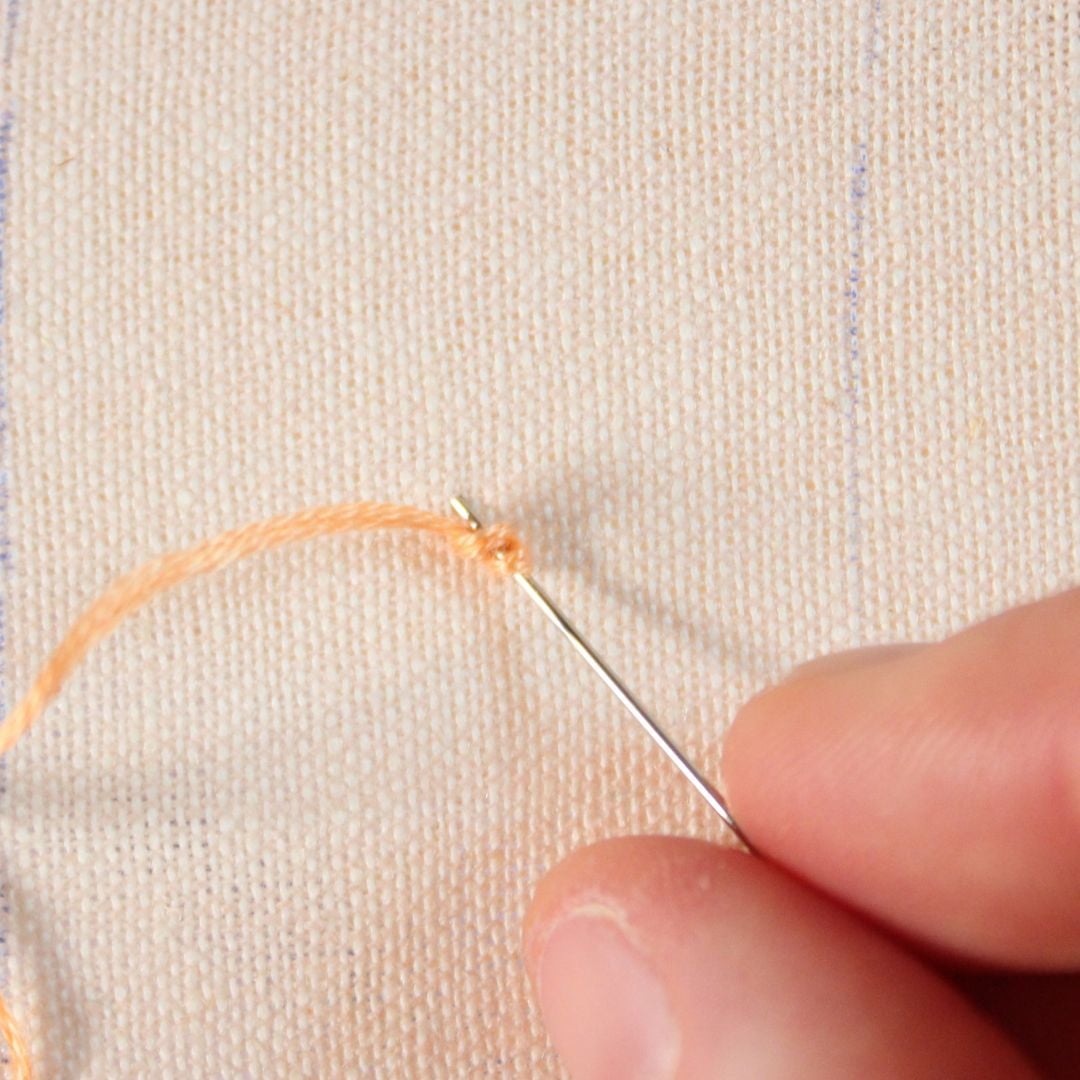
Pull the thread tight, then place the needle directly beside where you came up.

Pull the needle and thread through to the back of the fabric.
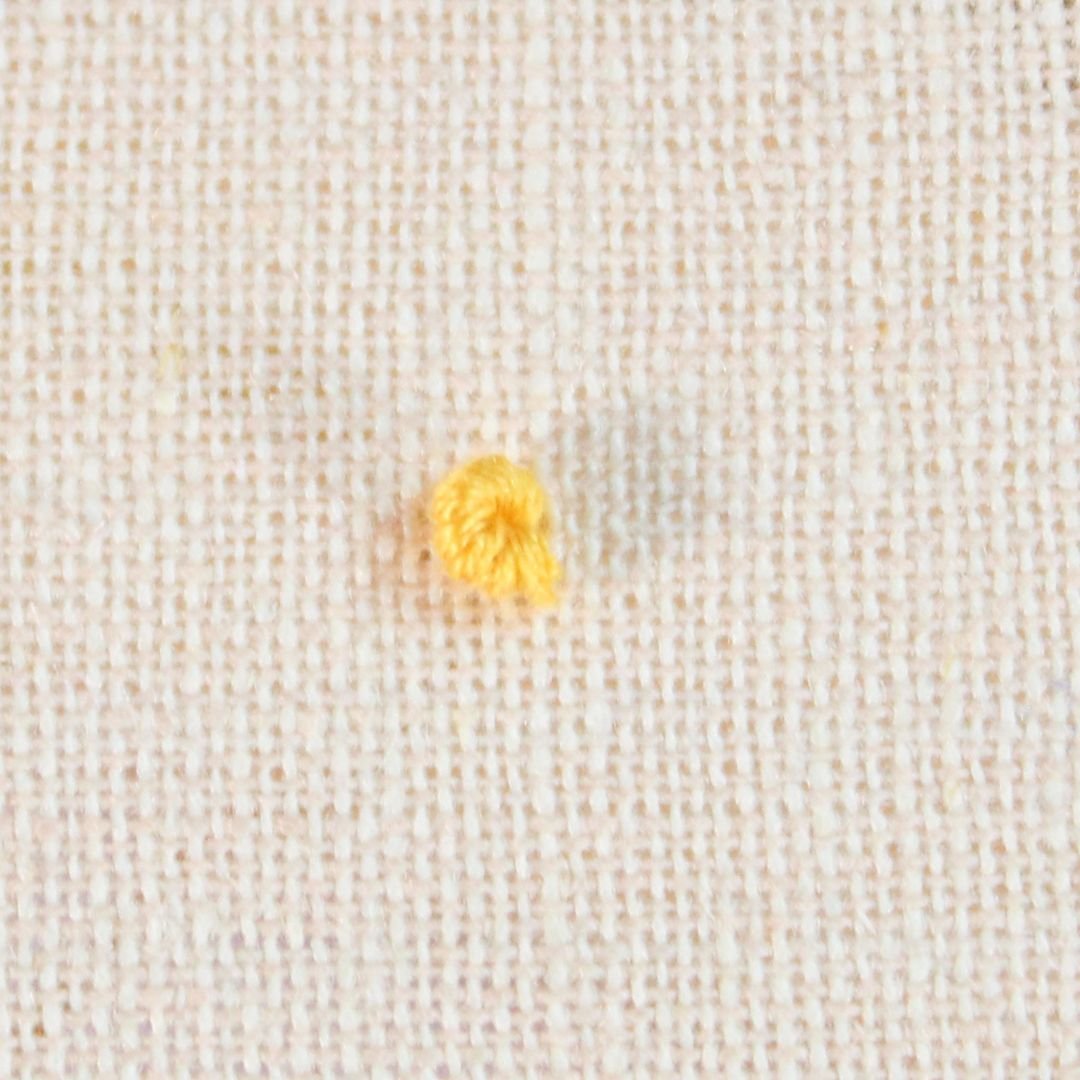
Bullion Loop
The bullion loop is a variation of a bullion knot. Instead of lying flat on the fabric, the stitch forms a tight coil. This is another stitch that is much easier to make using a milliner’s needle.

Come up through the fabric with the needle and thread.

Place the needle through a small piece of the fabric, slightly below the working thread, then emerge at the point where the working thread is.

Twist the thread around the tip of the needle, around 7-8 times.

Pinch the threads with your thumb and forefinger, then pull the needle through.
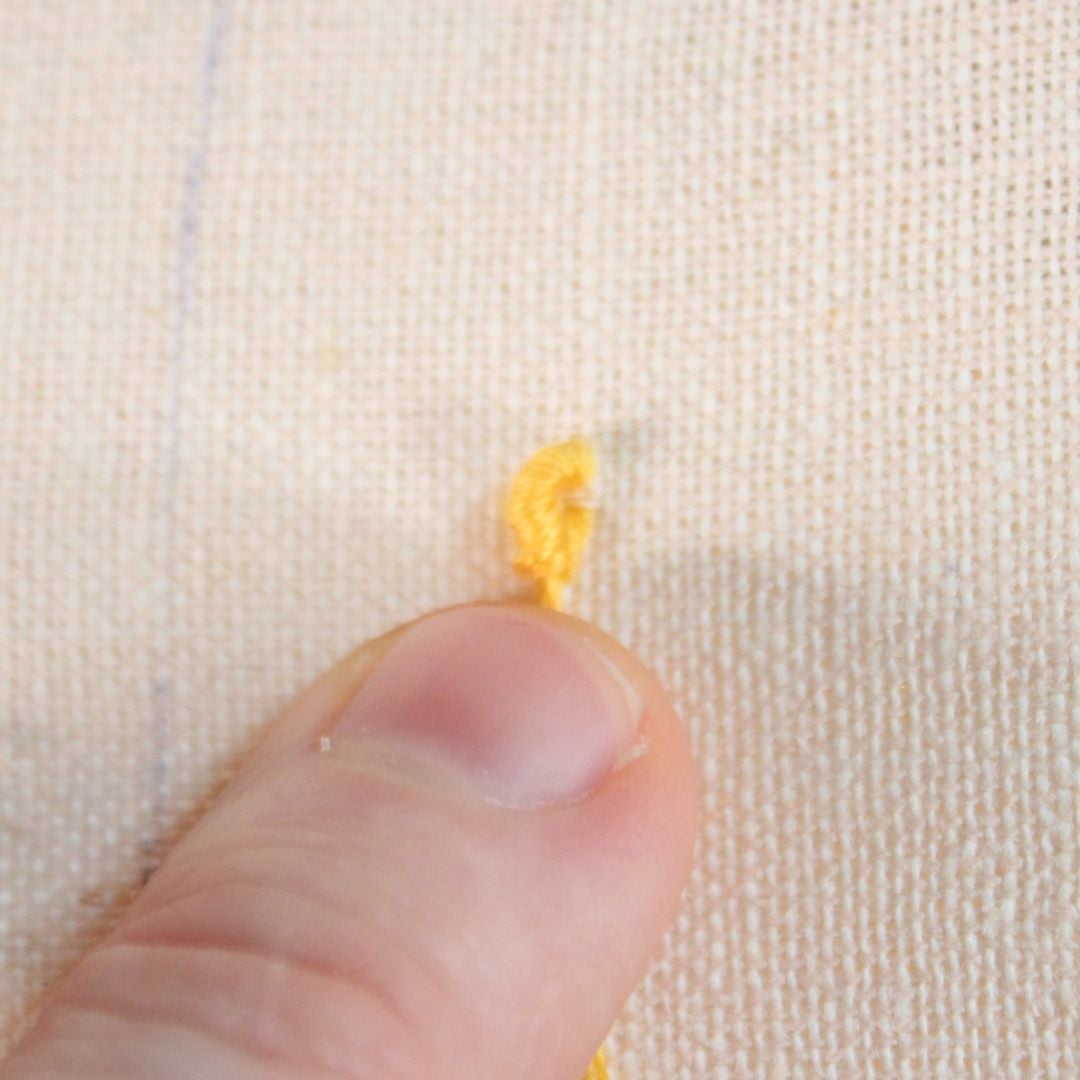
Pull the thread, then scrunch up the loop with your finger.

Place the needle and thread down through the fabric at the base of the stitch.
Four-legged knot
The four-legged knot resembles a small flower or a twinkling star.
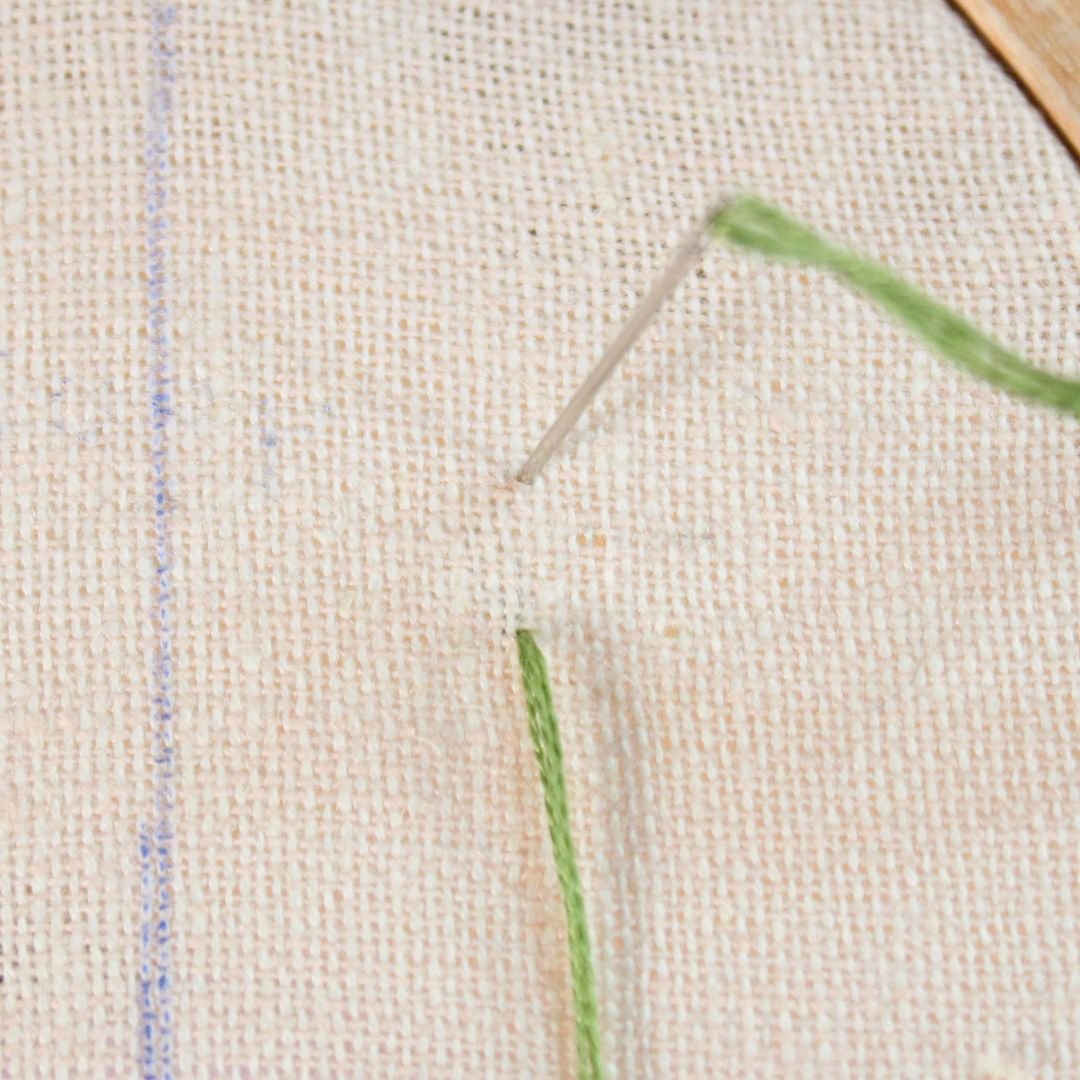
Make a small, straight vertical stitch.
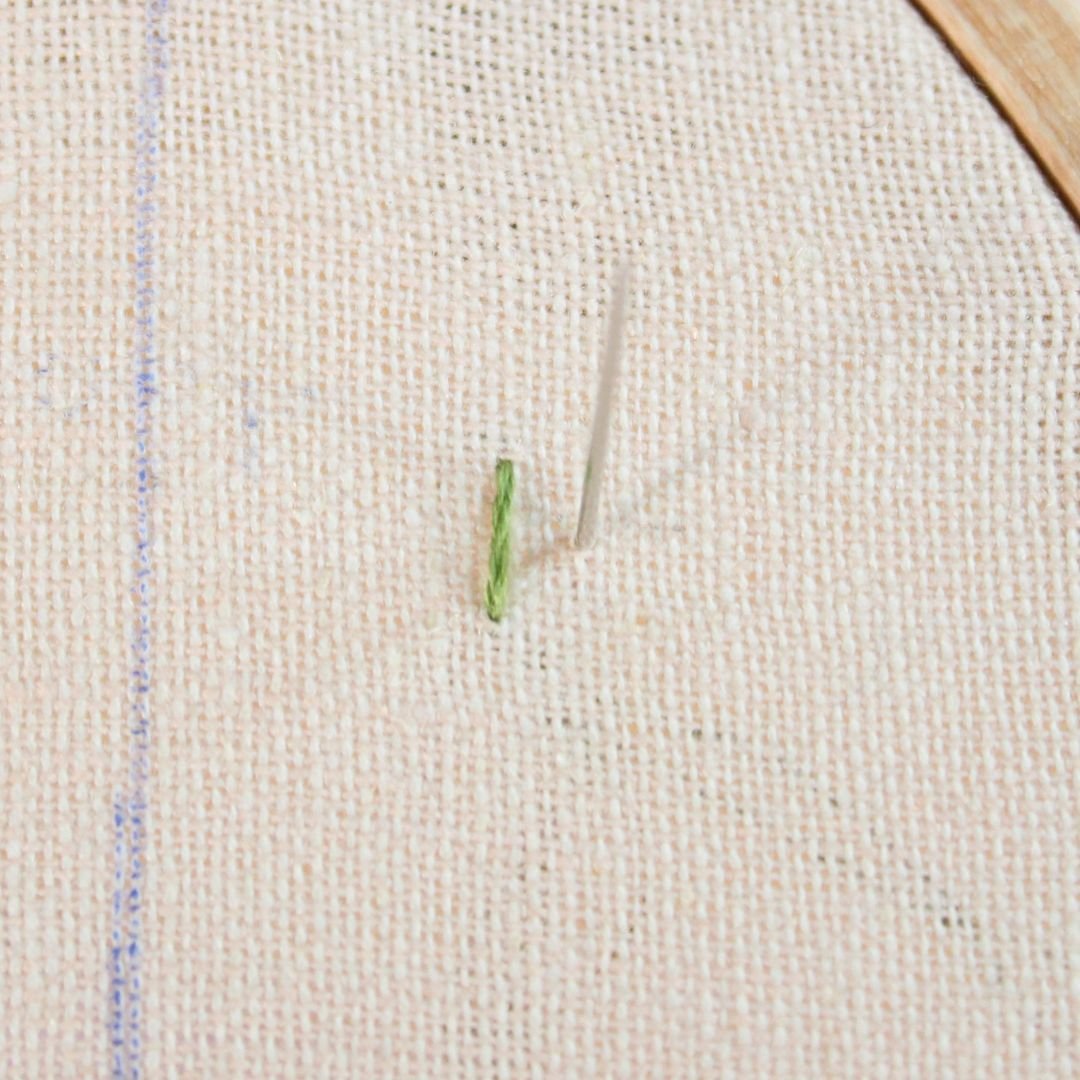
Come up off to the side, in line with the center of the vertical stitch.

Place the needle underneath the vertical stitch and the working thread over the tip of the needle.

Gently pull the thread until a knot forms. Then, place the needle and thread down through the fabric along the left side of the stitch.

Coral Stitch
While the coral stitch is commonly used along a line, it’s also possible to make single coral stitches, which look similar to the pistil stitch.

Come up through the fabric. Slightly above the working thread, grab a small amount of fabric with the needle.

Place the working thread over the tip of the needle.

Pull the thread through so a small knot forms.

Place the needle and thread down through the fabric at the top of the knot.

Raised Cup Stitch
The raised cup stitch has a prominent circular shape, making it ideal for the centers of flowers.

Make three stitches in the shape of a small triangle.

Come up through the right corner of the triangle with needle and thread. Then, place the needle down underneath the bottom stitch and twist the working thread around the tip of the needle.

Work your way around the triangle, making stitches.

Place the needle and thread at the base of the stitch to secure it.

Sheaf Stitch
The sheaf stitch is an excellent option for small flowers or open fills.

Start by making 3 vertical satin stitches.


Come up through the fabric off to one side and near the center of the satin stitches.

Place the needle under the satin stitches from right to left 2 times.

Secure the stitch by going down through the fabric behind it.

Beaded Seed Stitch
Beads are great for small accents, extra texture, and they are certainly shaped similarly to French knots. There are plenty of stitches you can use for beads; one of the simplest is the seed stitch. Use a beading needle that will fit through tiny seed beads.

Come up through the fabric. Thread 2 beads onto the needle, then go back down through the fabric near where you emerged.

Continue making these small stitches, varying the direction.

Video Tutorial