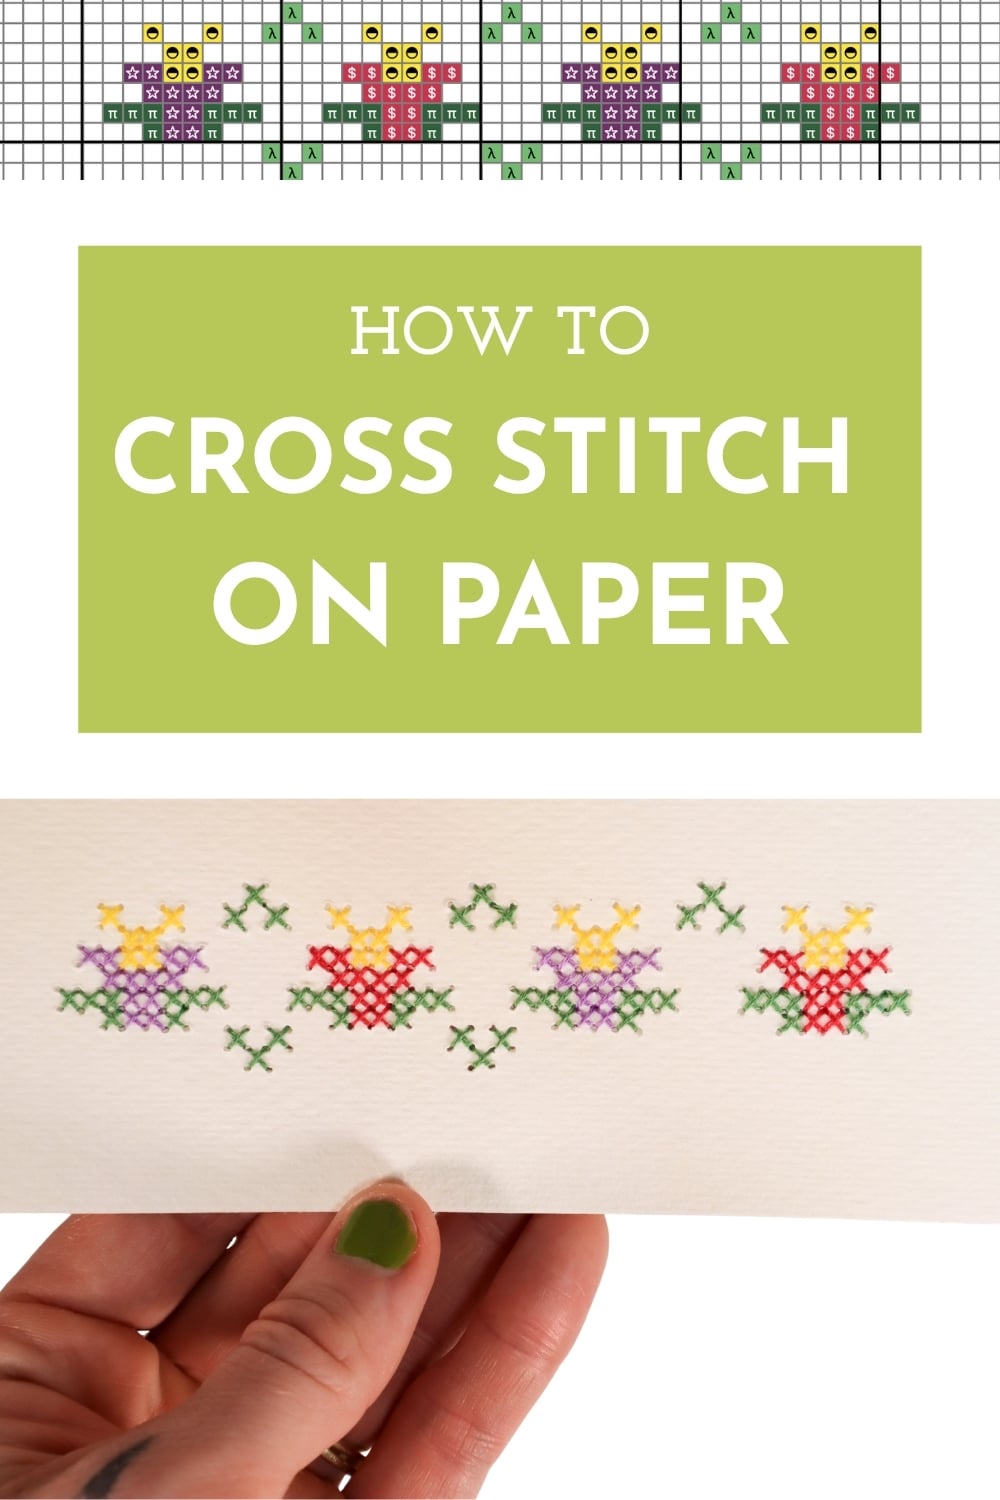
How To Cross Stitch On Paper (Cards, Bookmarks, and more!)
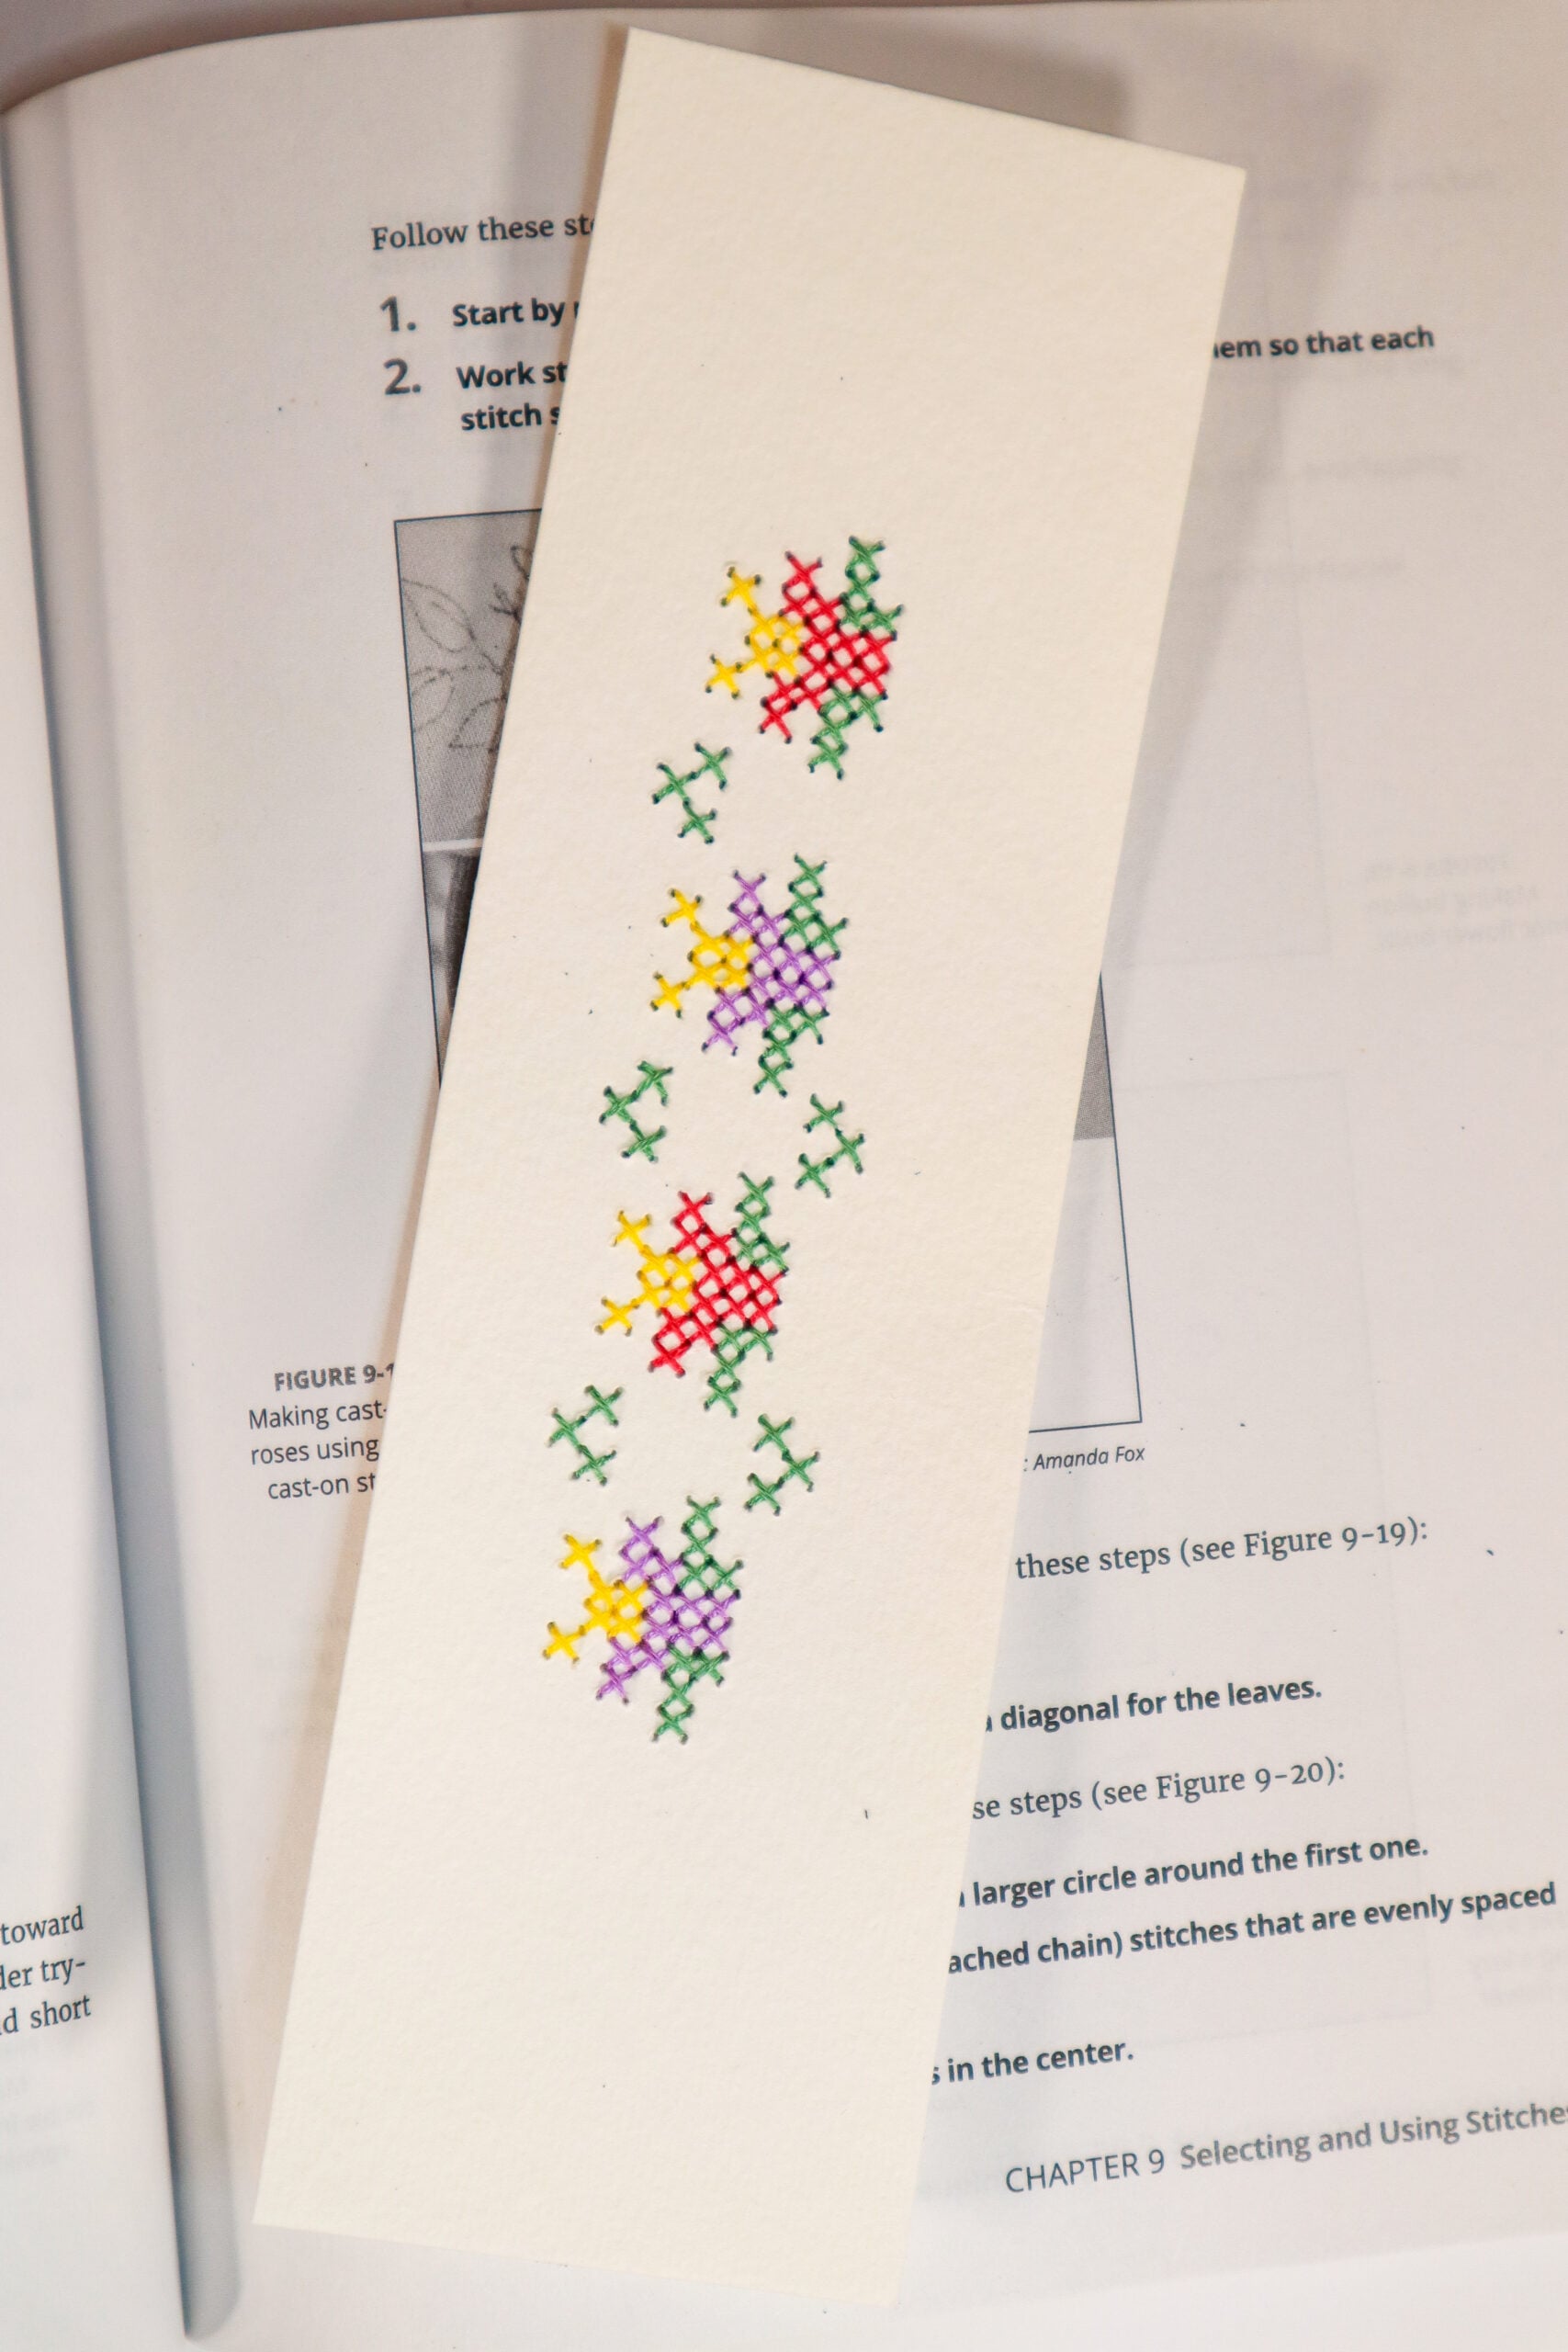
Cross stitch on paper is one of the easiest methods of embroidery on paper. The opportunities are endless: make a bookmark, stitch a card for a loved one, or add it to a journal page. This tutorial will show you how to set up a design and stitch it for the nicest finish.
Disclaimer: This post contains affiliate links, which means I may earn a small commission if you choose to purchase an item.
How To Cross Stitch On Paper
There are several materials you can use to cross stitch on paper. There is perforated paper if you don’t feel like poking the holes yourself. However, the method I’ll show you today is one you can use with materials you may already have lying around!
Supplies Needed
- Watercolor paper or heavy cardstock – I used Strathmore 140lb watercolor paper
- Embroidery needle
- Tapestry needle
- Stranded cotton embroidery thread
- Tape
- Scissors
- Cross stitch pattern – you can follow along with the tutorial using this pattern.
- Piece of foam or foam board
Tips For Success
- It’s important to print your cross stitch pattern to size if you plan to use it to pierce holes in the paper.
- Select a tapestry needle and an embroidery needle that are similar in size to ensure the holes aren’t too large or small for stitching.
- Thin paper, such as printer paper, will not fare well for embroidery. Select a paper with a heavier card-stock for the best results.
- Don’t use knots to start or end the thread. These will create an unnecessary mess and bulk along the back of the paper.
Video Tutorial

Getting Started
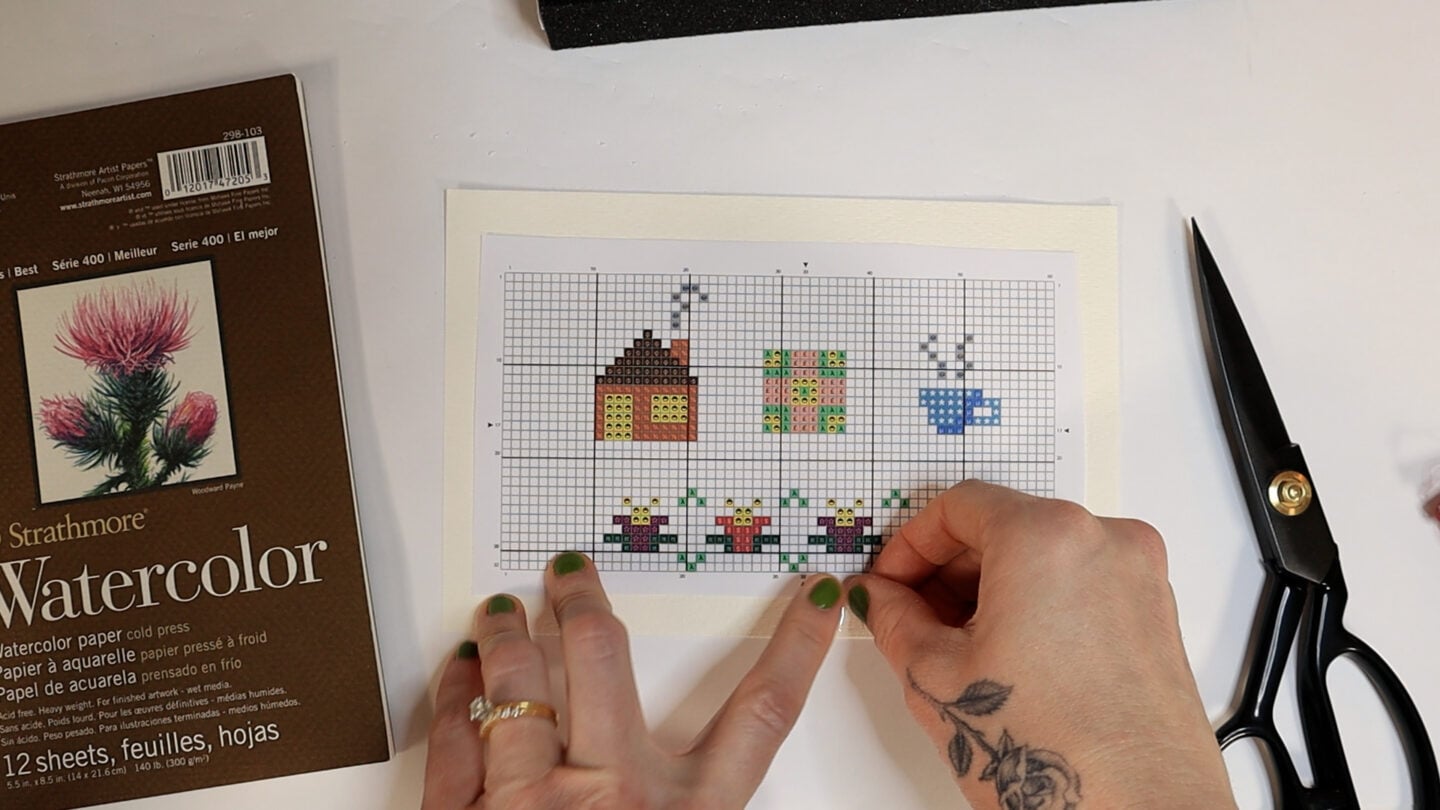
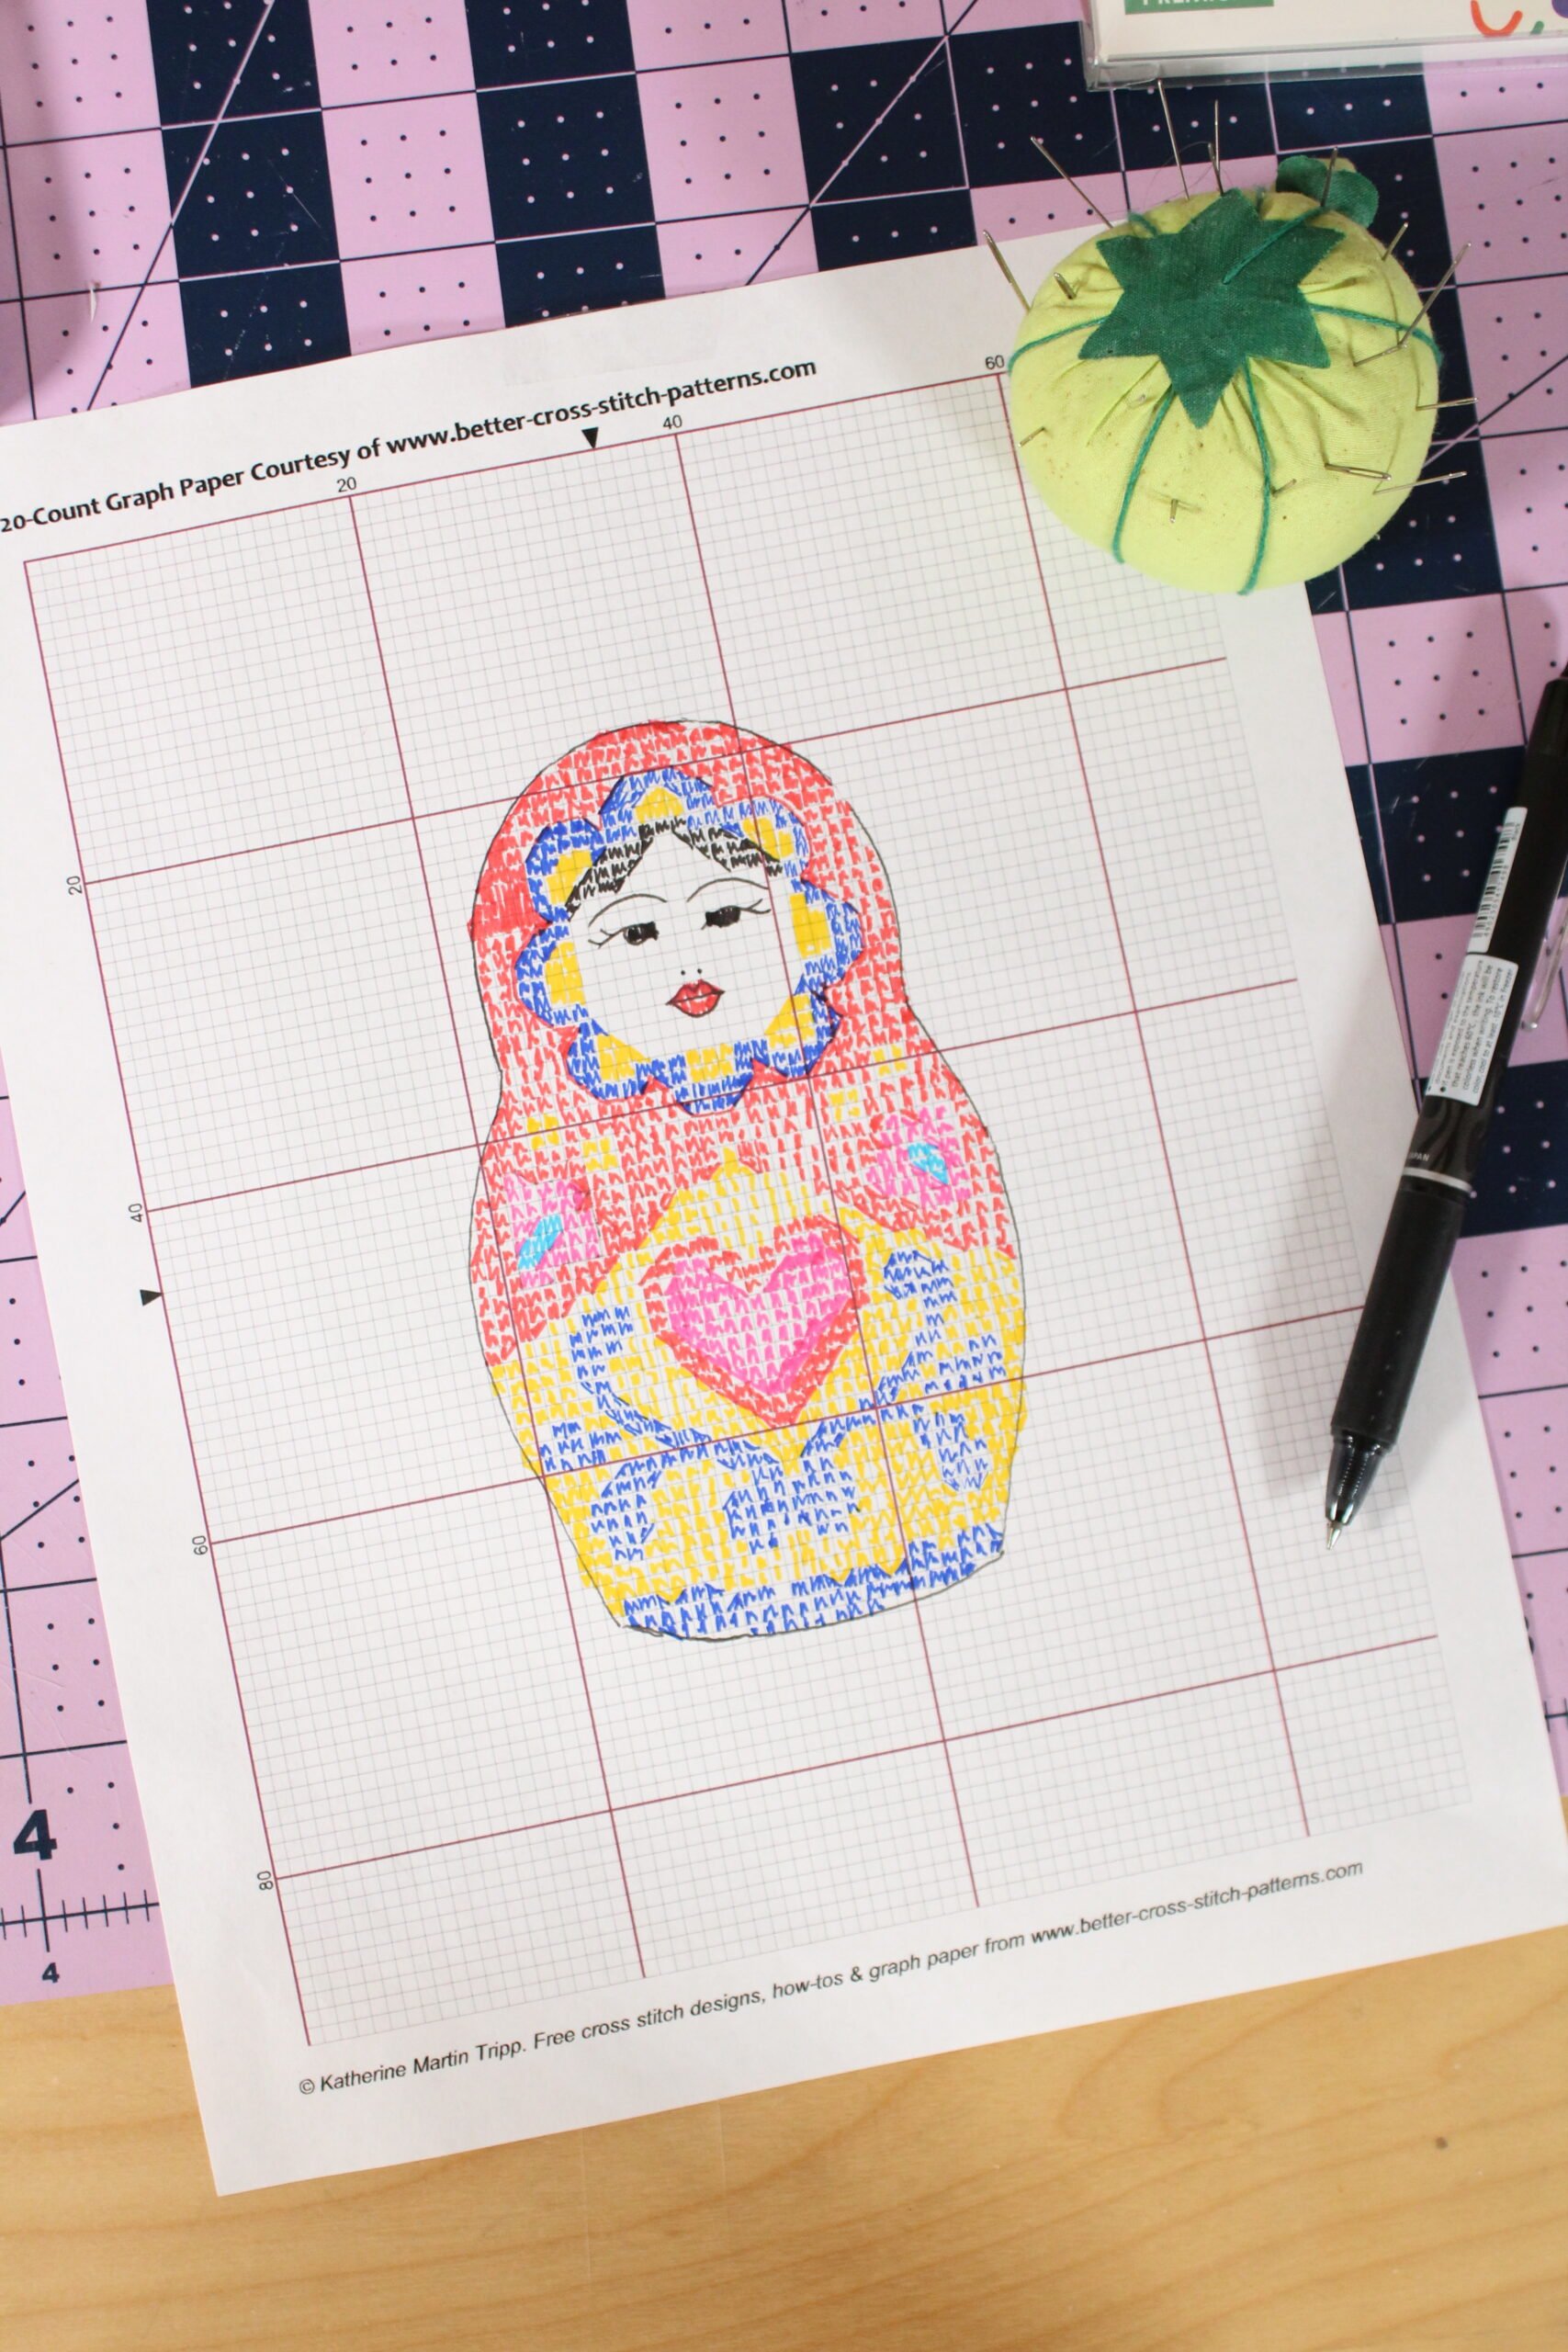
Print the cross stitch pattern you want to transfer to the paper.
Secure the edges with tape to keep the paper in place. You’ll want the holes to be aligned and precise.
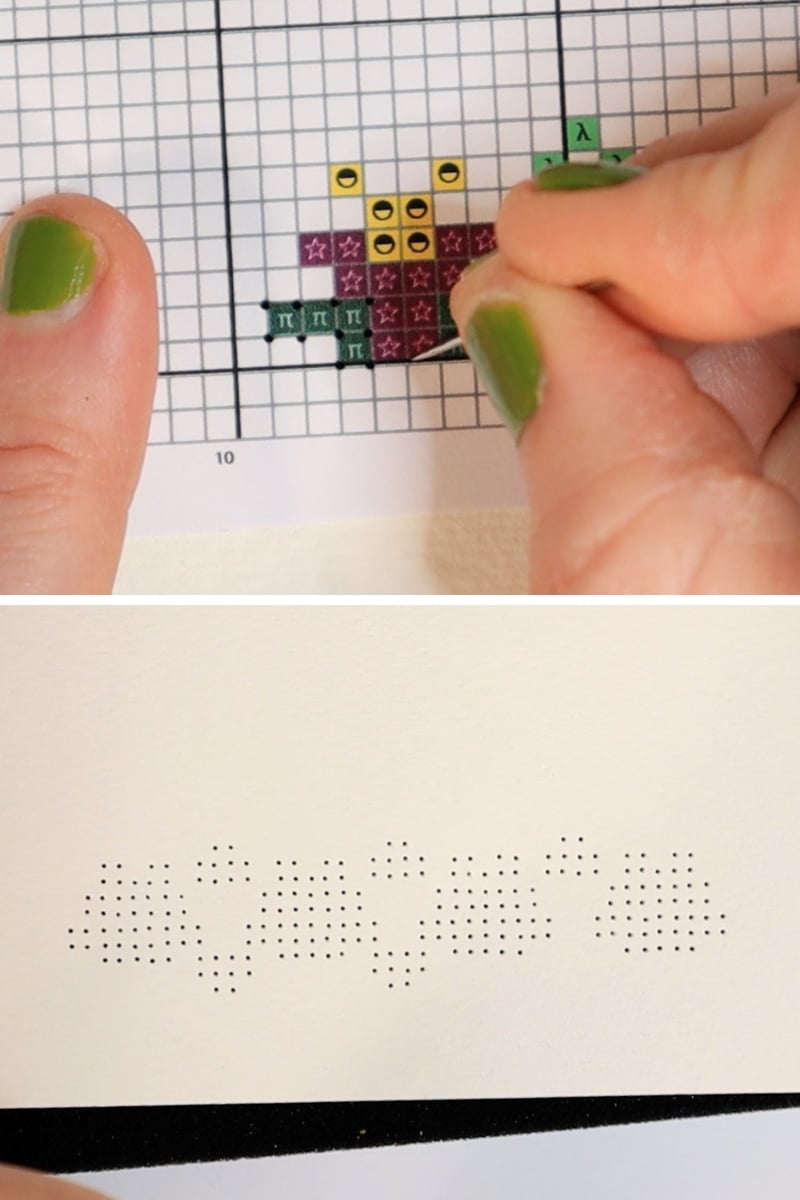
Place the 2 sheets of paper on top of a piece of foam or foam board. Then, using an embroidery needle, begin piercing through the paper through the 4 corners of each of the squares in the cross stitch chart. (Remember that stitches side by side will share holes.) Take your time to line up these holes neatly, as any holes out of alignment may skew the design.
Once you’ve made all of the holes, peel off the paper and keep the pattern on hand to reference.
Cross Stitching On Paper – Starting The Stitches
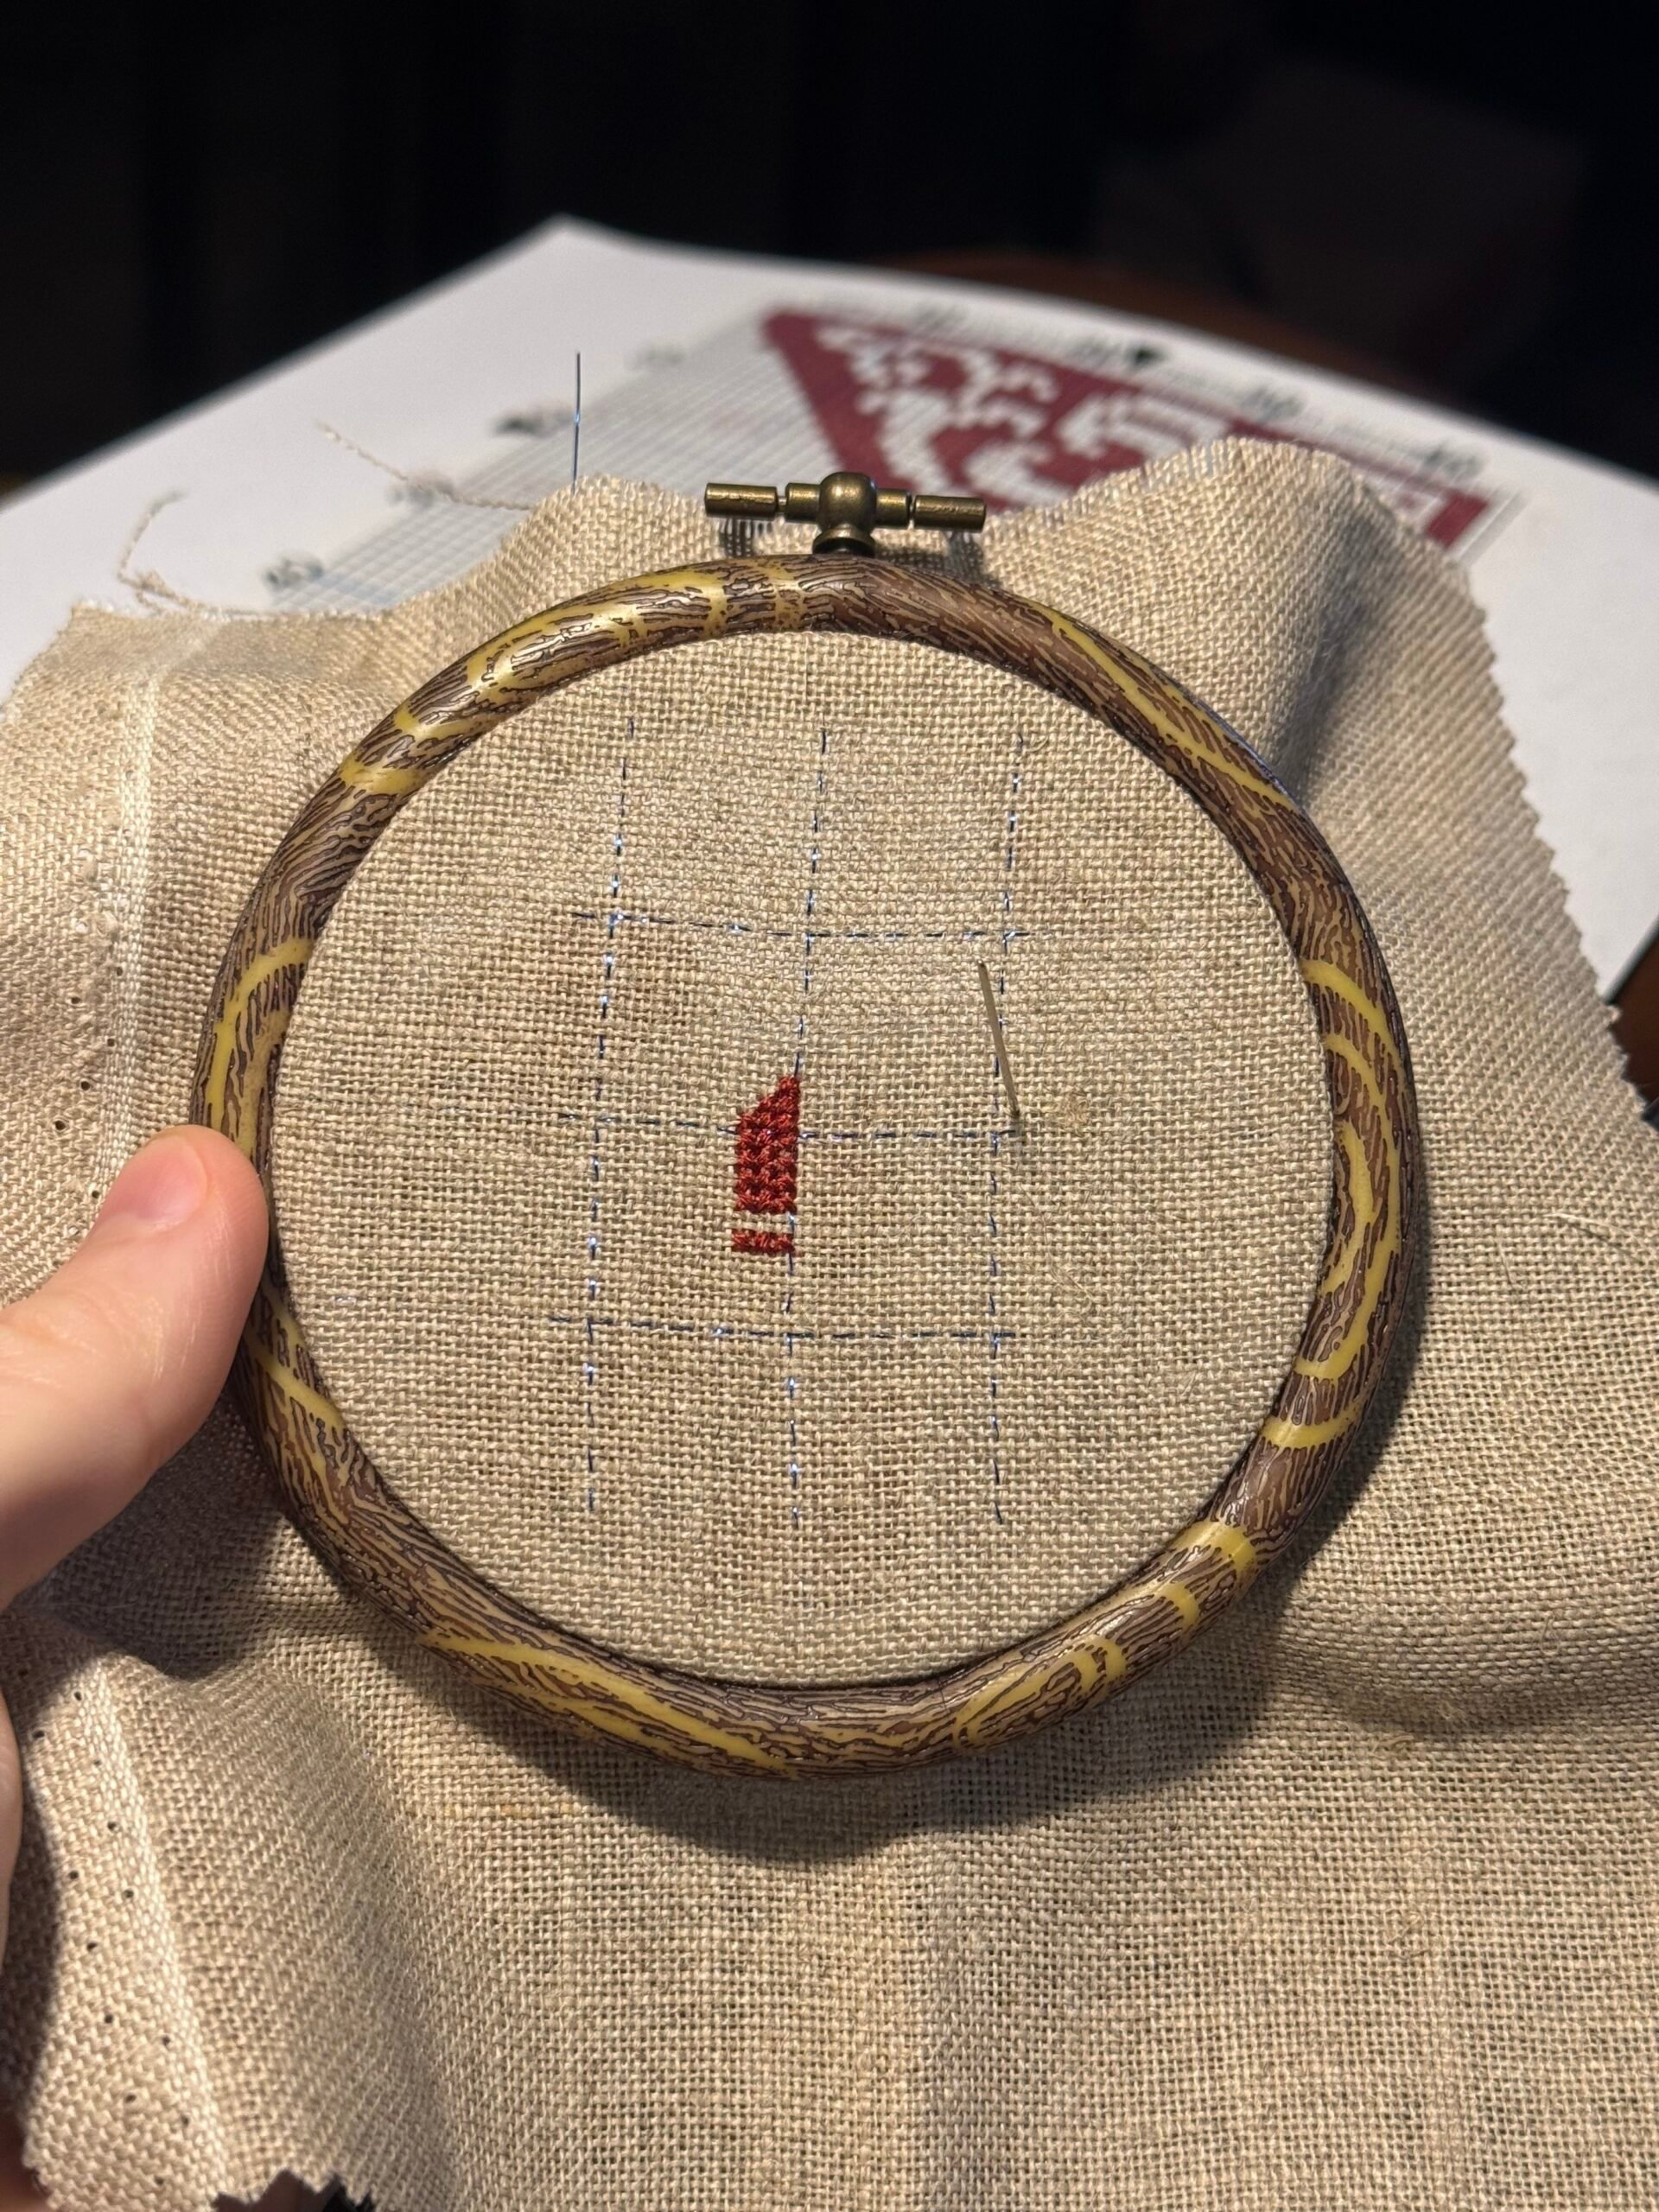
Locate a stitch on the paper that corresponds with the chart. You can begin with that stitch and work out from there.
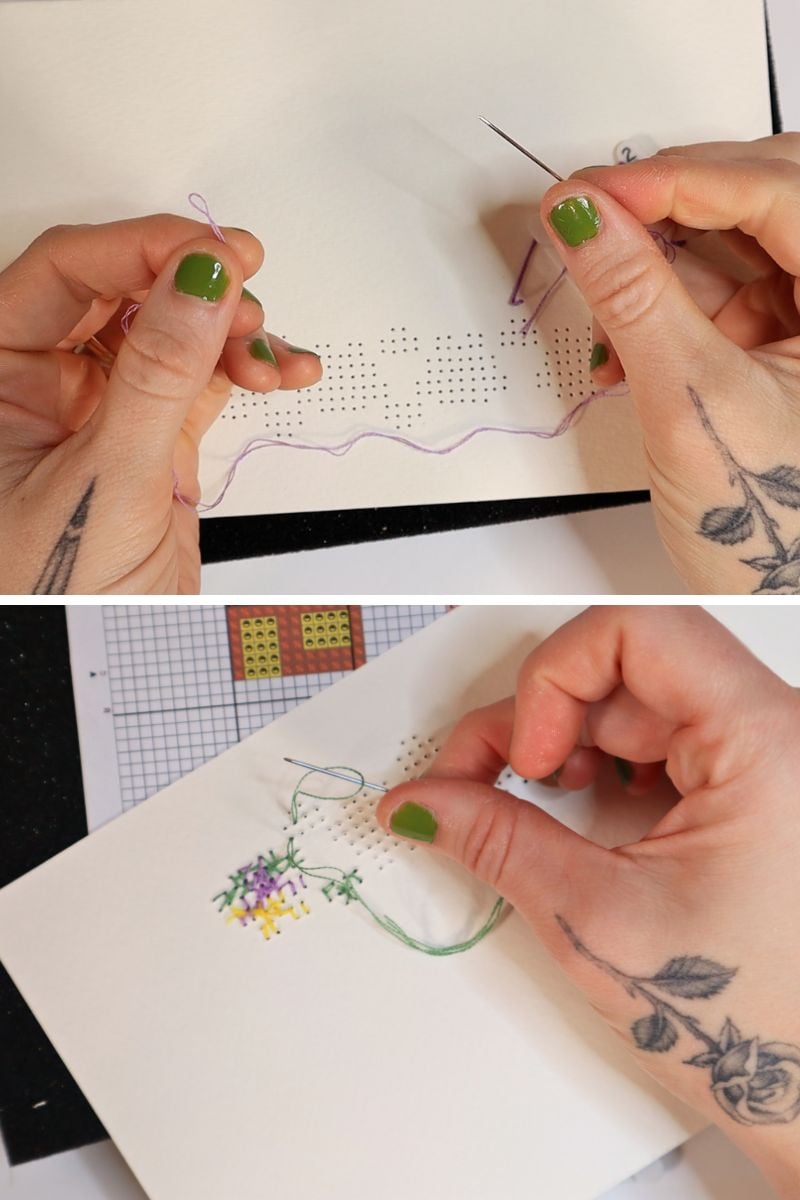
For the neatest start, begin with the loop method:
- Cut a long piece of thread, take one strand of it and fold it in half.
- Thread the ends through the eye of the needle so the looped thread is along the very end of the thread.
- Make a half cross stitch, then flip the paper over and place your needle through the loop to secure the thread.
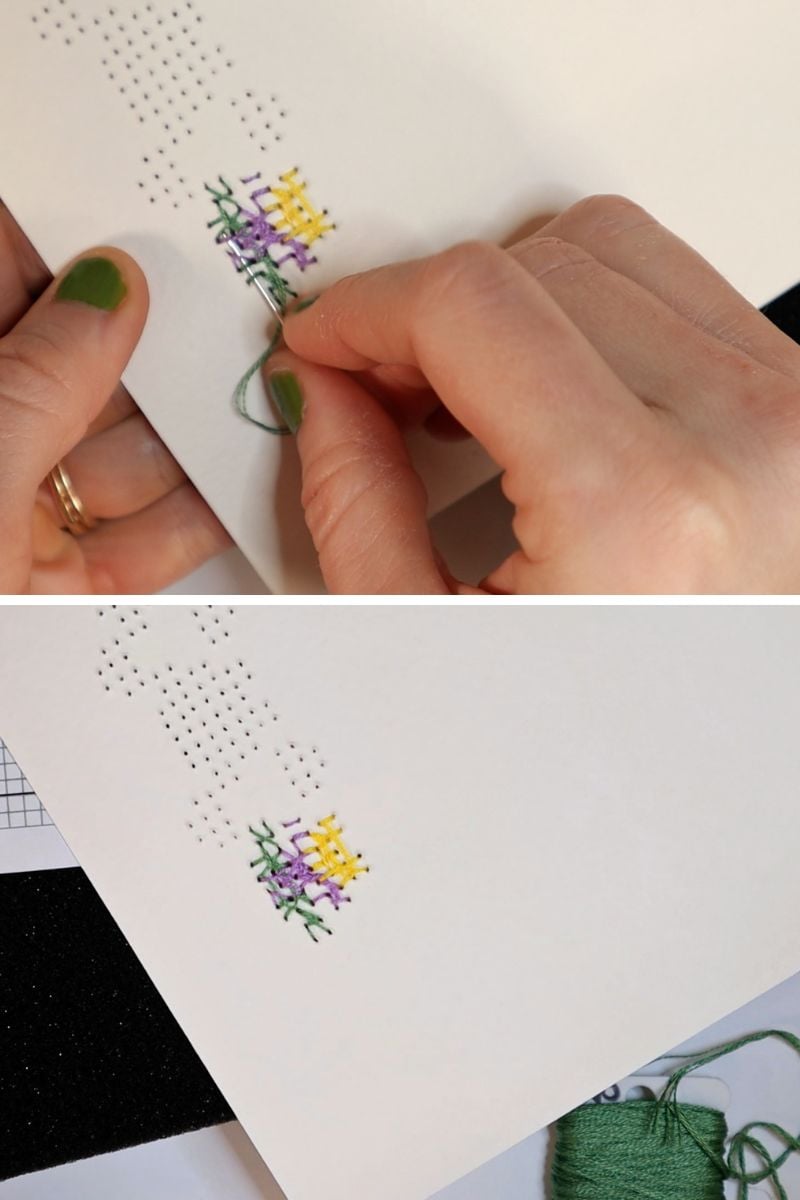
Then continue working your stitches as usual. You can make whole cross stitches or make rows of half stitches, then work back in the opposite direction to complete them. For more tips, check out this post about keeping cross stitch neat.
Securing The Stitches Neatly
Weave the tail of thread along the back 2-3 times to secure. Trim an excess thread. (I could have been even more systematic with the way I made the stitches, but how neat you make them is up to you!)
I hope you enjoyed this project! I think you’ll enjoy this cross stitch bookmark tutorial next.