The Easiest Way To Resize Hand Embroidery Designs
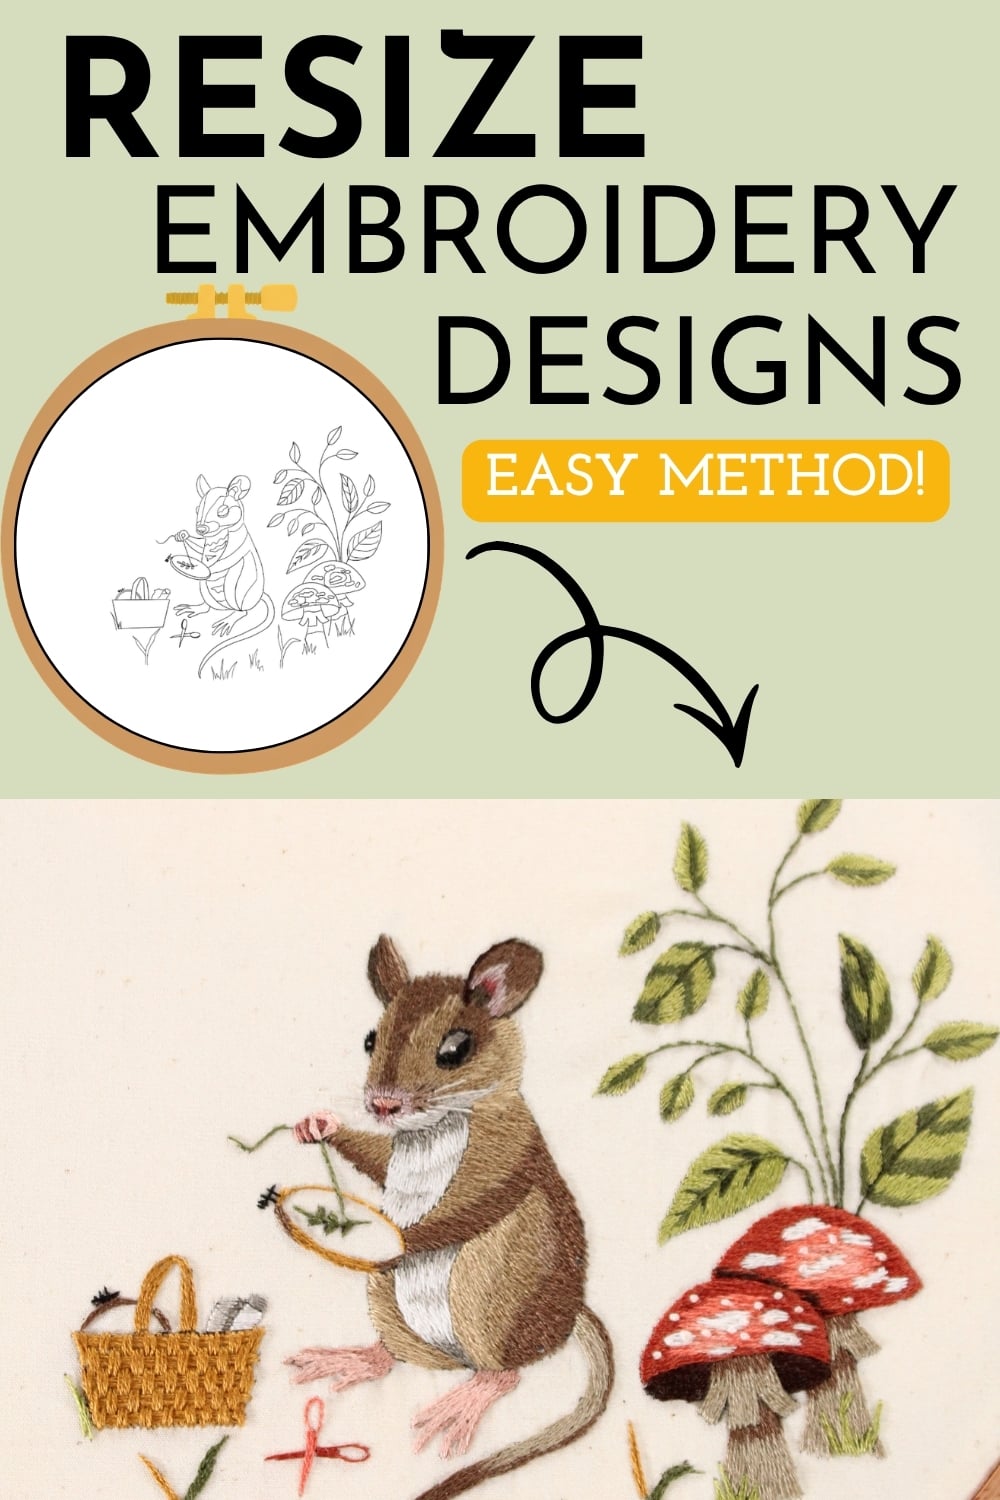
Have you ever purchased an embroidery pattern only to find that it’s not quite the right size you want to embroider it? In this tutorial, I’ll share with you an easy way to resize hand embroidery designs that is accurate and relatively quick.
How To Resize Embroidery Designs
A note before we get started: Most embroidery patterns are sized for accessibility and ease. If you plan to change the design size significantly, be aware that it may affect how much detail you can fit or how long it will take to stitch!
Keep reading or jump to the video tutorial.
How To Make A Design Smaller
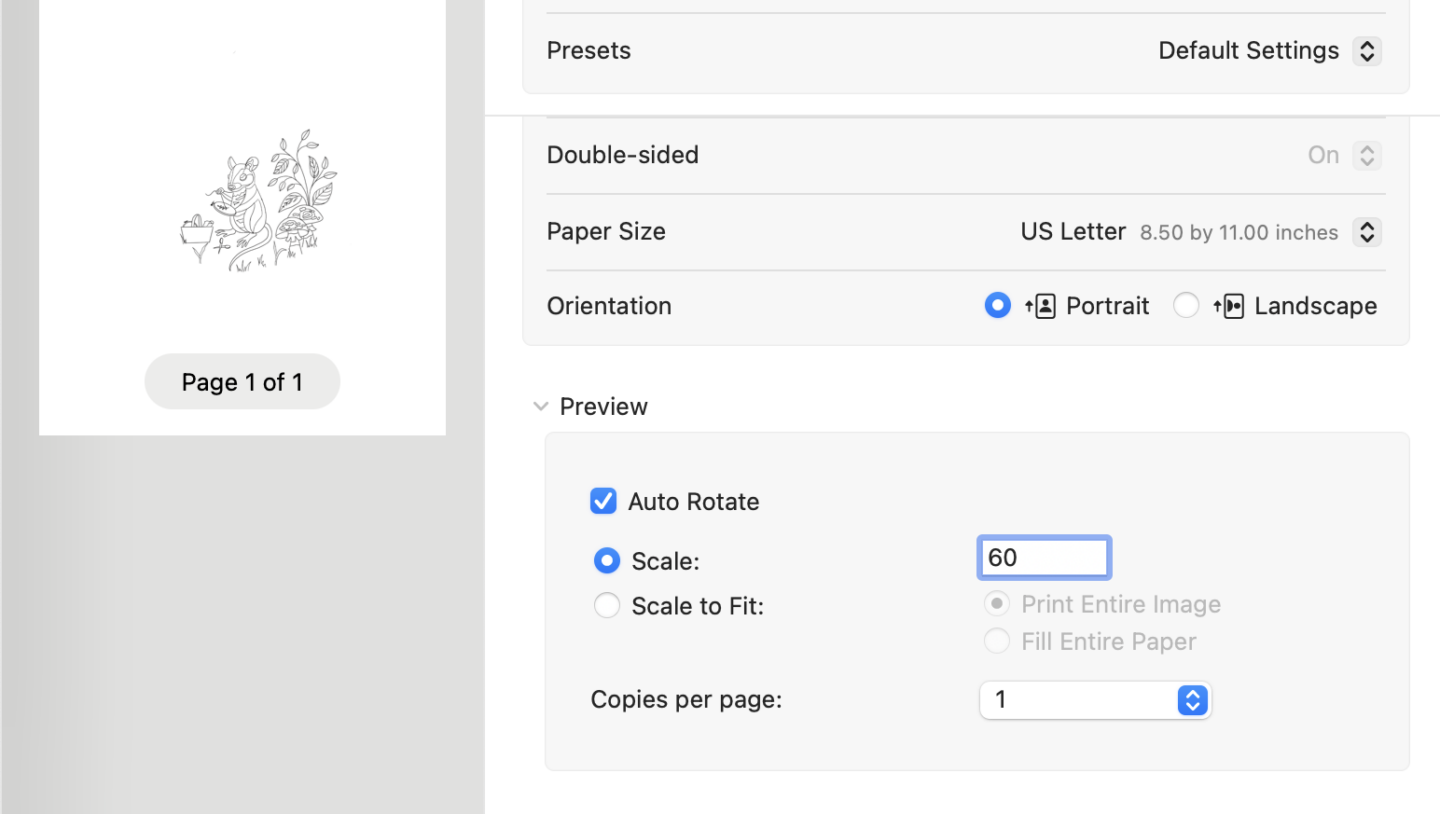
Shrinking a design is relatively simple. Most of the time, you can change the image scale in your printer settings.
How To Enlarge An Embroidery Design Using Canva
Significantly enlarging an image can be a bit trickier. Increasing the scale in the printer settings often leaves you with only part of the image, with the rest cut off the page. Instead, we’ll need to tweak it in Canva.
You’ll need a JPEG or PNG of the design and a free Canva account to get started.
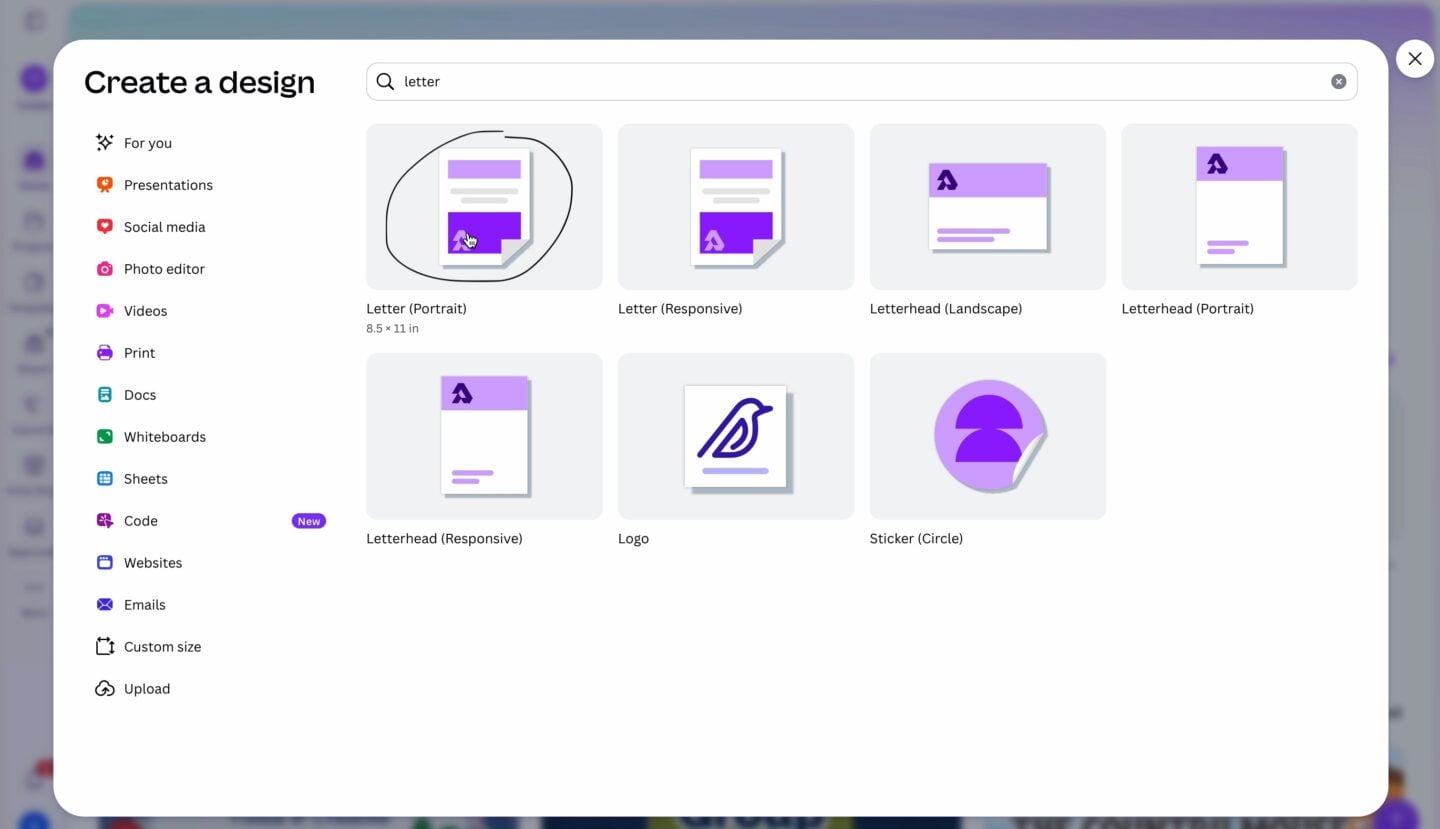
Create a new letter-sized document in Canva.
Upload and Split The Image
Go to “Apps” and search for “Image Splitter”.
Upload the embroidery design. The image will be split into four quadrants by default. This is usually sufficient for embroidery designs, so I recommend leaving it that way.
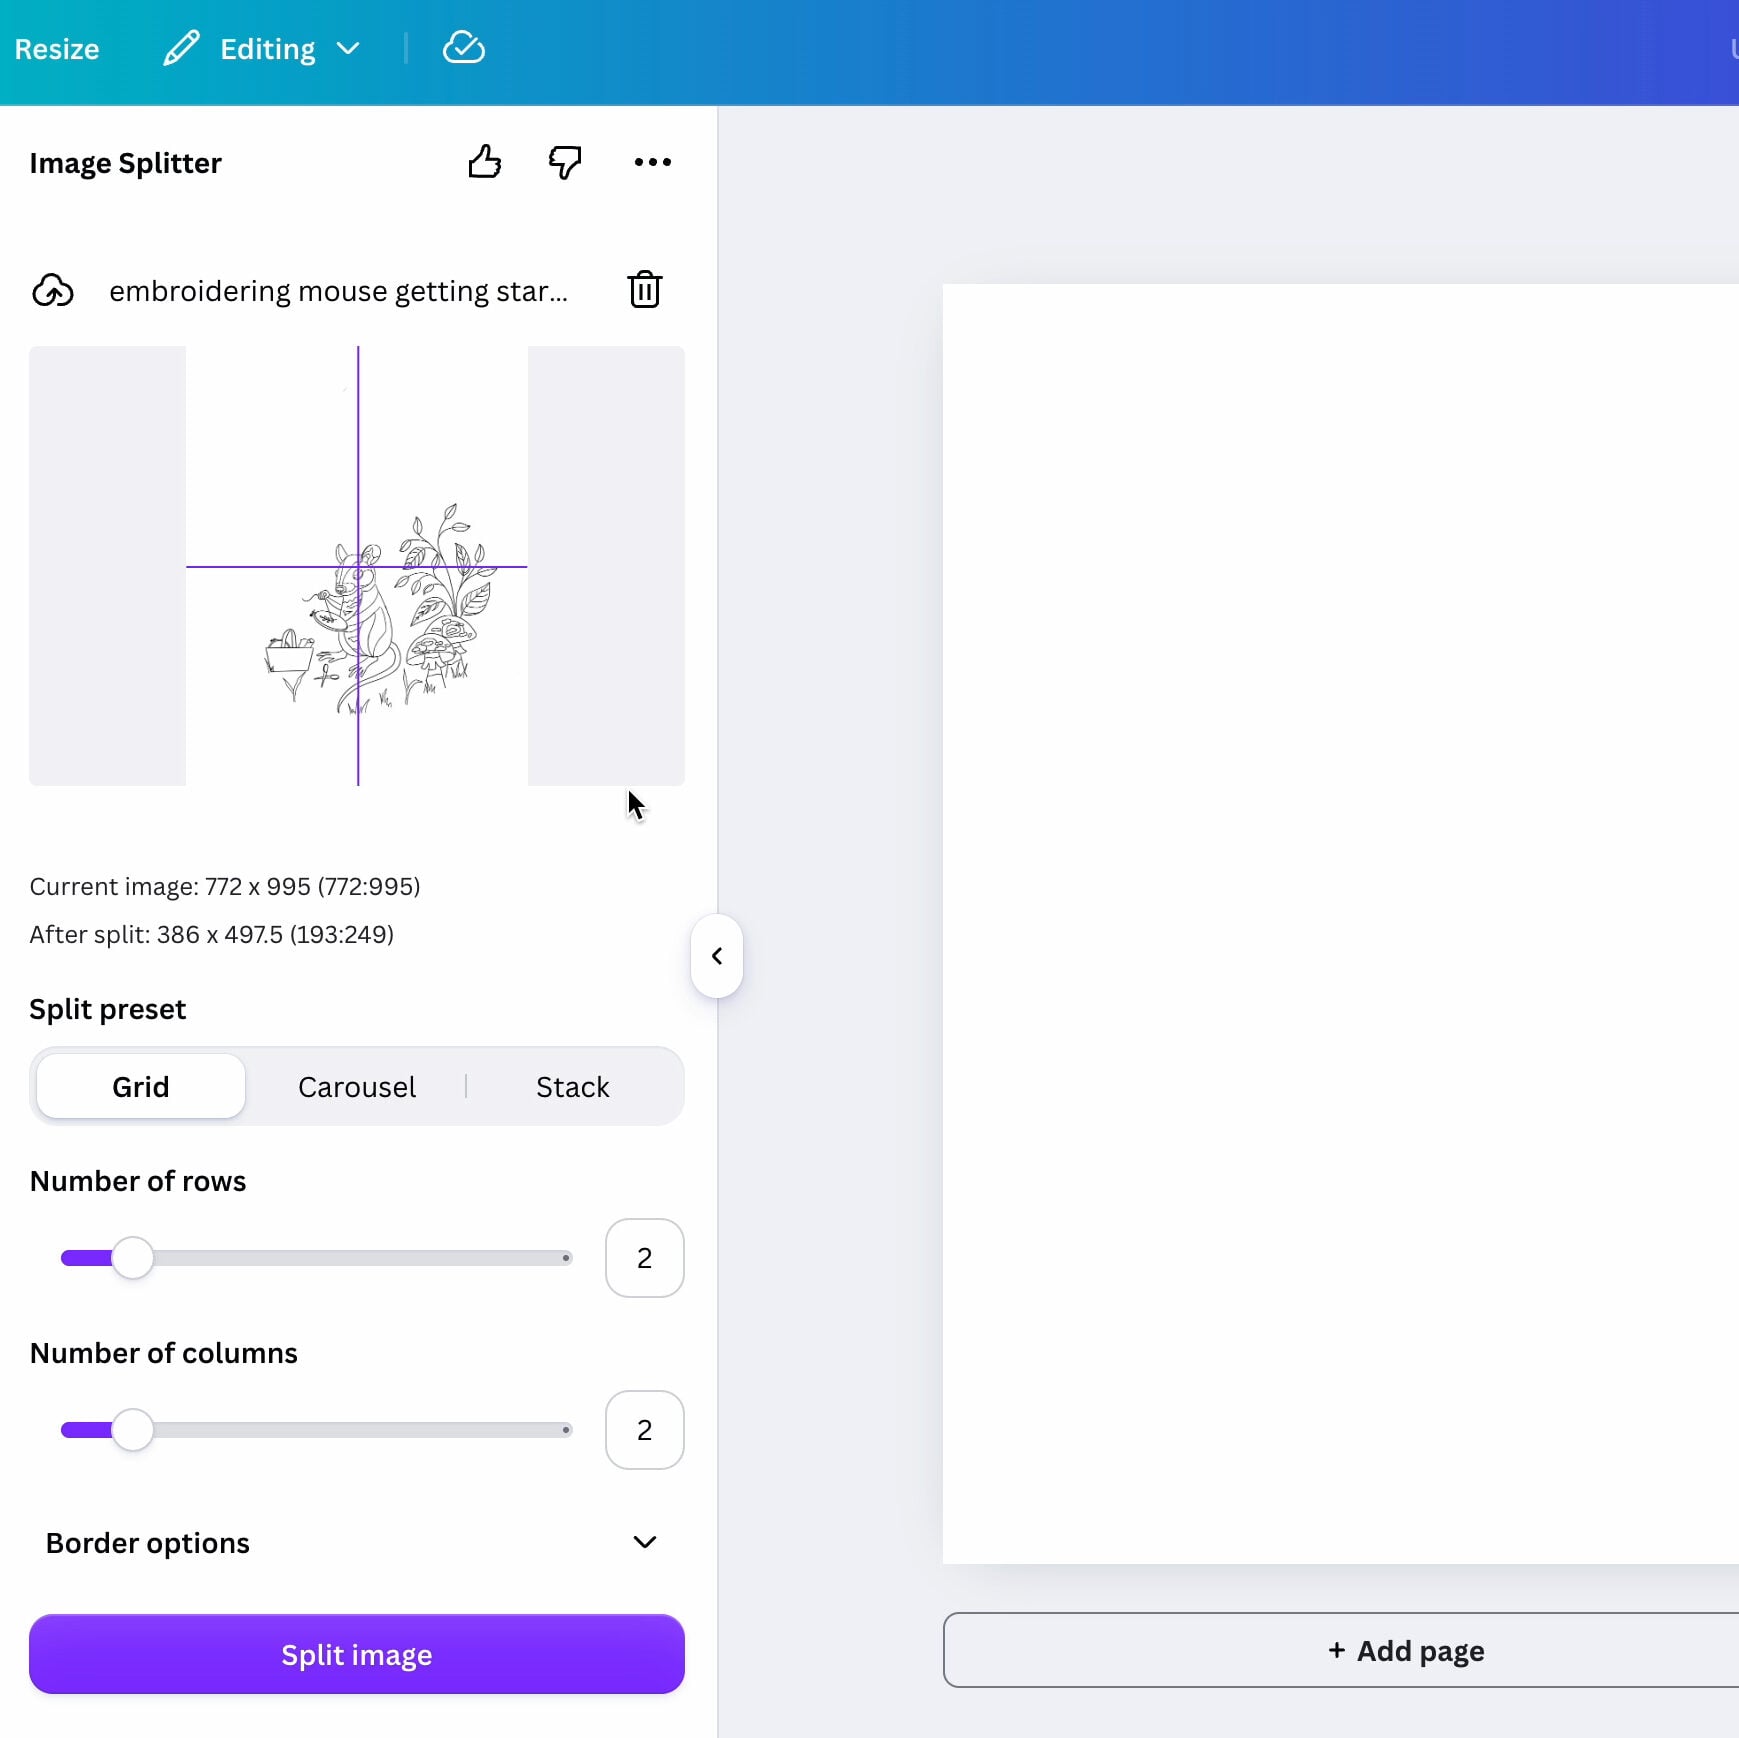
Click the “Split image” button, and then select “Save images to uploads”. (DON’T add the images to a new page. This will add them to the page at the size they were split into, which means they will not be letter size when you go to print the file later!)
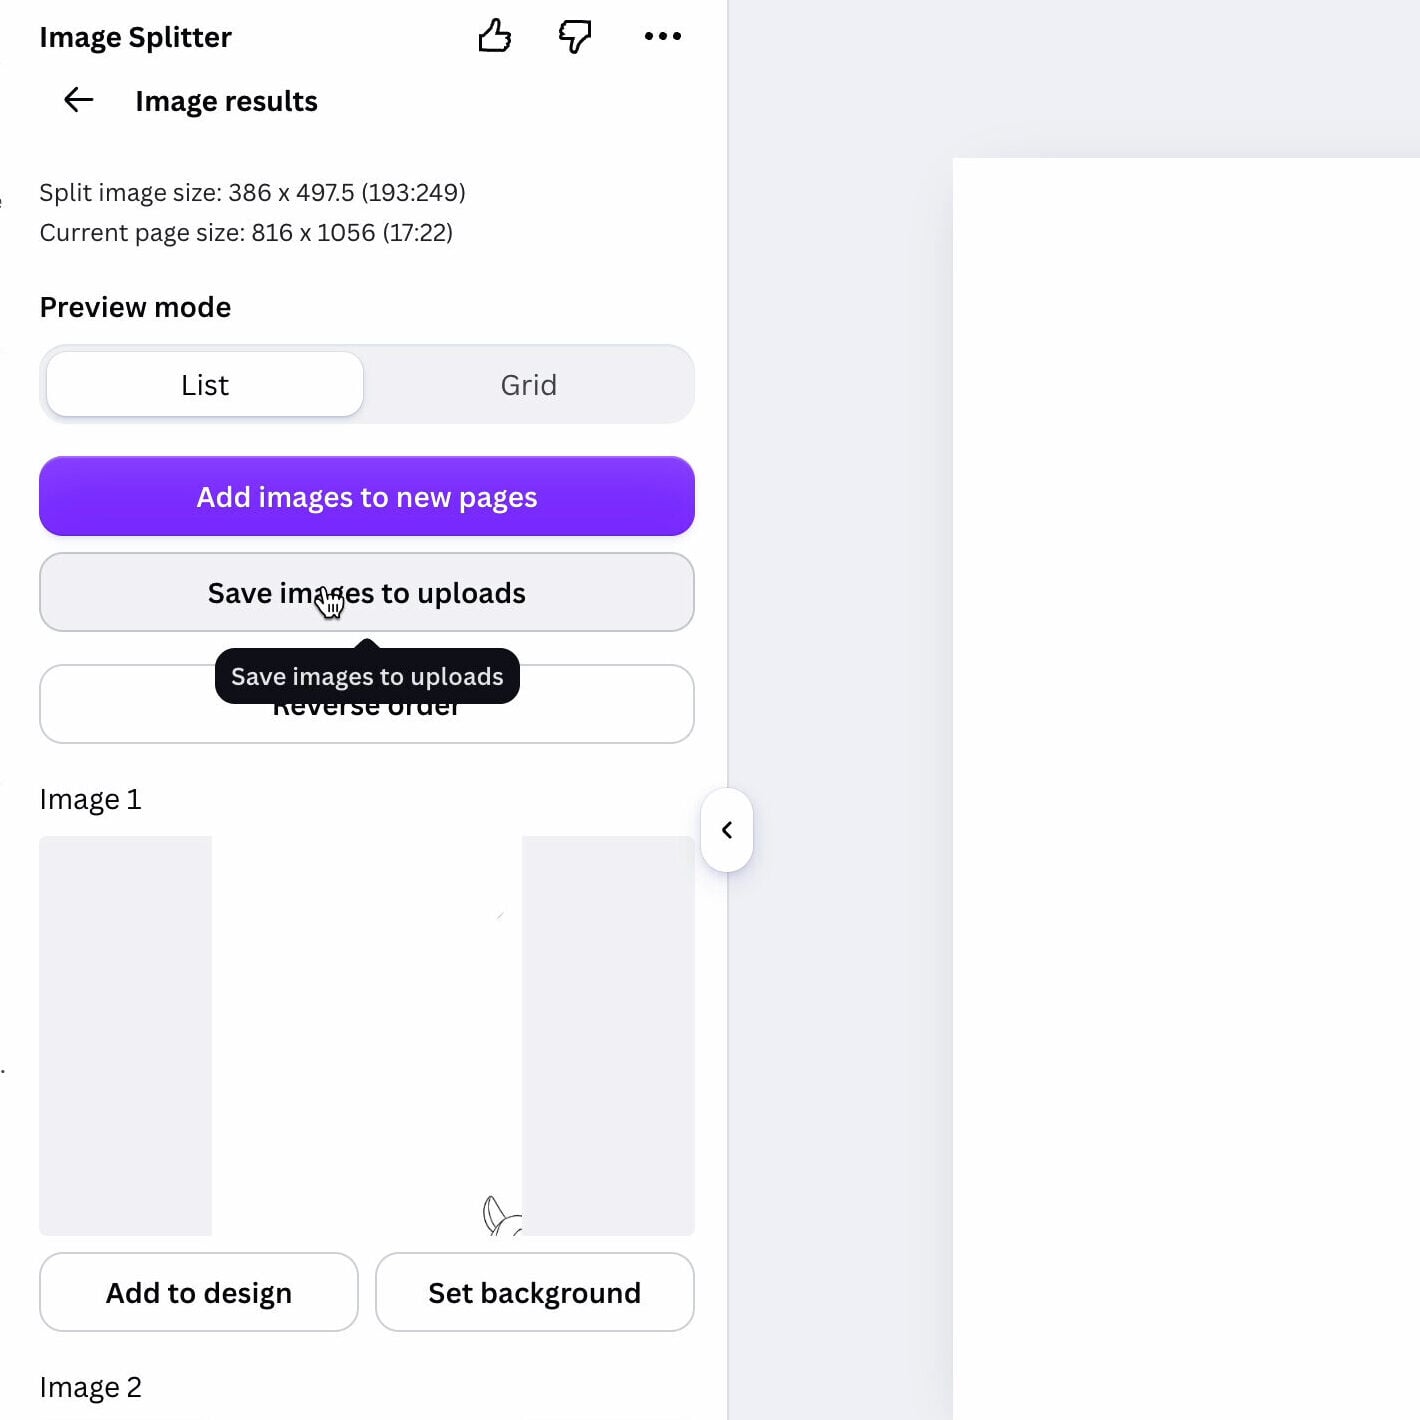
Resizing And Positioning The Images On The Page
Go to your uploads and place each image on a new page in the document you created.
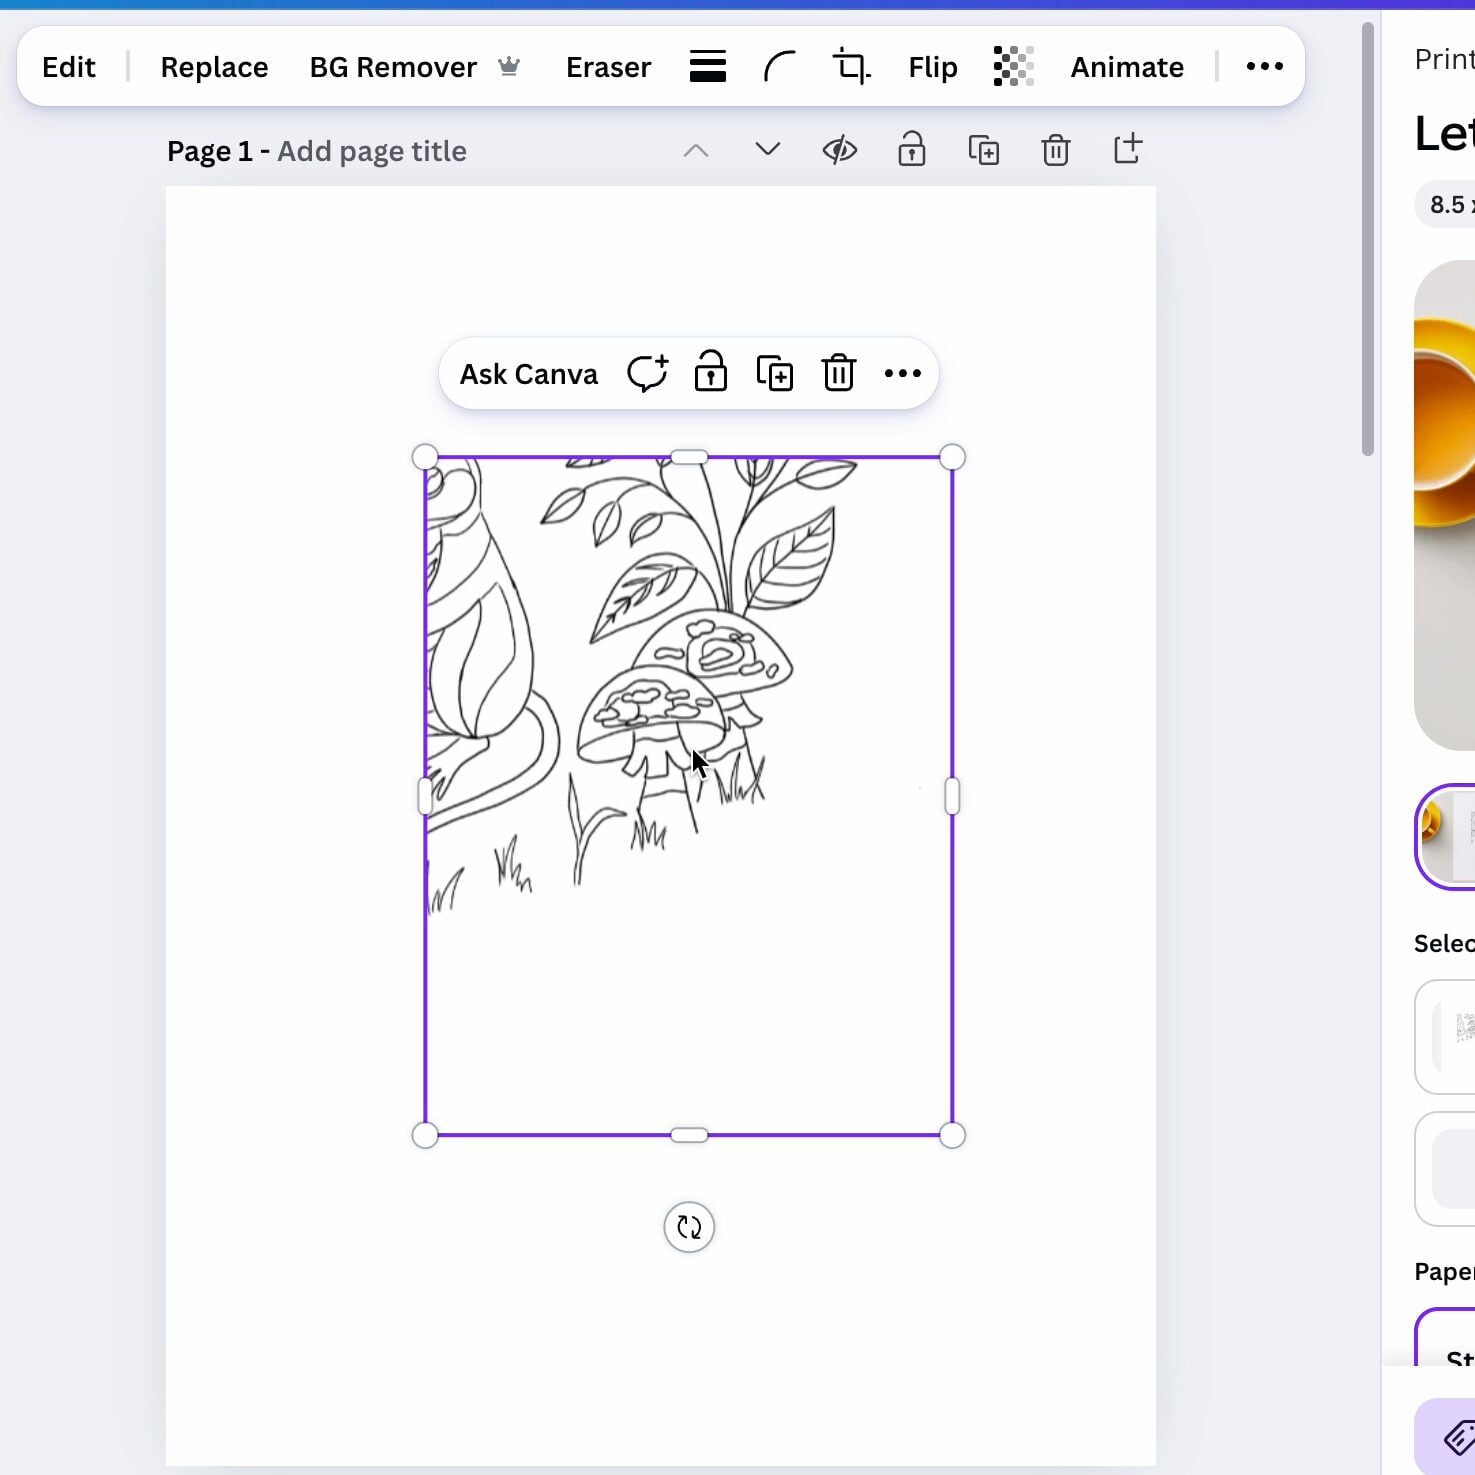
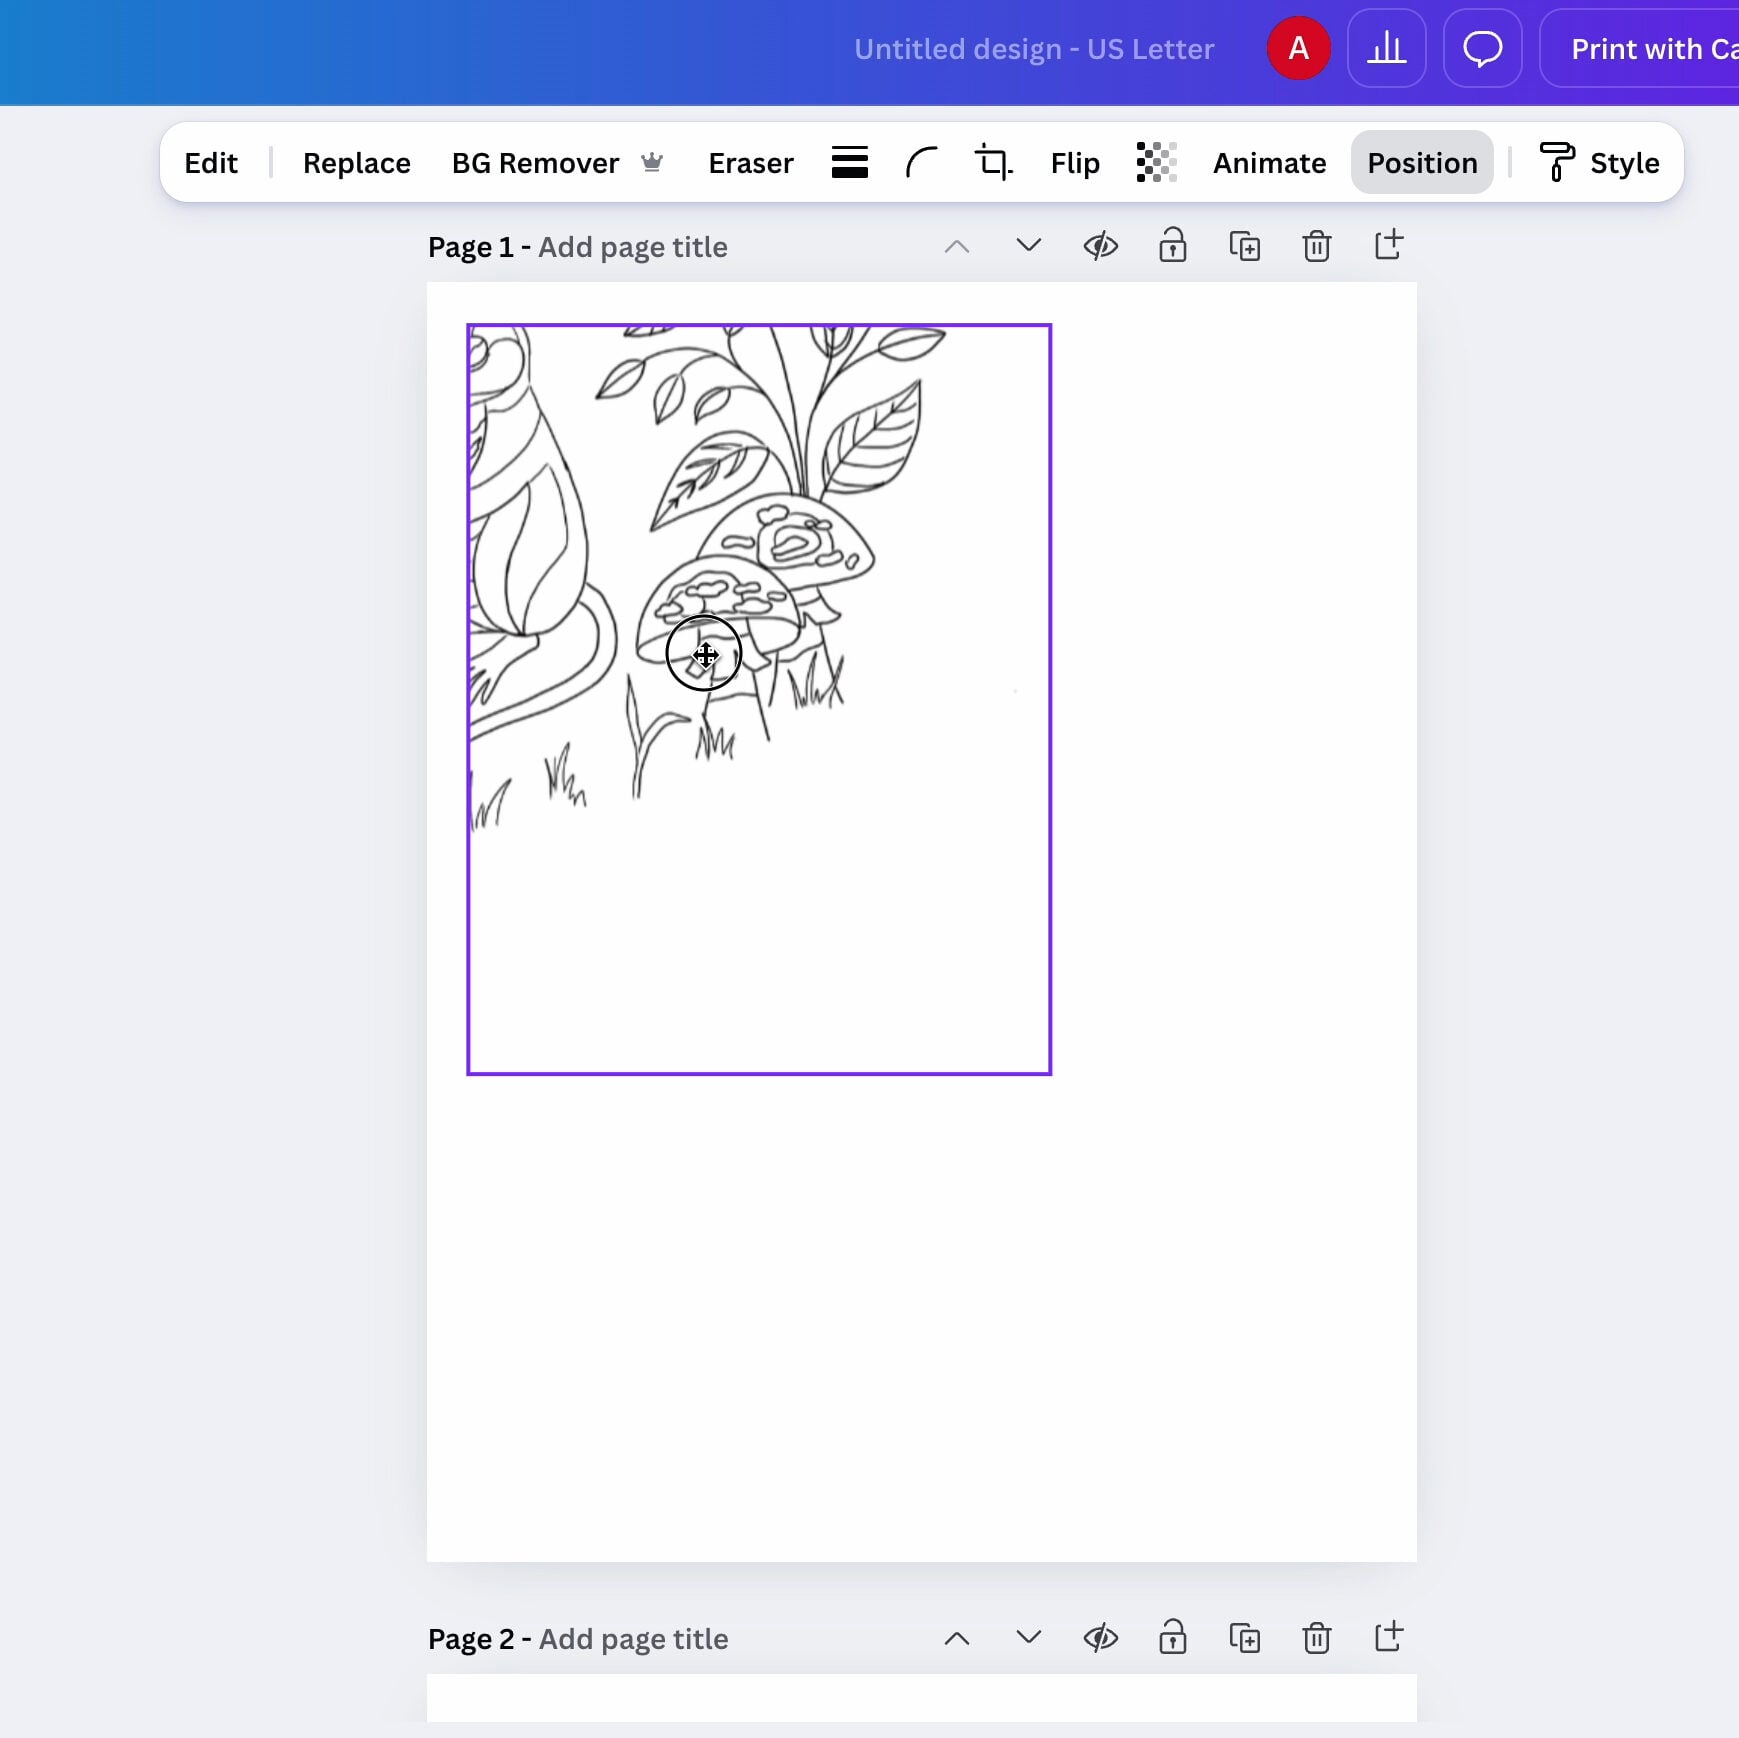
Next, select the image. To enlarge each of the pieces, click on “Position”. In the “Advanced” section, click the lock to lock the width-to-height ratio. Then change either the width or the height. Repeat for each image, making sure each image is the same size.
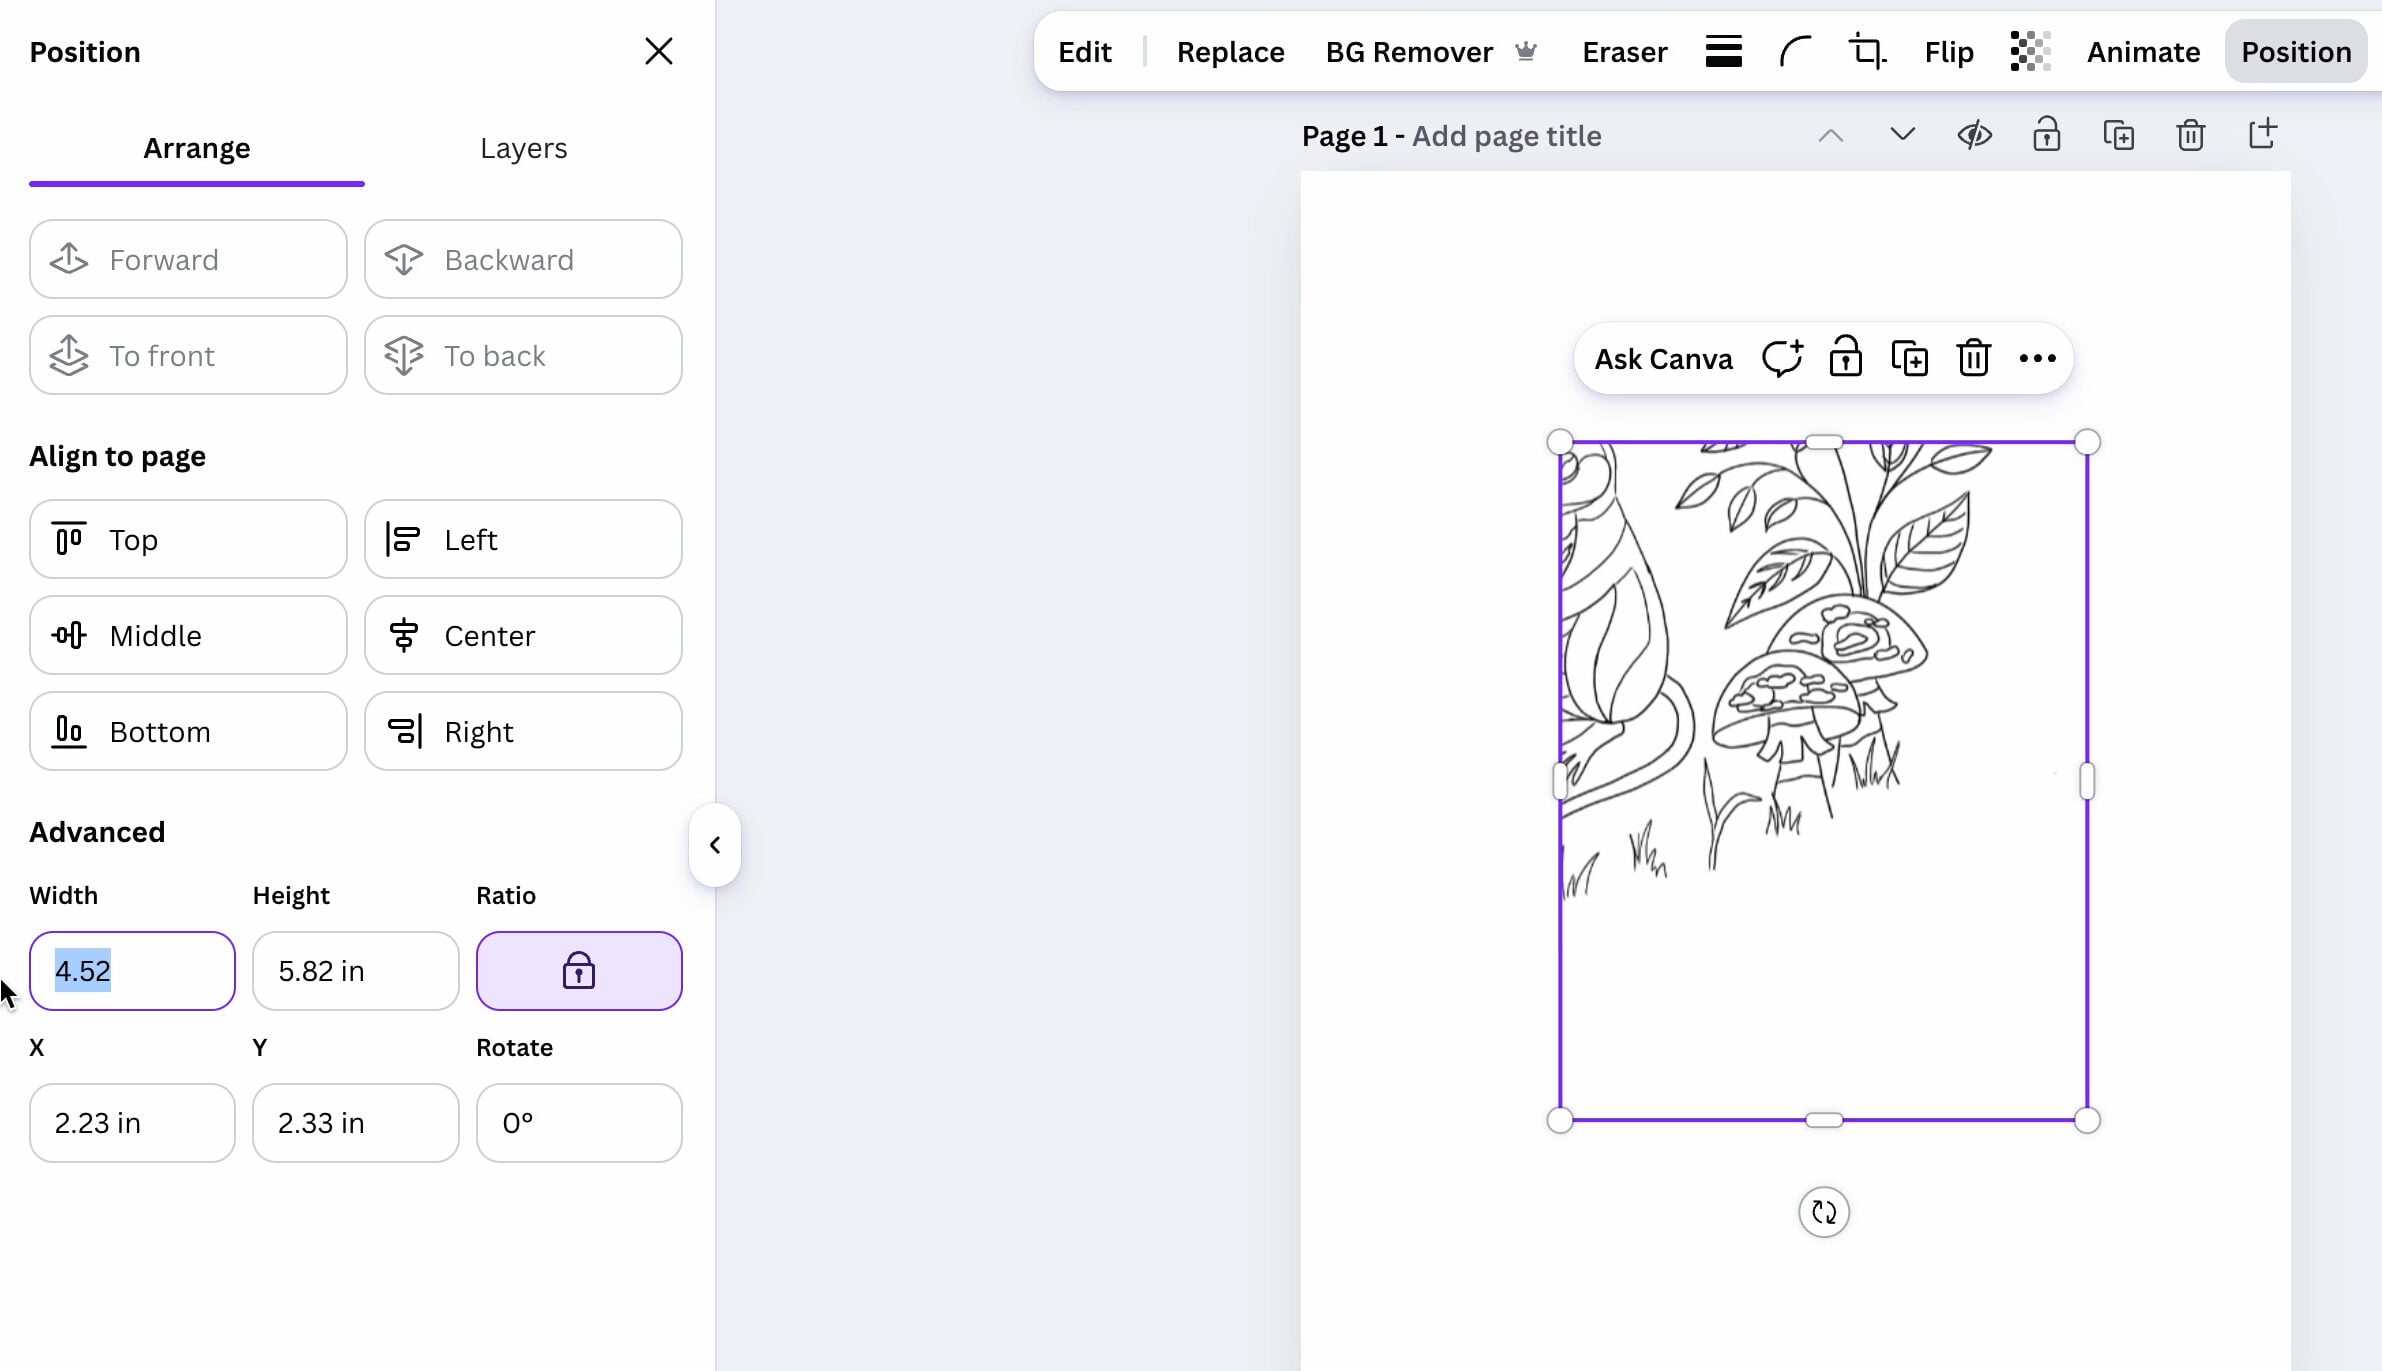
Once you’re happy with the overall image size, position each image along the edge of the document where it is cut off. For example, if the top-left edge is cut off, position the image along the top-left edge of the page.
Do not place the image all the way to the edge of the document. Leave a small margin so the image prints fully and you can tape the pages together.
Exporting And Printing The Document
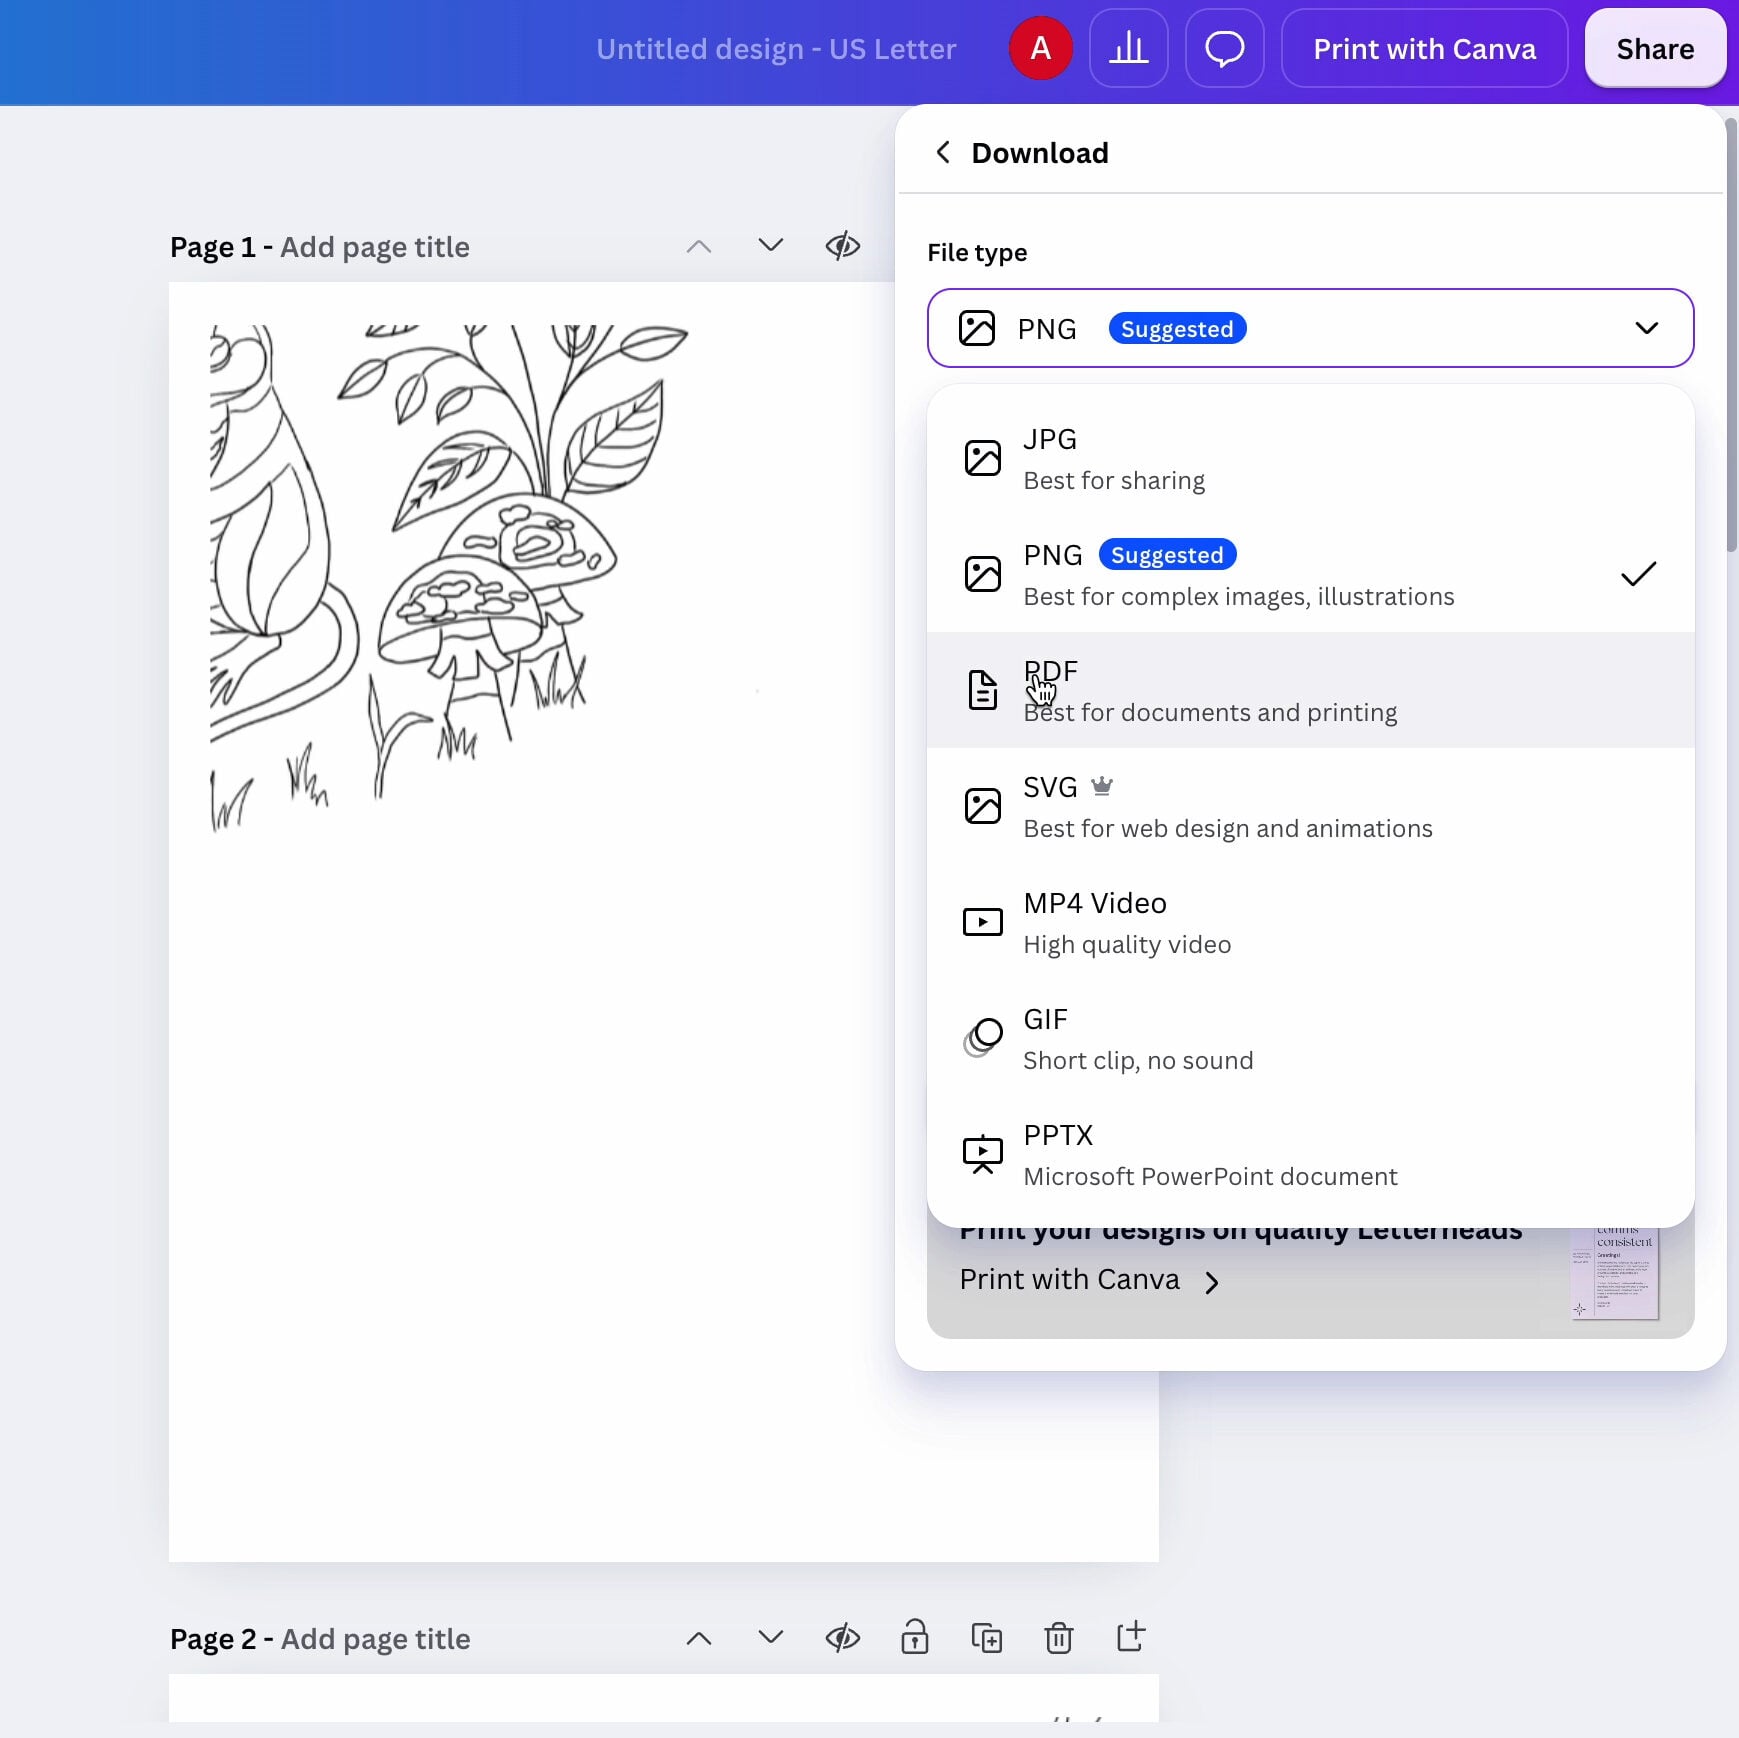
Next, click the “Share” button and save the design as a PDF.
If you plan to print your design on Stick ‘n Stitch, I recommend printing the design first on regular paper to make sure you’re happy with the size.
Once you’ve printed out the design, fold the margins along the edge of the design and secure the pieces together with tape.
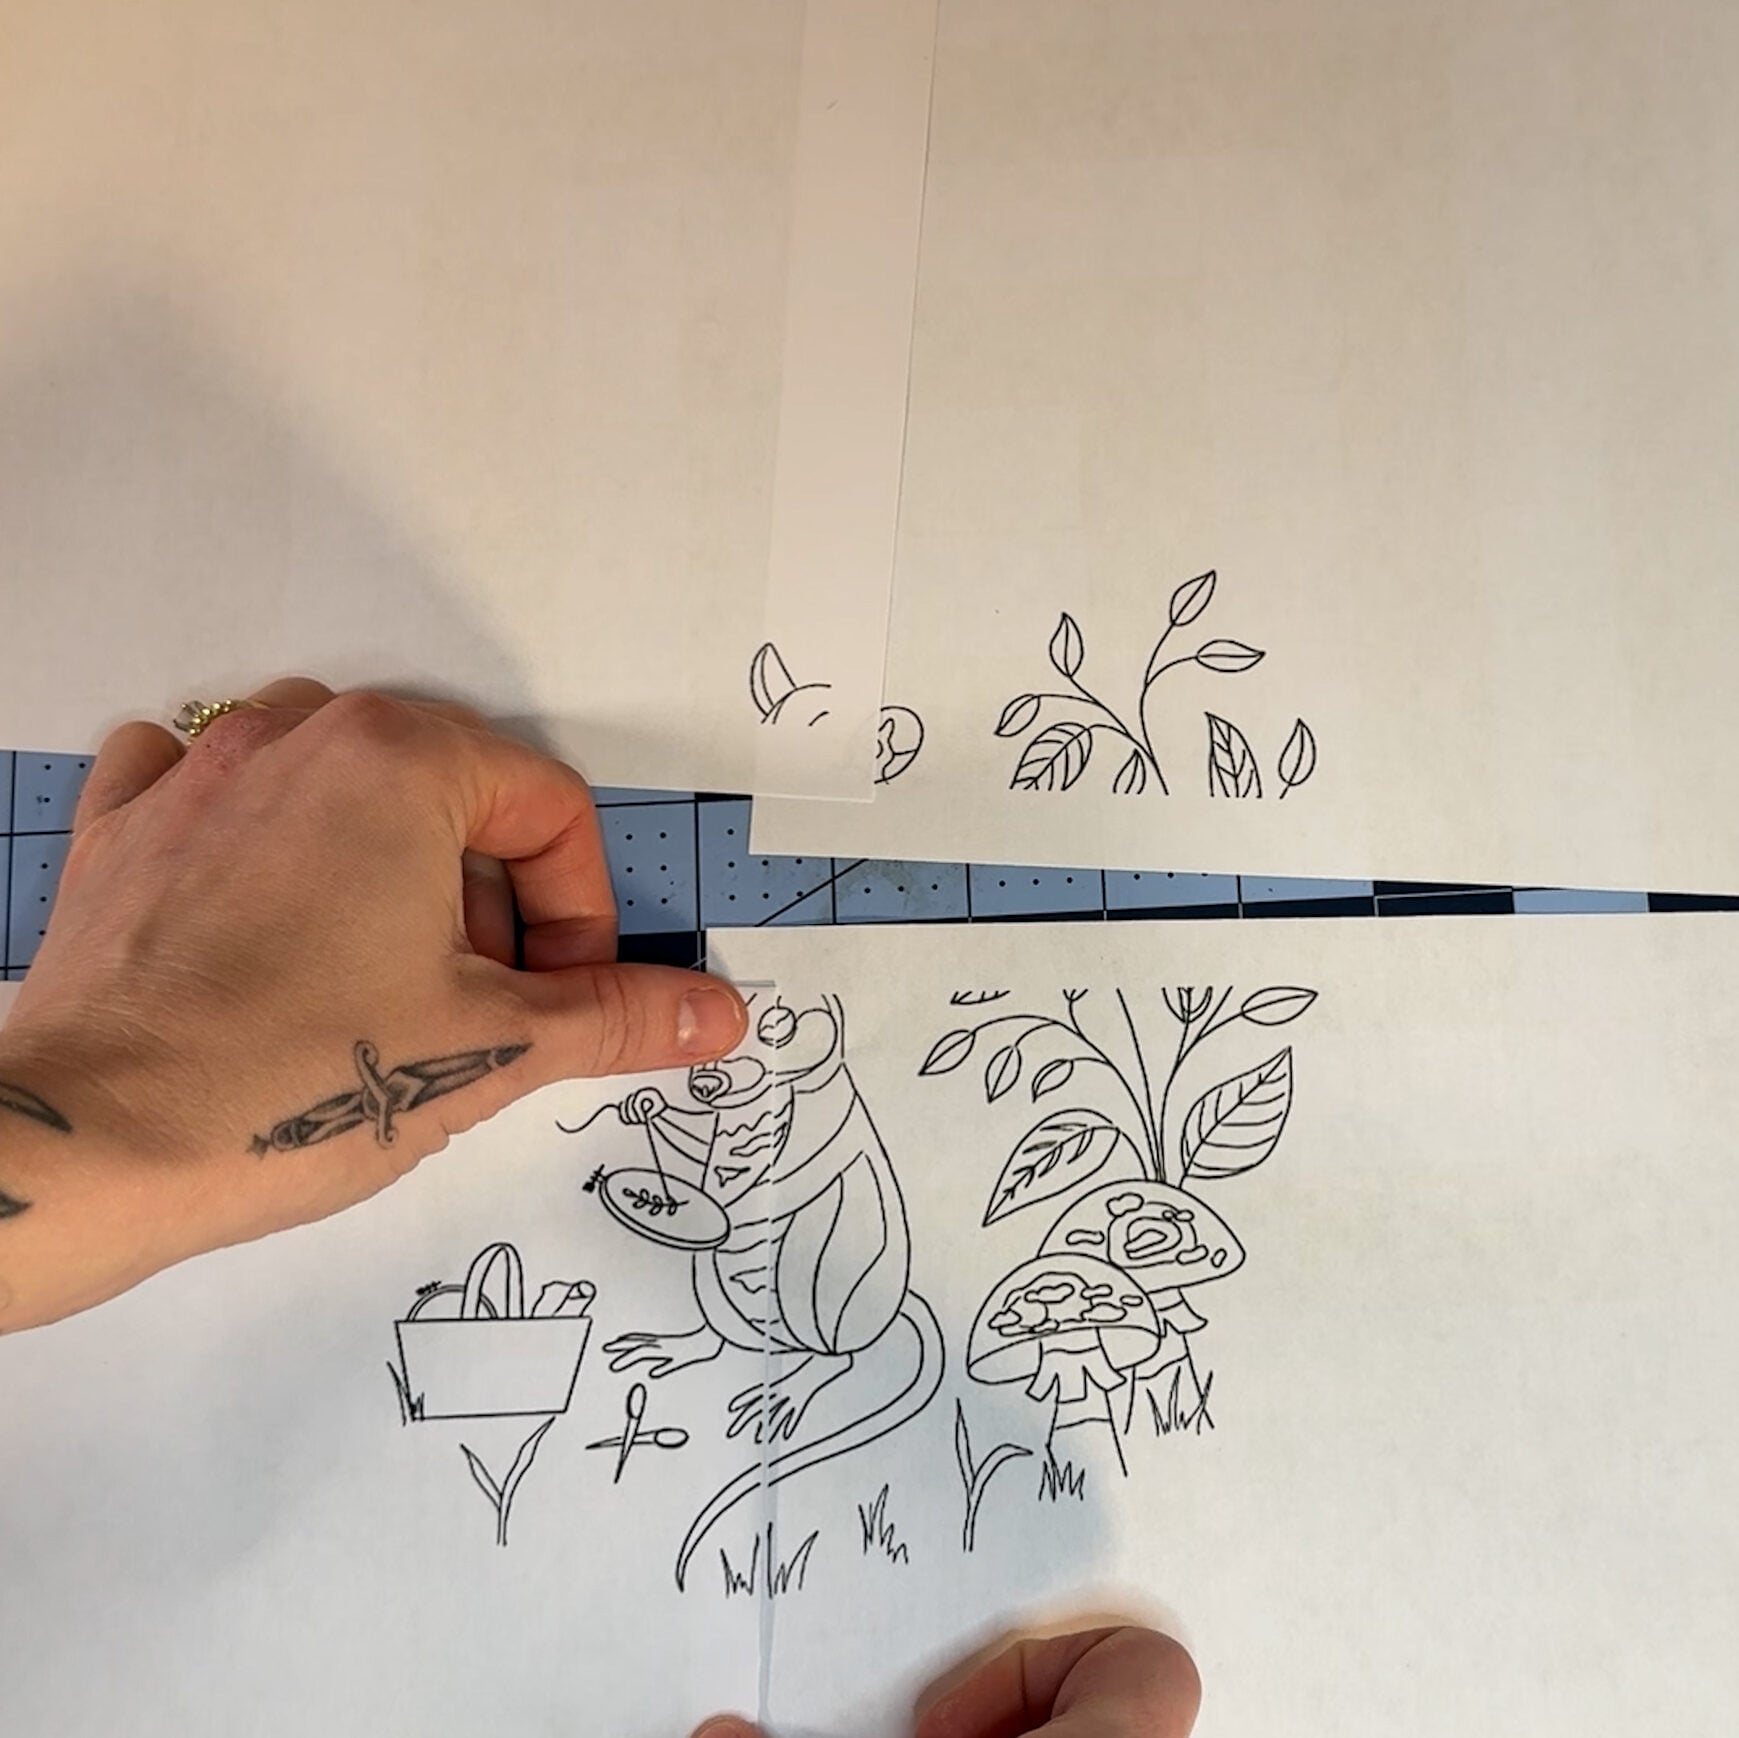
If you’re happy with the size, the design is ready to trace or transfer!
Video Tutorial

I hope you found this tutorial helpful. Check out this tutorial next to learn some different ways to transfer an embroidery pattern.

![Desert Sun and Moon Embroidery Pattern – [Free!]](https://crewelghoul.com/wp-content/uploads/2020/07/B3AB6D0D-CF20-43A9-B2EE-98CC43048D29-edited.jpeg)