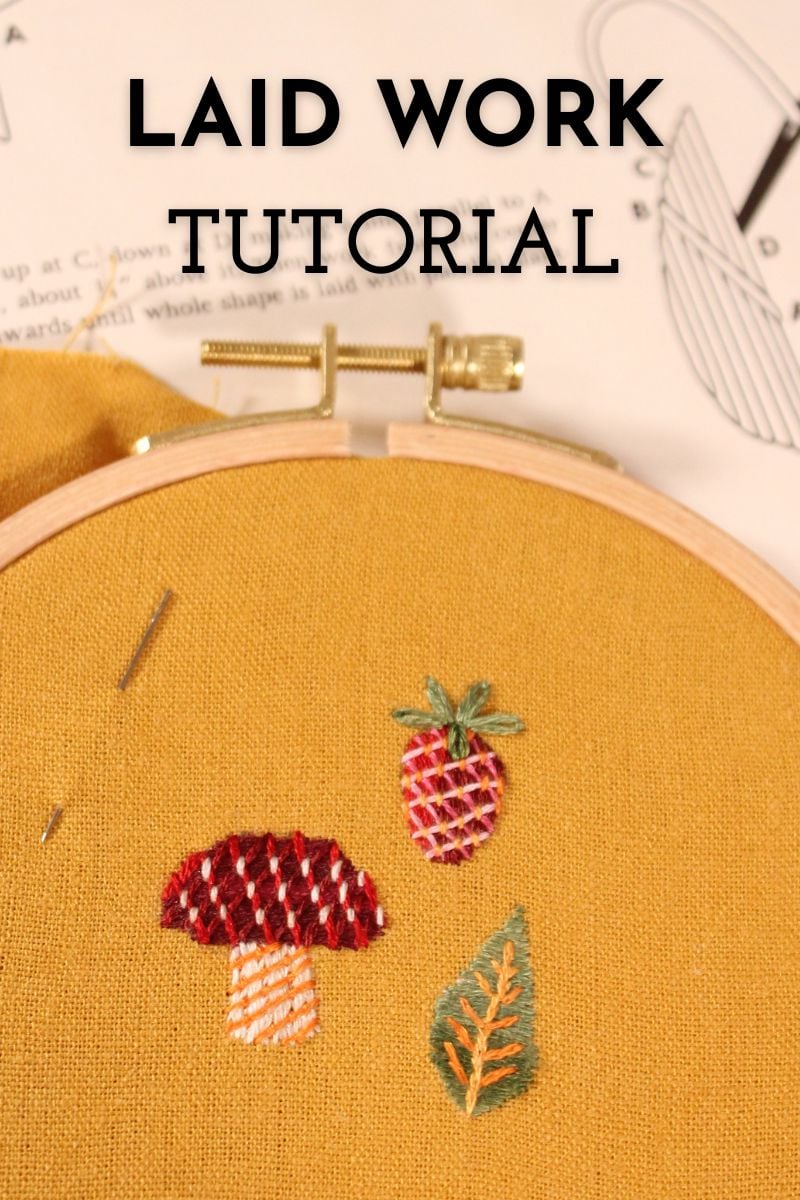
Laid Work Embroidery Tutorial
Laid work is an embroidery technique that is commonly utilized in crewel work. Long stitches are laid across an area, and additional stitches are made on top of the area, securing the longer stitches underneath.
You may wonder if the first part sounds like a satin stitch. It is, indeed, very similar! However, excessively long stitches are more likely to be disturbed, so the stitches on top alleviate that problem.
This stitch is handy when you want to fill in a large shape, but it’s also a fantastic option if you simply want to add more texture and color to your embroidery work.
For this tutorial, I used Valdani silk floss. This hand-dyed floss has a subtle color variation, making it an excellent option for adding even more shading and variation into the stitch examples. If you don’t have silk floss, pearl or cotton floss works just fine too!
Below are step by step instructions or you can jump to the video.
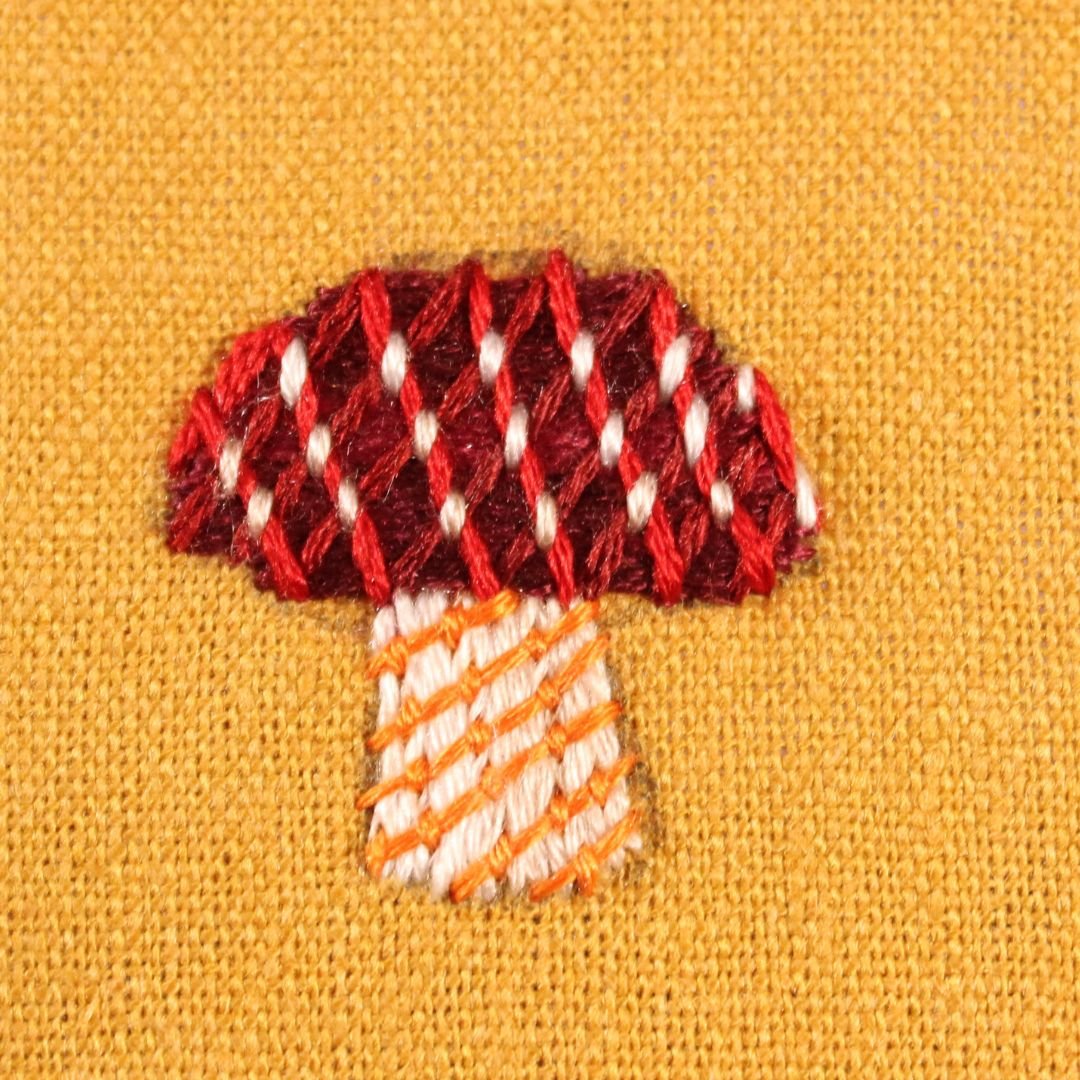
Laid Work With Cross Bars
There are several variations of laid work. First, I’ll share how to do it with cross bars.
While the laid threads look similar to the satin stitch, they are worked in a slightly different manner. Instead of making all the stitches, for example, from left to right, the direction in which the stitches are made alternates. This saves thread because the stitches won’t travel across the back of the fabric/shape.

Start in the middle of the shape to ensure the stitches go straight across. Make one stitch from left to right at A, and B. Then come up directly below B and make a stitch from right to left.

Continue alternating these stitches, turning them right to left, then left to right, until the entire shape is filled in.


Using a contrasting color, make diagonal stitches evenly across the shape.

Make more diagonal stitches running in the opposite direction, overlapping on top of the previous stitches you just made.

Secure the stitches where they cross over, forming an “x” with small vertical or horizontal stitches.

Secure all of the cross threads.
Laid Work Tied Diagonally

Lay the threads across the shape.

With a contrasting color, make evenly spaced out diagonal stitches across the shape.

Secure the diagonal stitches with small stitches evenly spaced out along each thread. (This is essentially a couching stitch.)
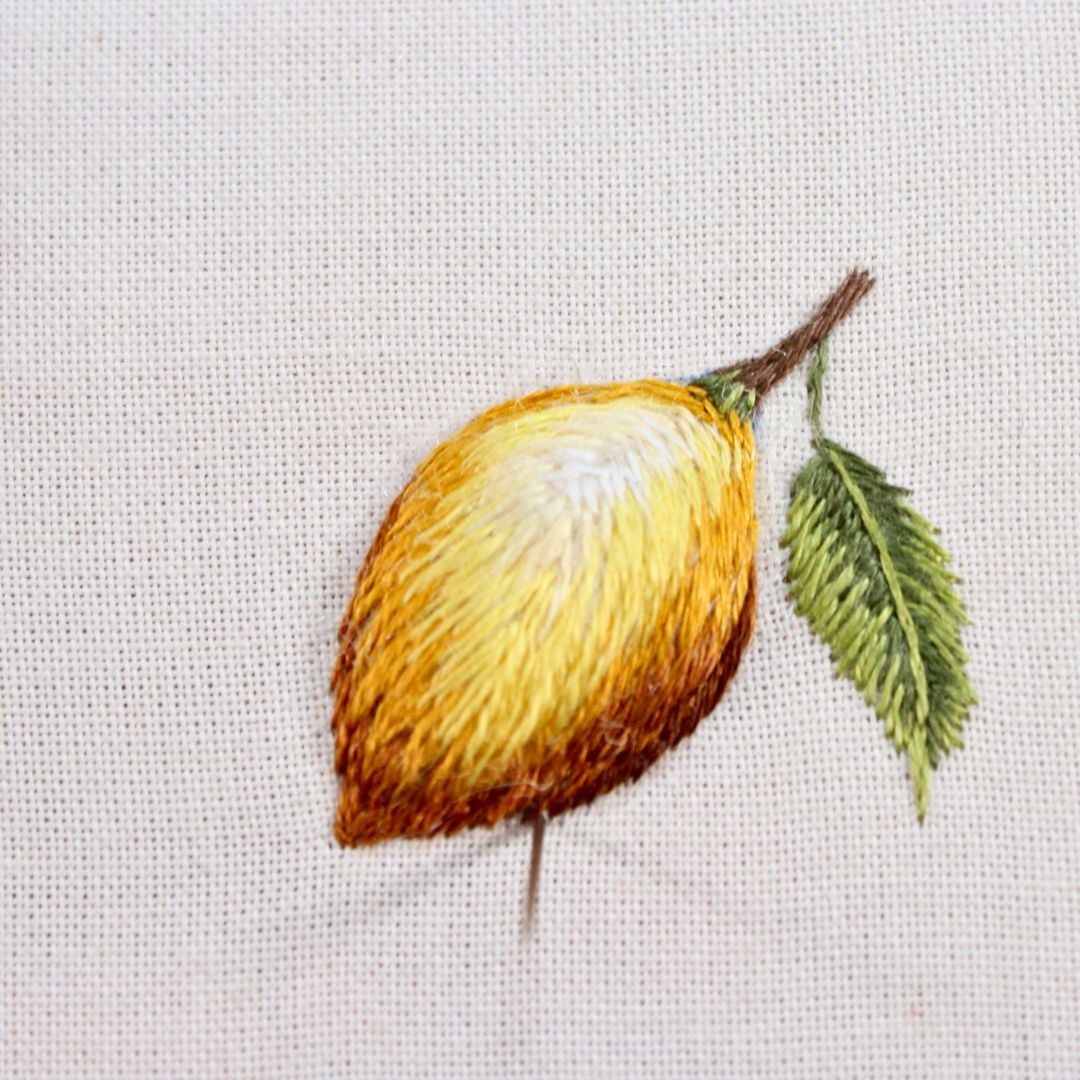
Shaded Laid Work Tied With Split Stitches
Another variation involves shades of one color or variegated floss to add shading to a shape. This technique is an enjoyable option for embroidering leaves.

For this example, I used green variegated floss and filled in the shape, working from the bottom to the top.

To secure the laid threads, work a line of split stitches up the center of the leaf.

Make more split stitches that branch off from the middle line of stitches.

There are so many different ways you can utilize this stitch. Above is an example of using red, pink, yellow, and green floss with crossbars and lazy daisy stitches to embroider a strawberry.
Well, that is all I have for you today. I hope you found some inspiration for your projects. These are just a few ideas to get you started!
If you liked this post, you’ll love this raised embroidery stitch sampler. For even more ideas for out-of-the-ordinary stitches, check out these unusual embroidery stitches.
Video Tutorial

Books Referenced
To ensure accuracy and clarity in my stitch tutorials, I reference a variety of trusted sources.
- Crewel Embroidery by Erica Wilson (1962)