Burden Stitch Embroidery Tutorial
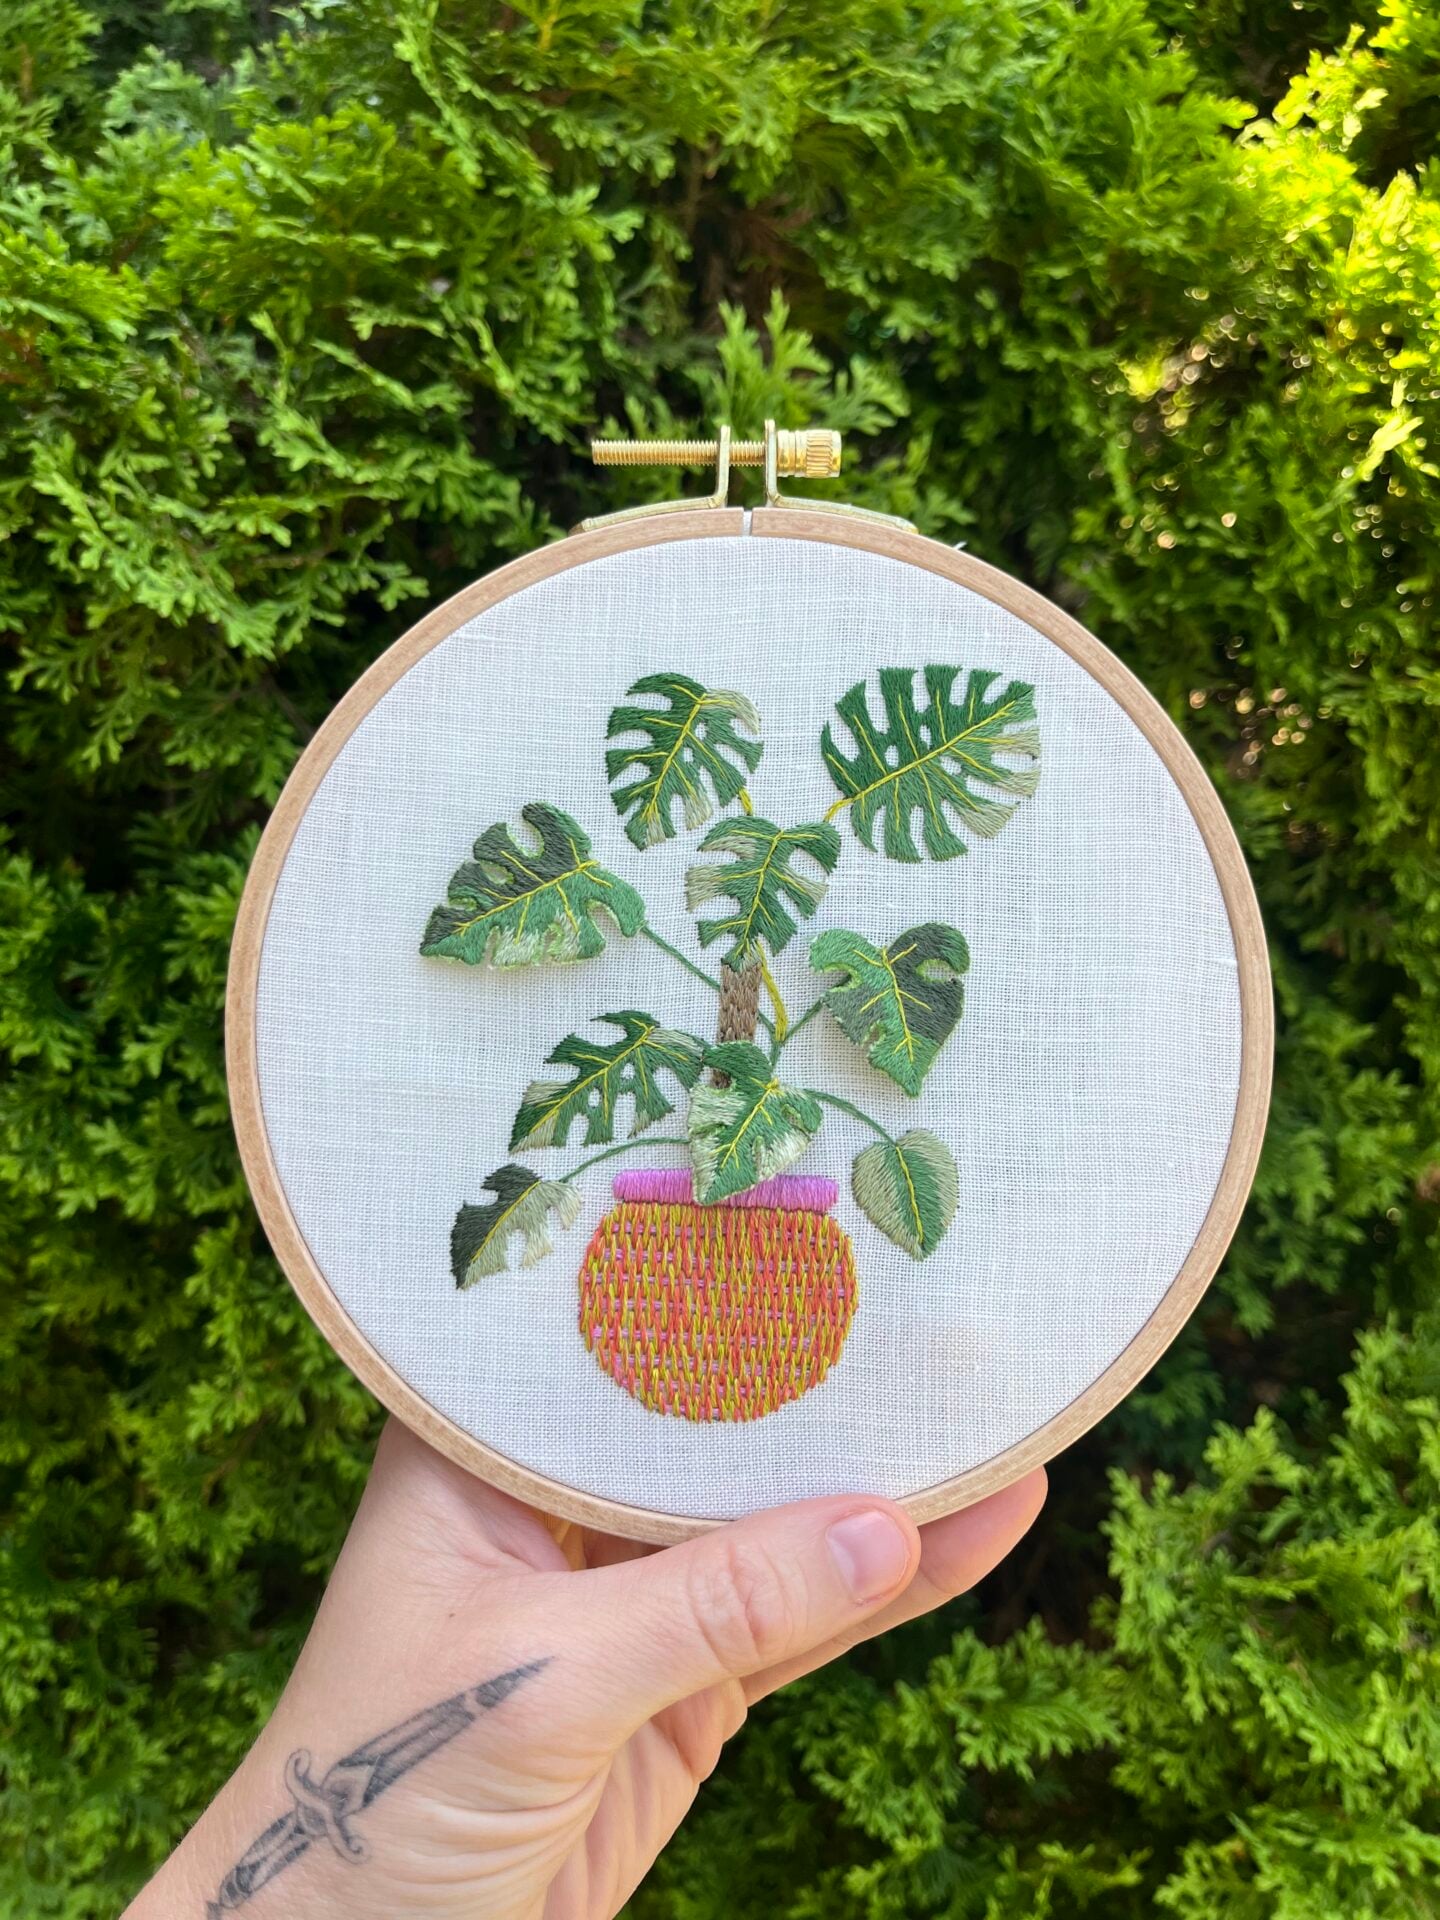
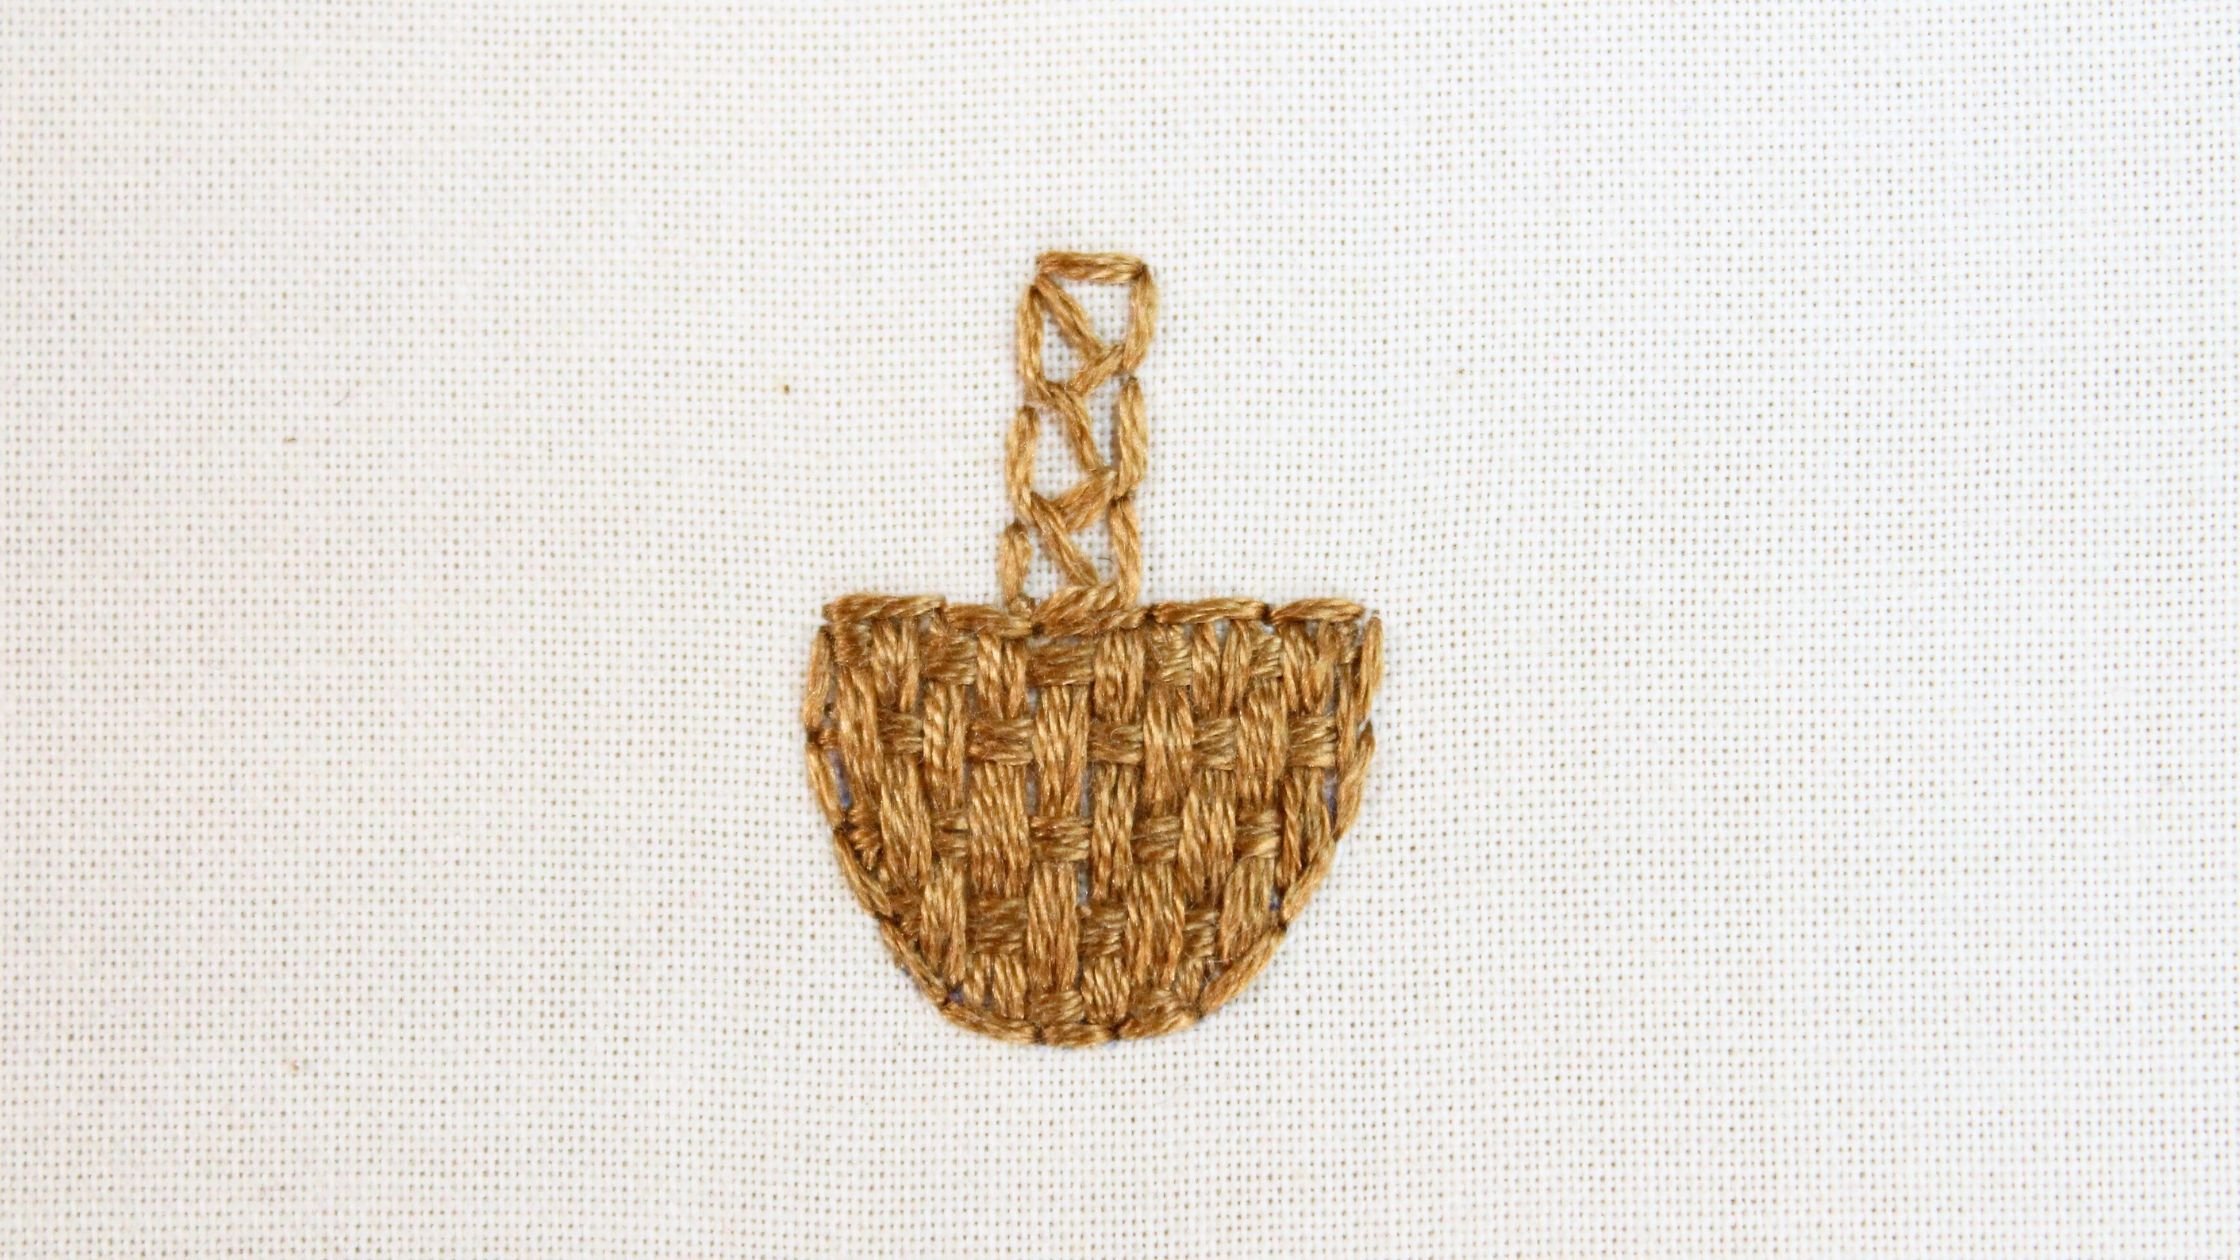
Today I’m sharing one of my favorite stitches that adds lots of color and texture: the burden stitch! This stitch looks similar to the basket weave stitch. The most significant difference between the two is that this technique doesn’t involve weaving in and out of stitches, and it’s also a lot easier to include a variety of colors and patterns.
Burden Stitch At A Glance
The burden stitch is worked in rows along lines of foundational stitches. Straight stitches are staggered along the lines to fill in an area. It’s best used as a fill stitch or to fill in a thick border, and it’s a great one for small or large areas you want to fill in.
Burden Stitch Tutorial
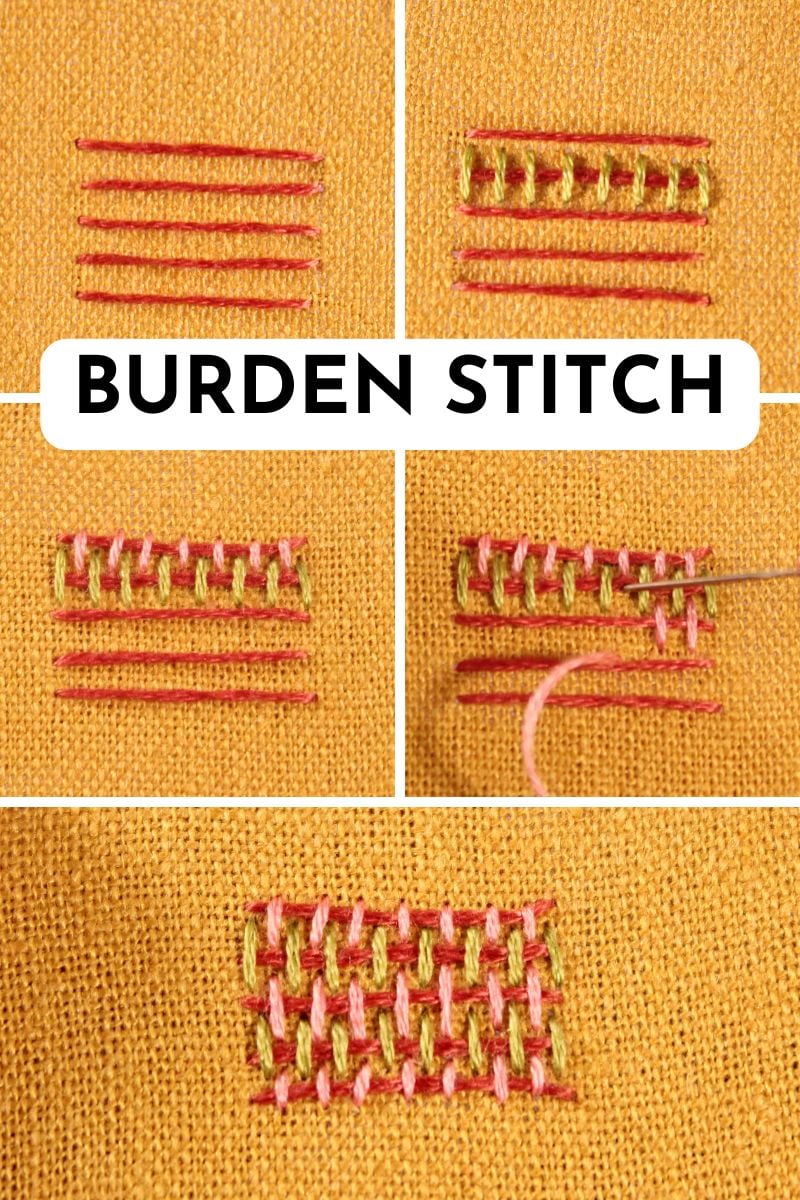
- Start by making horizontal stitches that are evenly spaced out and stacked on top of one another. You can make them closer or farther apart depending on how dense you want the fill to be.
- Using a contrasting color, make small straight stitches along the second line that span between the 3rd and 1st line. Leave a little bit of space between the stitches. (We’ll be staggering the stitches along each line, so you’ll want to leave room for them.)
- Begin making a row of stitches that start from the top of the second line and end along the top of the first line. These stitches should sit between the first row of stitches you made and will be slightly shorter in length.
- Work the next row (3rd row down), making stitches that span the 4th line and the 2nd line. Again, they should sit in between the stitches along the 2nd row.
- Continue staggering the stitches like this for each row until the shape is completely filled in.
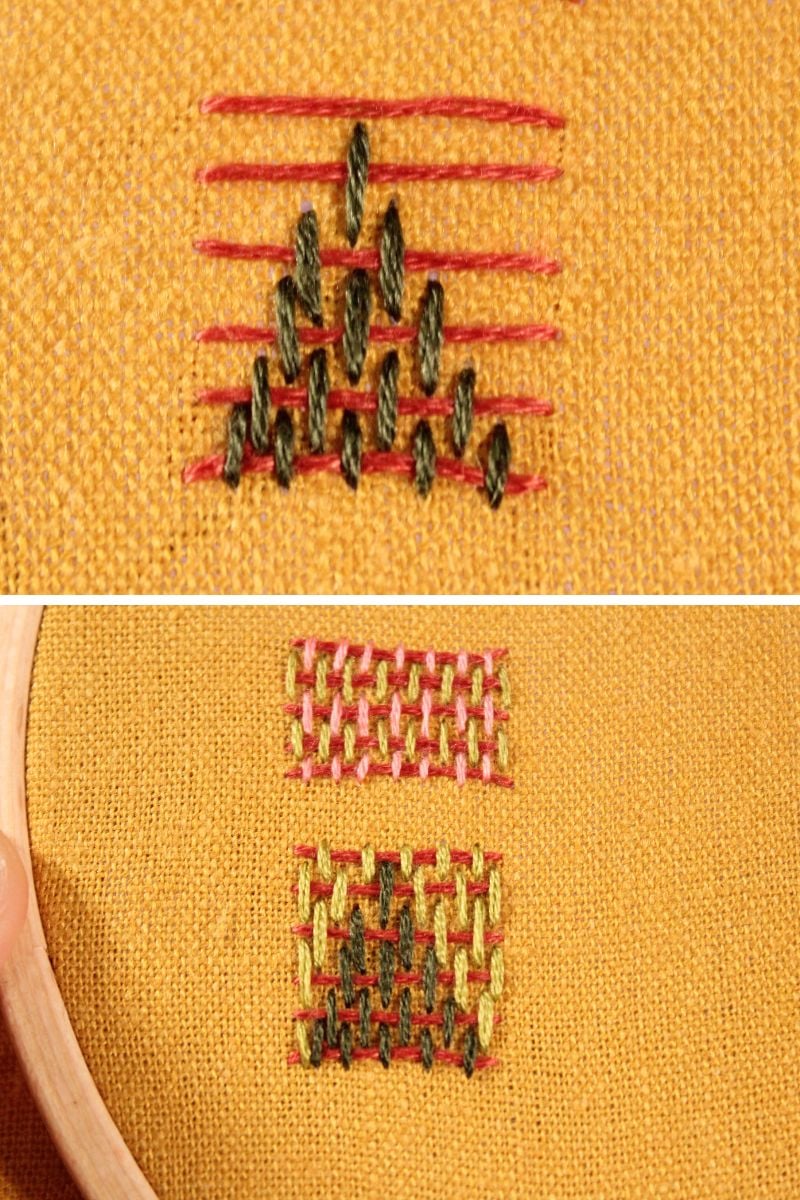
This stitch is enjoyable to play around with a variety of different colors. You can even create patterns using a variety of colors, like the chevron pattern pictured above!
In both of the examples in this tutorial, the stitches have a little bit of space between them, but you can make them closer together if you want more of a closed fill.
Video Tutorial

I hope you had fun learning this stitch, it’s such an interesting one! For even more ideas, check out this post to learn about stitches that add lots of texture, or this fill stitch sampler.


![How To Embroider A Sheep [Simple Tutorial]](https://crewelghoul.com/wp-content/uploads/2023/01/how-to-embroider-a-sheep-1-scaled.jpg)
