How To Thread An Embroidery Needle (Effective Tools And Techniques)
If you’re struggling with your needle and thread, this article will be a great resource to help you learn some easy ways to thread an embroidery needle. With the proper tools and techniques, it’s much easier than you think!
This post is part of my beginner embroidery series where no question is too small. I’ll be going over all of the necessary details so that you can get up to speed quickly!

Disclaimer: This post contains affiliate links, which means I may earn a small commission if you choose to purchase an item.
How To Thread An Embroidery Needle

Types of Needles To Use For Embroidery
First, let’s make sure you have the right kind of needle, because there are quite a few types of needles that are easily confused, and not all of them work super well with embroidery thread.
Use an embroidery needle or a chenille needle for general embroidery purposes.
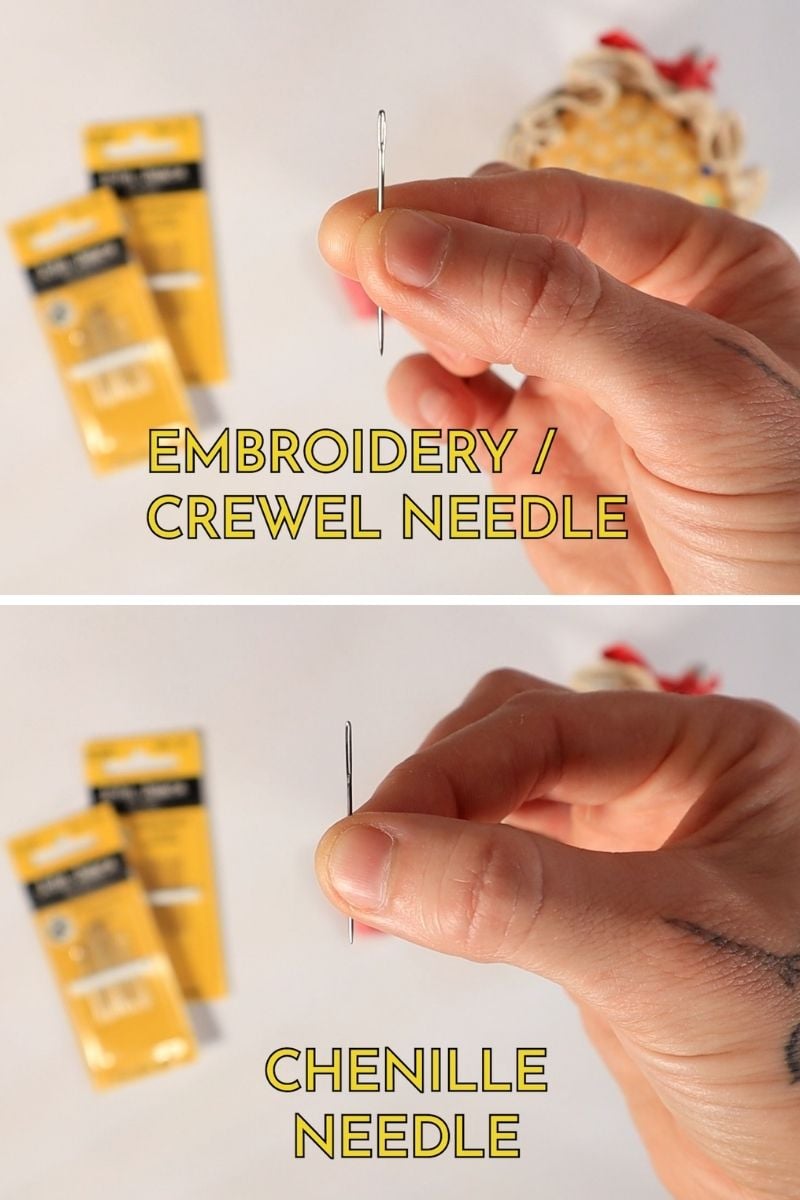
- An embroidery needle, also known as a crewel needle, has an oval-shaped eye that’s a little larger than a hand-sewing needle. It is medium in length and has a sharp tip.
- A chenille needle is about the same length as a crewel needle, but the eye is a little bit more elongated.
Either of these needle types will work for surface embroidery. You want something that’s going to fit the floss through the eye of the needle, which is why hand sewing needles aren’t always the best option.
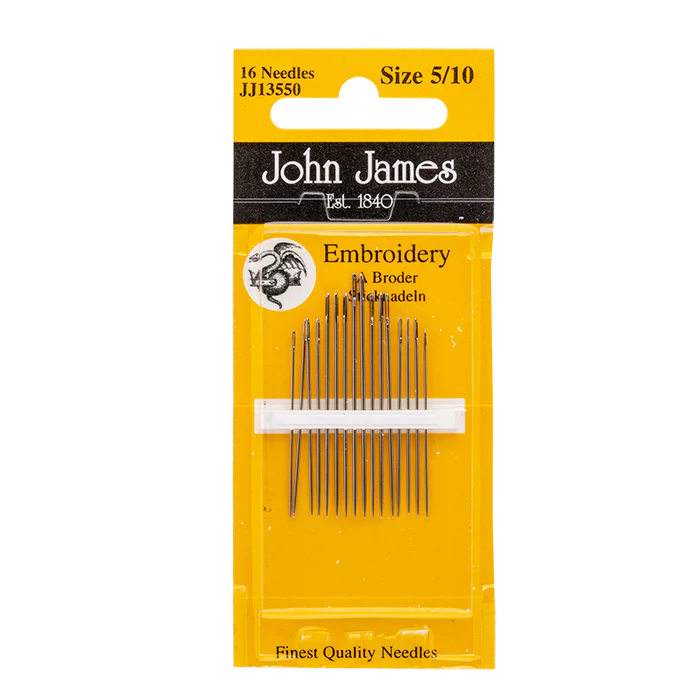
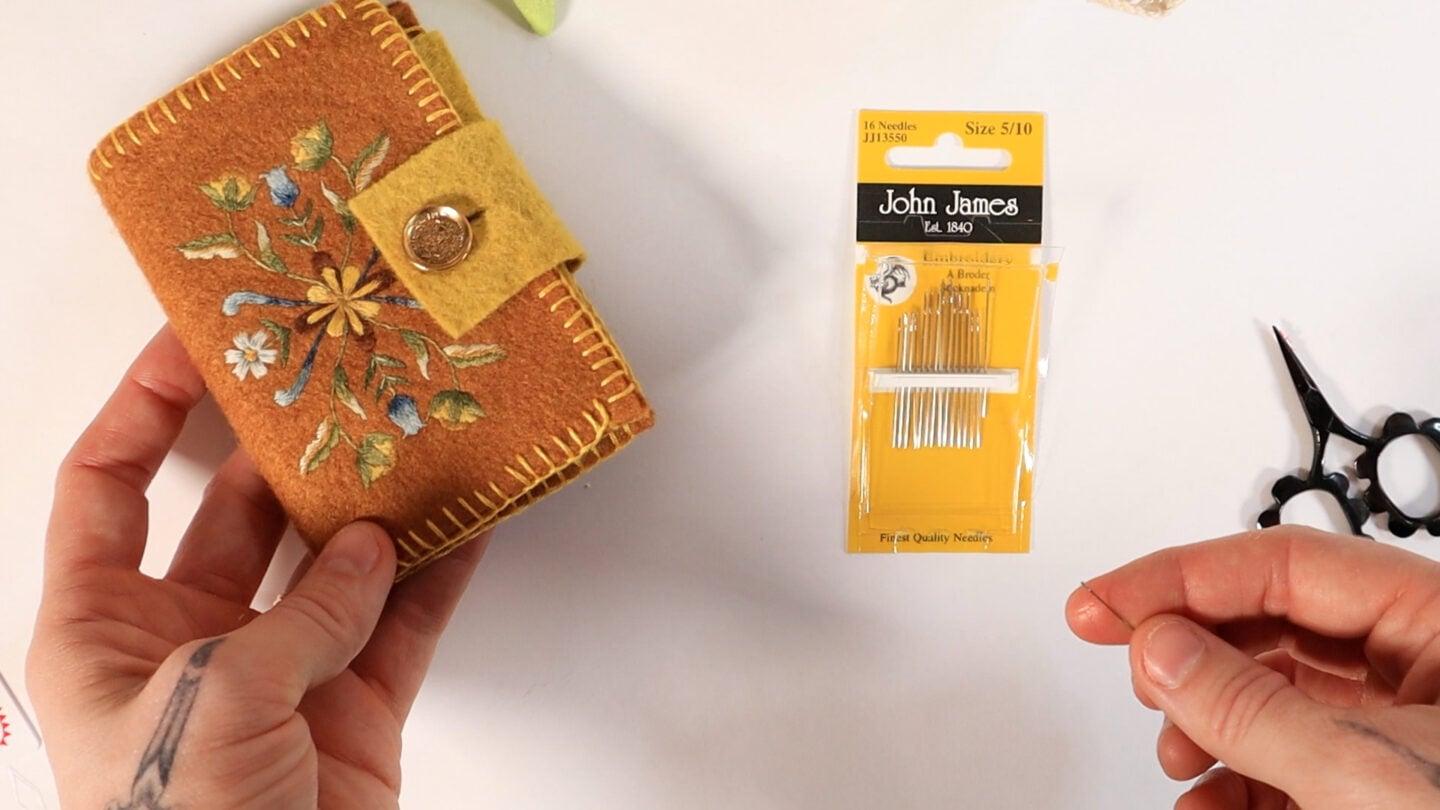
It’s easiest to get a multi-pack of a few different sizes of needles, so you can select a larger or smaller size based on how many strands of floss you’re using.
Threading A Needle
Here is the first tried and true method for threading a needle.
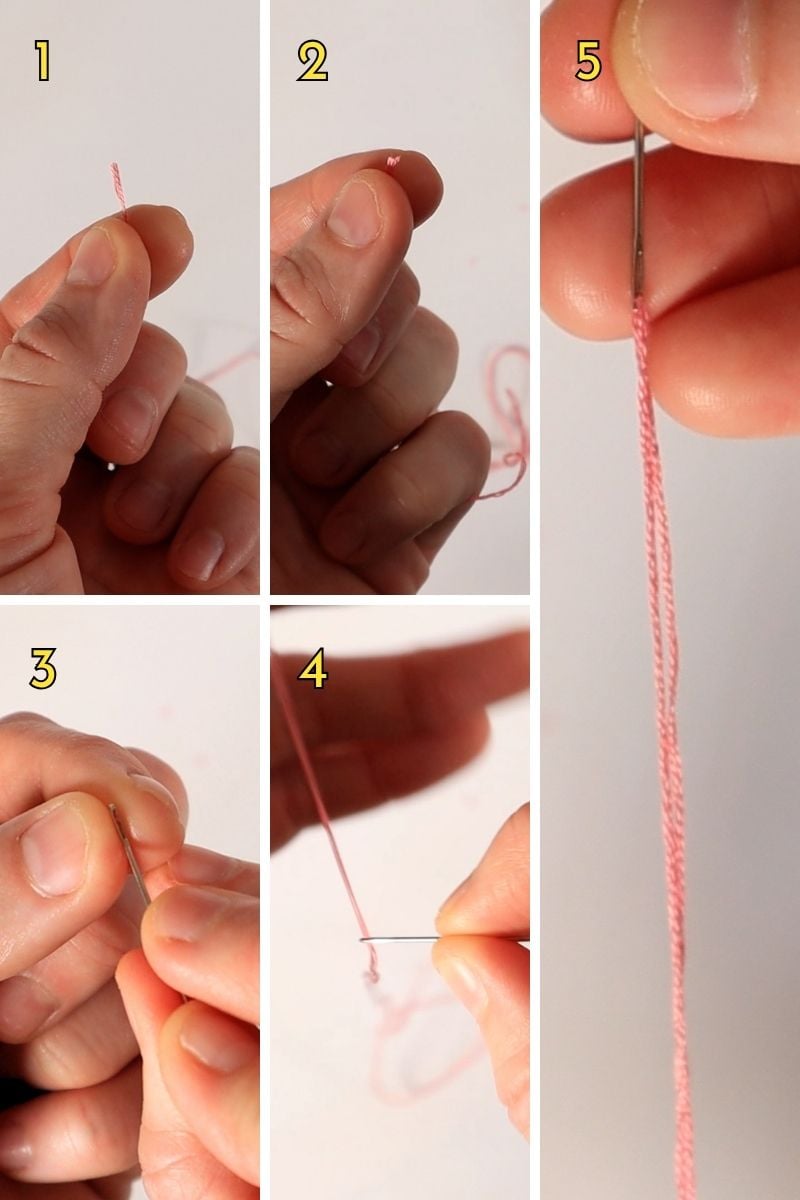
- Trim the end of the thread, then moisten it with your mouth or a thread conditioner.
- Pinch the end of the thread between your thumb and forefinger, leaving a small amount visible.
- Place the eye of the needle on top of the end of the thread.
- Pull the thread through the eye of the needle.
- Leave several inches of a tail along the needle.
Should you secure the tail of thread?
A common question is whether you should secure the tail in some way so it doesn’t slip off the needle. People often ask if a knot would help, but there is no need to secure the tail. Putting a knot in the thread near the needle will make it almost impossible to pull the needle and thread through the fabric, and it could even damage the fabric or leave visible holes.
Using A Needle Threader
If you have trouble seeing the eye of the needle, a needle threader is definitely the way to go. However, it’s not always possible to use a needle threader with thicker threads, so it’s helpful to be familiar with both techniques in case you need to do it by hand.

- Place the metal loop through the needle’s eye.
- Place the thread through the loop.
- Gently pull the loop and the thread through the needle.
- Remove the needle threader from the thread. Leave a few inches of tail along the end of the needle, and you’re ready to start stitching.
Finding The Proper Needle Size
If you’re having trouble threading a needle and the strands keep getting caught, you may need to select a needle that’s ever so slightly larger.
On the other hand, if it’s super easy to thread or there’s a lot of noticeable space in the eye of the needle, you might need to select a smaller size.

It’s a Goldilocks situation. It’s worth the little extra time it might take to make sure that it fits just right.
If you’d like to dive deeper into this topic, this post explains needle sizing.
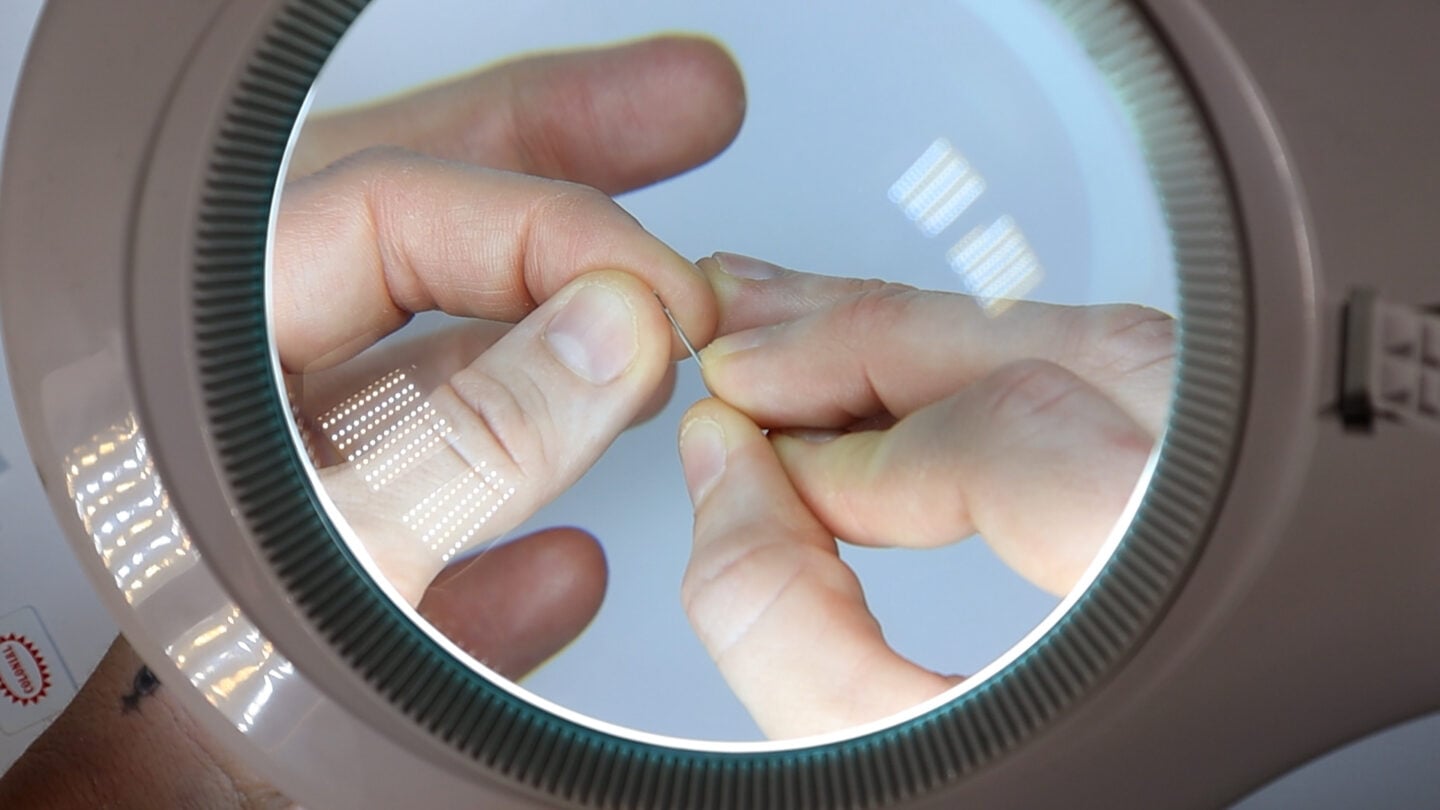
If you’ve tried a couple of different sized needles and you’re still having trouble, inspect the eye of the needle for imperfections that may be snagging the thread, or try using a magnifying lamp to thread it.
Product Picks

Extra Helpful Tips For Managing Your Embroidery Needles
Sharpen Your Needles
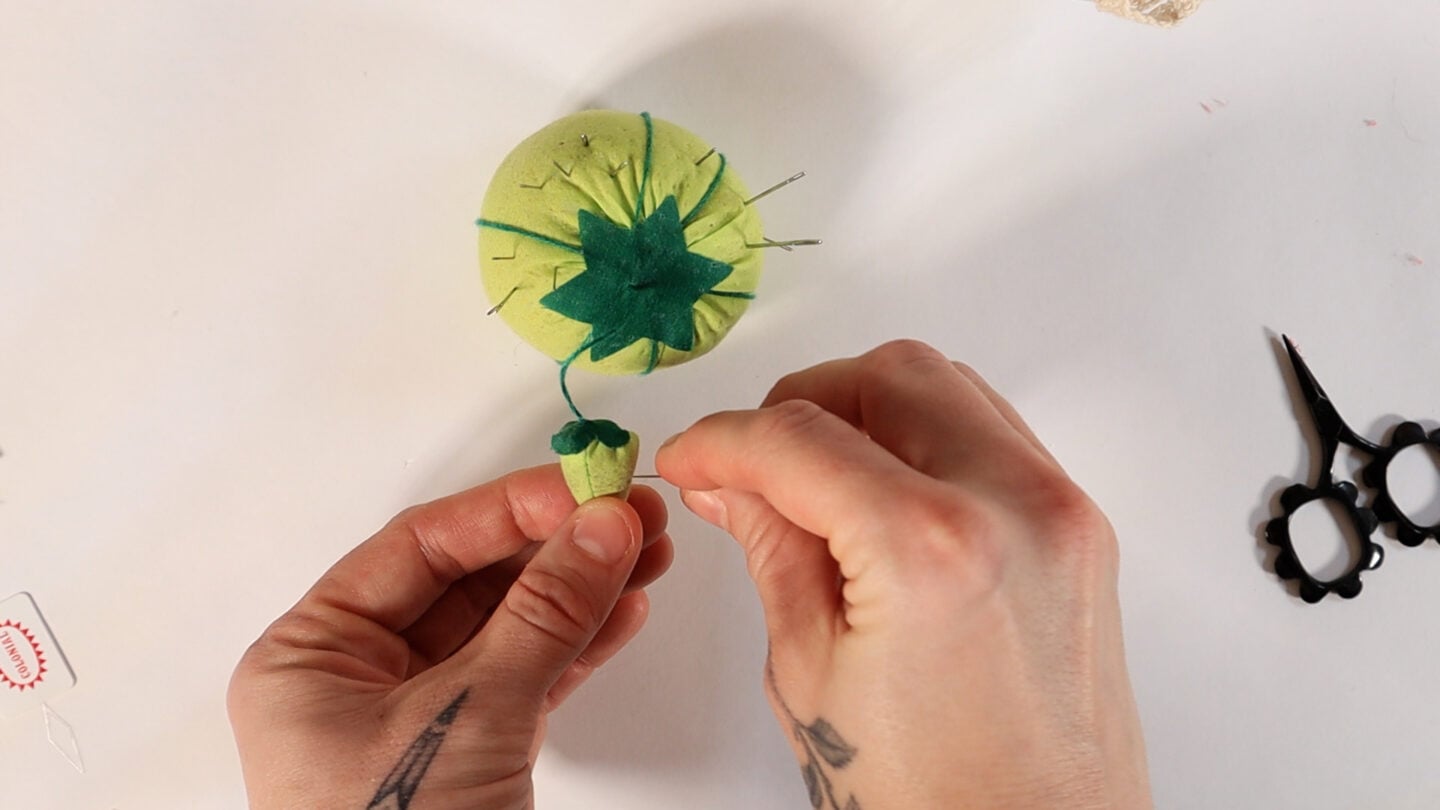
If your needle starts to squeak while you’re embroidering, it’s probably becoming a little bit dull. If you have one of the tomato pin cushions (I’m sure you’ve seen them, they’re available at pretty much any craft store), it usually has a strawberry attached that contains emery in it. Run your needle through it a few times to sharpen it. You’ll notice a huge difference afterward.
When To Throw A Needle Away
If the needle you’re using starts to become bent or looks rusty, it’s probably time to throw it away and replace it with a new one.
Keeping Needles Organized
Once you open a multi-pack of needles, it is hard to tell the different sizes apart. They all look the same. While you don’t have to be super prescriptive about needle sizing, it can be helpful to keep your needles organized so you can find a smaller or larger one without having to sort through all of them.
To keep things straight, store needles in different areas of a pin cushion, or create a little felt needle book, label the pages, and keep each needle size separate.
Please let me know if you have any additional tips in the comments, happy stitching!
Want to keep browsing? Check out some time-saving embroidery tips and tricks or learn how to make your own pin cushion.


