
Some of The Best Ways to Store Embroidery Floss
You’ve probably landed on this page because your thread collection is getting a bit uncontainable. Or maybe you’re trying to untangle and organize a massive pile of loose thread. We’ve all been there, but the good news is there are great ways to prevent a tangled mess. Here’s how to store embroidery floss so you can easily find the color you need and keep it neat and organized.

Disclaimer: This post has some affiliate links in it. I receive a small commission from purchases at no additional cost to the buyer. I only recommend products I would use and love and that are of good quality. All opinions are my own!
How To Store Embroidery Floss


Plastic Bobbins
When you purchase embroidery thread, it comes banded together in a skein. This packaging is great for storing new and unused floss, but it’s not so great once you start using it. (It usually becomes a giant knot, and the paper bands slip off once the thread gets low.)
This is where embroidery bobbins come in handy. Whenever I start a new skein of thread, I like to wrap it around these bobbins and write the thread color number on the top-right edge of the bobbin. This way, I can refer to the number to organize and keep track of the stock in my thread collection.
I prefer these plastic bobbins over the paper bobbins because the paper ones eventually wear out and get damaged. I know plastic doesn’t feel as sustainable, but it’s very durable and lasts much longer, so it’s actually less wasteful in the long run!
I use a Sharpie to mark the number on the bobbins, but you could also try these acrylic ones, which are even more heavy-duty and have pre-labeled numbers and colors.
How To Put Embroidery Thread On A Bobbin
Here’s a quick tutorial on how to put the floss on a bobbin; there is a special way to start the thread that will prevent it from getting tangled!

Slide the paper bands off of the skein of thread.

The skein is actually wound in a circle that’s folded in half. Carefully separate the skein down the middle and open it up. You should now have a circle of thread.

Locate the end of the embroidery floss that is closest to you.

Place the end over the center of the bobbin and begin winding the thread around it. I usually do this by hand, but if you’re having to wind a lot of these, a bobbin winder is helpful!

Weave the thread tail in and out of the notches along the side of the bobbin to secure it.
Have a bunch of thread to wind? A bobbin winder will save you time and effort.
Thread Storage Options
Once your thread is wound and labeled, you’ll need a good place to store it.
Plastic Storage Bins
You can buy small embroidery floss storage bins with cubbies that are the perfect size for all your thread. These bins hold a good amount of thread, but if you’re like me and have almost all of DMC’s 400+ colors, you’ll want a larger storage bin. This one has much more storage and opens from the top and bottom. I have used this kind for years, so I don’t have to keep track of several smaller bins.
Cabinets and Drawers
Plastic bins aren’t always the prettiest. If you want something a little bit nicer, here are some ideas.
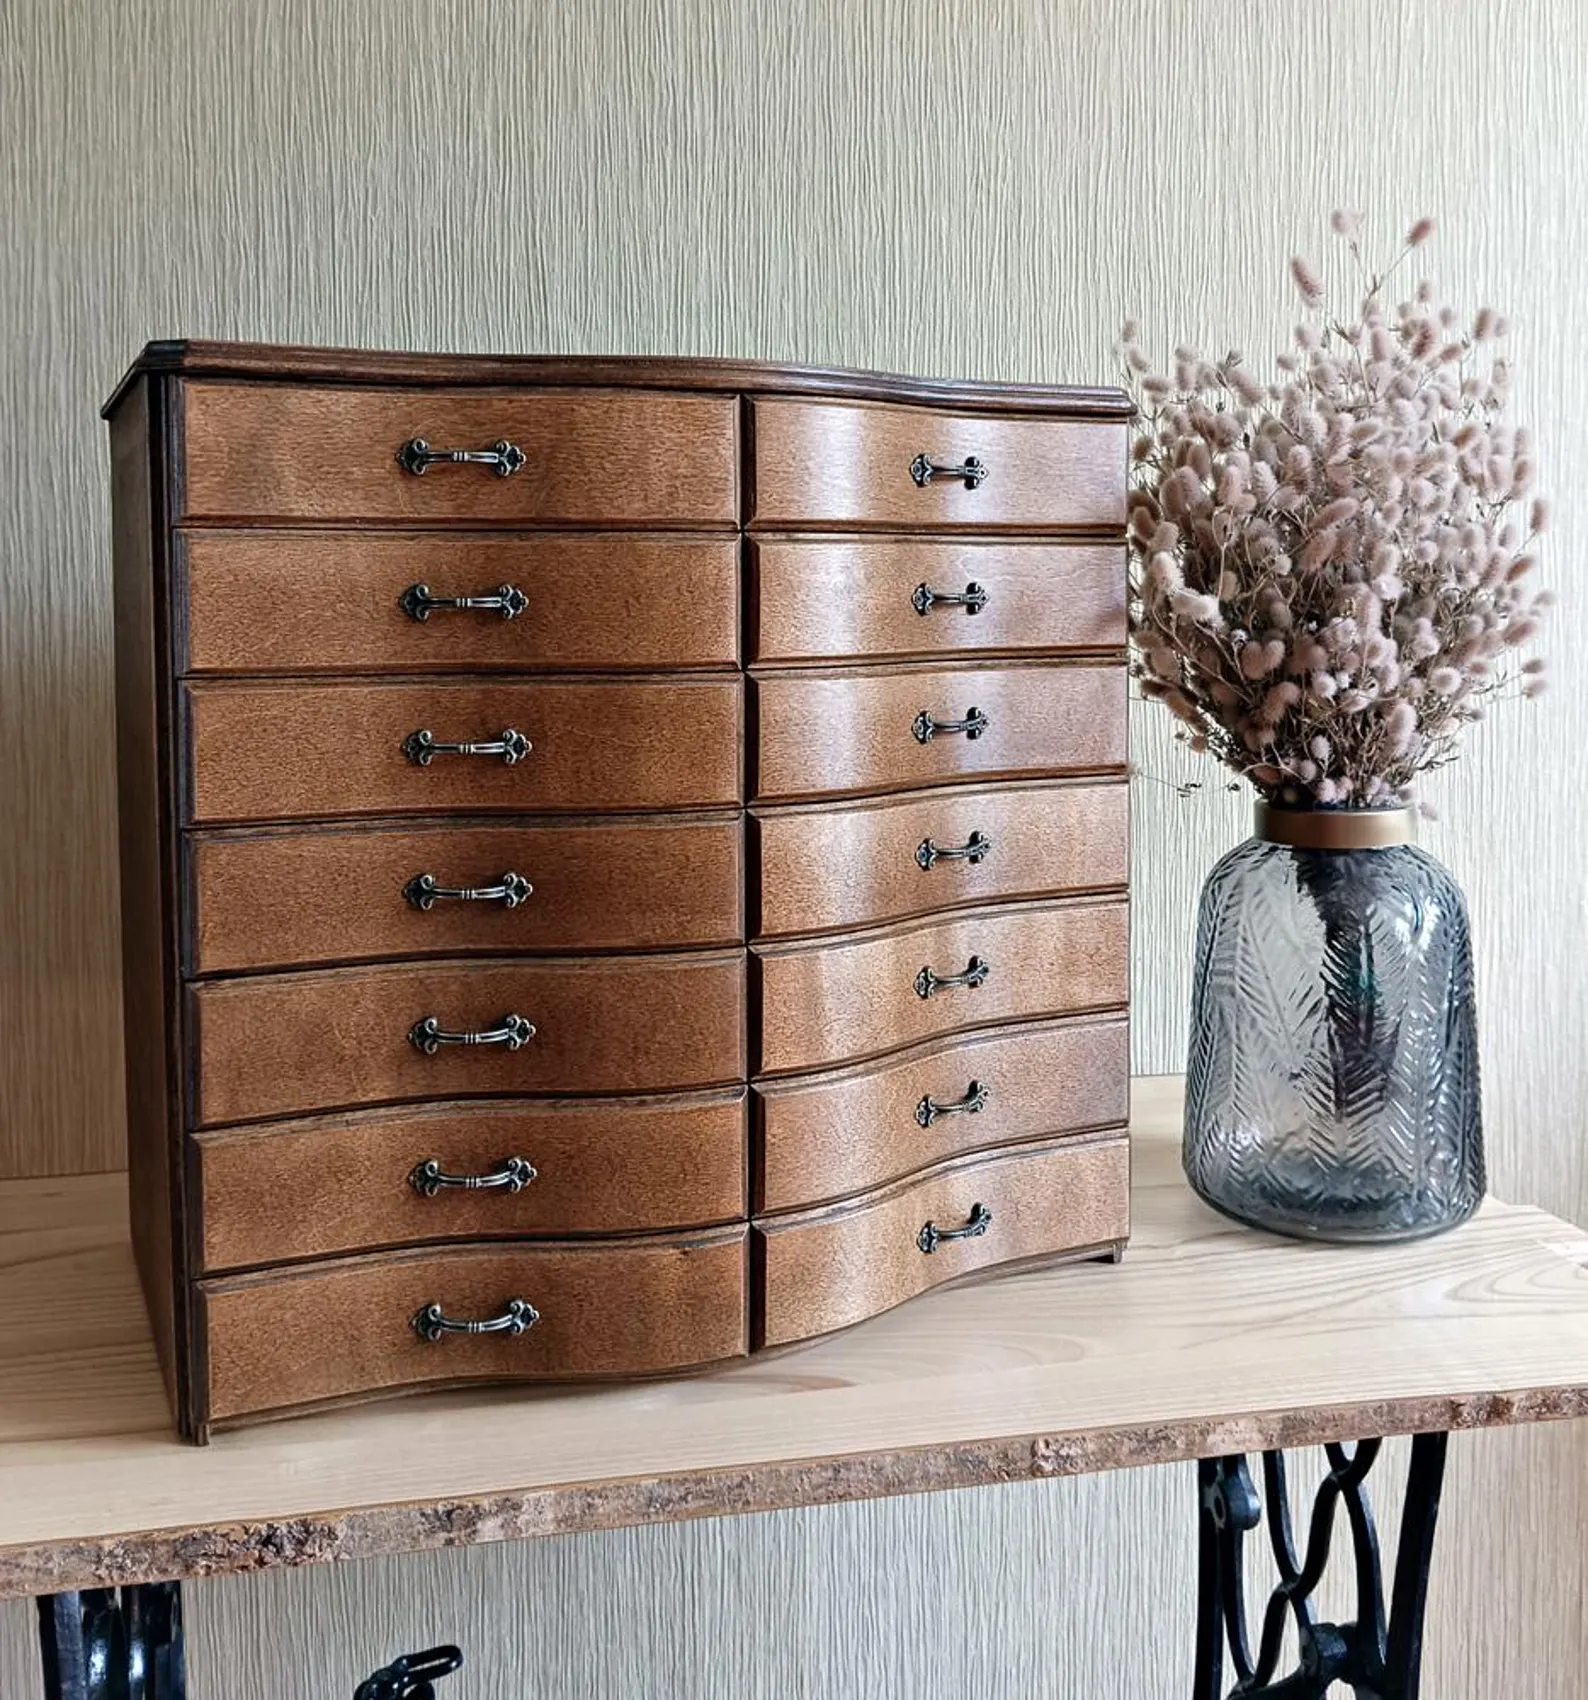
This handmade drawer features 14 drawers and fits approximately 550-600 pieces in it.

To store a larger thread collection, check out the Bisley 3-drawer cabinet. Then add some drawer inserts that fit the thread bobbins.
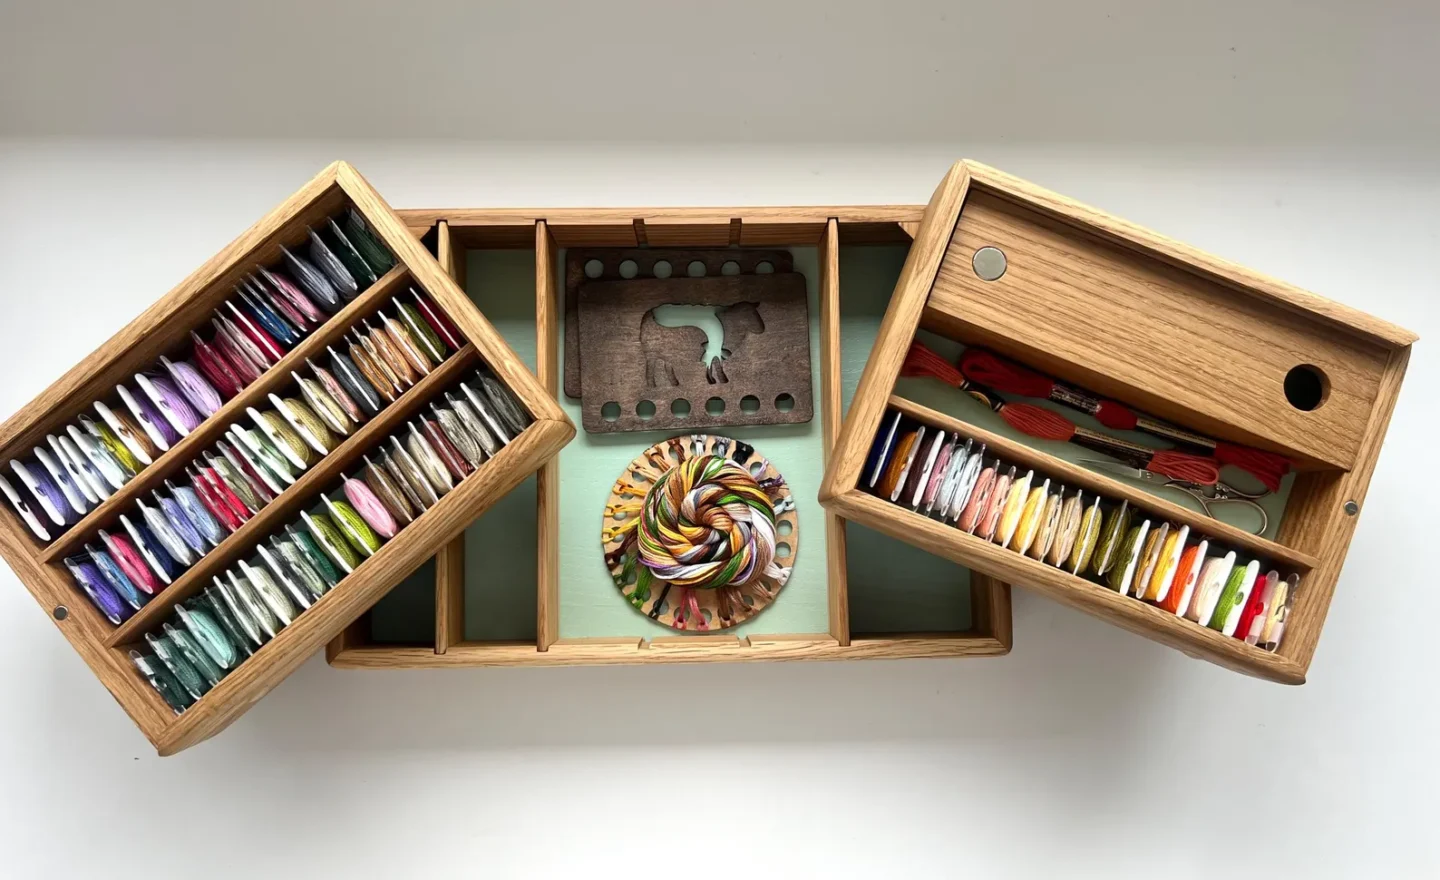
I’m always on the lookout for handmade items, and I happened across these beautiful oak wood floss organizers. The top fans out, and the organizer comes with a magnet for needles, plus an optional handle for easy transport.
Organizing Embroidery Thread
If you thread paint or like to use lots of different colors in your embroideries, it is super helpful to keep your colors organized so you can easily find a particular shade.
How you organize your thread is, of course, purely up to preference. I’ve seen people group their embroidery threads by hue, while others like to keep their most-used color palettes grouped.
I’ll share a few ways I have organized my thread that I have found most helpful.
Going By A Thread Card

If you’re using DMC embroidery floss, the colors are, for the most part, assigned numbers at random. This unfortunately means sorting the thread in numerical order won’t group the colors logically.
When I first started embroidering, I used a DMC color card to sort my thread colors in the order they appeared on the card. This somewhat organizes the colors by similar shades and hues.
The one problem I ran into was that I had to refer to the card to put back all the thread I was using. Such a simple thing felt inconvenient to me, and I would procrastinate putting the thread colors back, leaving myself with a huge mess.
Floss Organization Systems

A few years ago, I found a floss organization system called Tidy Stitch on Etsy. I tried it out for a while and have stuck with it ever since! It feels much more intuitive, and it’s easier to find the colors I need. The cards fit perfectly in a standard thread box, so you can refer to color groups and their corresponding numbers to organize your thread.
You can purchase this system as a PDF, or get the physical printed cards on Etsy.
I purchased the PDF and printed it on heavy card stock. The cards have stayed intact the entire time I’ve been using this system!
What To Do With Extra Thread

I keep a few extra skeins of certain colors I use frequently, and I also have some synthetic and variegated thread that I don’t use as often. I take the compartments out of a smaller thread container and keep these extra supplies in it. Whenever I run out of thread or want to use a special kind of thread, I just go into that box.
Find A System That Works For You
Winding all the bobbins and getting everything organized can be tedious, but once you find a system that works for you, it’s easy to maintain.
I hope this gave you some storage and organization ideas. This is just my experience; if you’d like even more ideas, Beth Coletti has a wonderful article with more unique ideas from the stitching community.
And If you’re in an organizing mood, you’ll love these fabric storage ideas and these embroidery room organization ideas.


