How To Make Alphabet Floral Embroidery Letters
A fun and relatively simple embroidery project that is great for gifting are alphabet floral embroidery letters. These can be highly customizable and you can stitch any letter you want! Whether it’s for a baby shower, a housewarming gift for a couple, or even a personal project to decorate your home with, they make an elegant and timeless design to hang on the wall.

This tutorial is more of a casual one: it’s set up to inspire you and show you how you can make your own design. If you’d like a more step by step guide and traceable design, there is a more detailed design that is somewhat similar to the design pictured in the pattern shop.
Disclaimer: This post contains affiliate links, which means I may earn a small commission if you choose to purchase an item.
DIY Alphabet Floral Embroidery Letters
Supplies Needed
- embroidery needle
- embroidery hoop
- scissors
- embroidery thread – I recommend DMC floss
- fabric pen or chalk transfer paper
- linen or cotton fabric – the design in the tutorial was stitched on this hand dyed fabric
- printed off letter in the font of your (if you need some ideas these fonts work great for embroidery)
- a pencil
Creating A Floral Alphabet Embroidery Design
Instead of hand drawing the letter, I chose a serif font from Canva. (You can easily create an A4 document and size the letter to your liking.) I prefer to do this because I think the finished look of the embroidery is much more polished looking!

Then, print out the letter and make sure it is sized properly and fits nicely in the hoop of your choice. Trace the inner diameter of the ring to mark out the available room for the design.
Then you can start drawing directly onto the printed out letter. Keep your pencil marks light so that you can go back and erase any mistakes. Roughly sketch out the floral shapes and overall composition of the design you’d like to stitch.
It’s easiest to stick with loose circles and shapes to keep things simple when drawing the flowers and leaves. Then you can go back through and refine the design even more as you go.
Once you’re happy with the design, you’re ready to gather your supplies and transfer the design to the fabric.
Transferring The Pattern To Fabric

There are many ways to transfer patterns to fabric, but I chose to use chalk transfer paper because the fabric I used is darker and harder to trace through.
If you choose to use this method, you’ll want to minimize how much you handle the embroidery because the chalk can wear off easily.
To transfer, place the chalk paper face down on the fabric and place the design you want to transfer on top of the paper. It’s important for the paper to not shift or move around. Taping the paper to the fabric will help to ensure you’ll get a clearer transfer of the design.
Using a pen or pencil with a fine tip, trace the design, pressing firmly as you go.
Once you have traced the entire design, gently lift up the paper to check to make sure the design is clear on the fabric. If it is not, trace back over the areas that need to be transferred more clearly.

Once you’re happy with everything, you can place your embroidery in the embroidery hoop and get started.
Stitching the Floral Letter

The best place to start on a floral embroidery letter is outlining the letter. You can use whatever outline stitch you would like. Check out this post if you need help choosing an embroidery stitch or you would like some helpful tips for embroidering letters.
Once you’ve outlined the letter, you can generally stitch the flowers and leaves in whatever order you find the easiest.
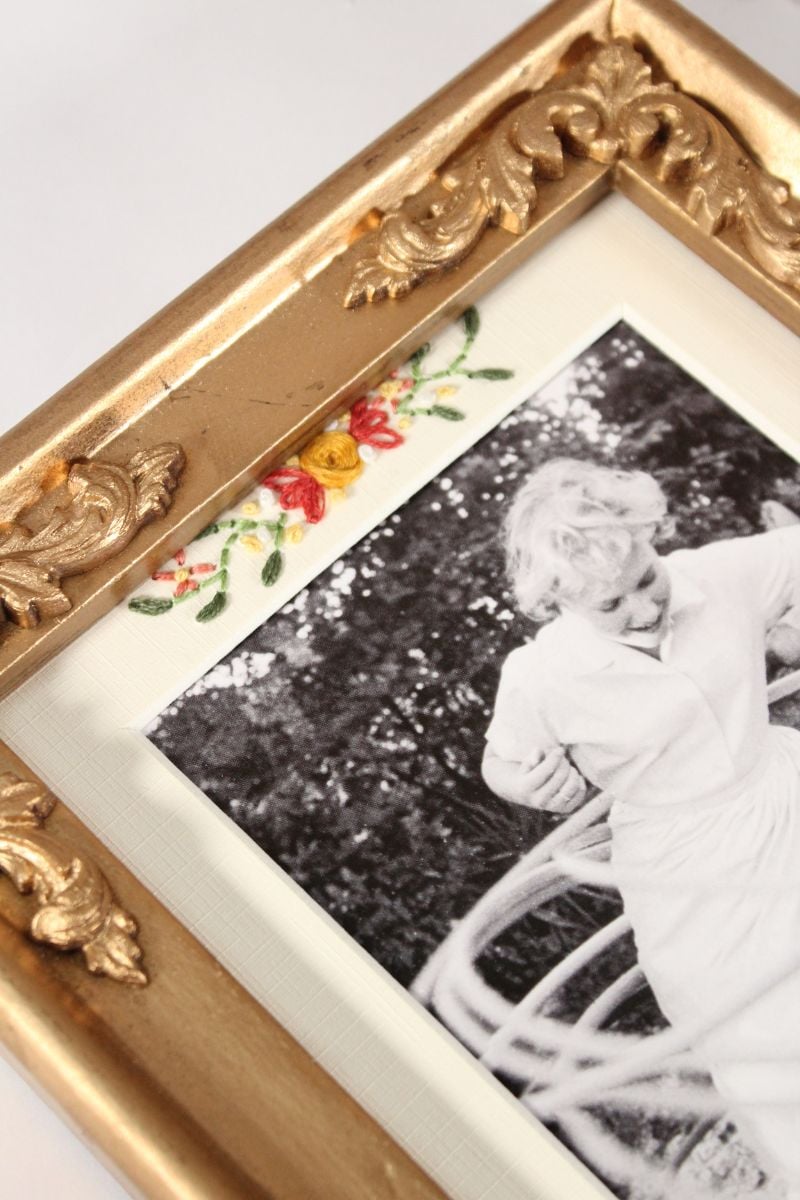
Here’s what stitches I used for the embroidered letter pictured:
- I used the back stitch to outline the letter E.
- I used lazy daisy stitch for the petals of the flowers and French knots to fill in the center of each.
- The stems of the leaves use the stem stitch
- The leaves were filled in with satin stitches.

And there you have it, your very own floral embroidery letter! Take a look at 5 more ways to embroider block letters for even more ideas.
I hope you had fun creating with me…until our threads cross again!