Black Cat Embroidery Pattern + Tutorial
It’s getting closer and closer to Halloween, which means it’s the perfect time to make something a little festive! This post will share with you a black cat embroidery pattern and tutorial. This design fits perfectly in a 4 inch embroidery hoop and only takes a few hours to stitch. That means you still have time to make it and decorate your home for the holiday.

Disclaimer: This post contains affiliate links, which means I may earn a small commission if you choose to purchase an item.
Supplies Needed
- Embroidery hoop – available on Etsy
- Embroidery floss – DMC colors listed below
- Linen or cotton fabric
- embroidery marker or heat erasable pen
- Embroidery scissors
- Embroidery pattern – download here (this design is for personal use only.)
DMC Colors
- 310
- 420
- 469
- 645
- 844
- 3853
- 3854
- White
Embroidery Stitches
This pattern uses a few basic embroidery stitches. I’ve linked to tutorials for each one for your reference.
- Long and short stitch embroidery tutorial
- Embroider the satin stitch
- Chain stitch embroidery tutorial
- Split stitch tutorial
Black Cat Embroidery Tutorial
First, you’ll want to print off the pattern. It contains a traceable design as well as the stitch direction for the cat.
I traced the pattern on water soluble Solvy, but you can use whatever transfer method you would like.
How To Embroider The Cat
The cat is the most complicated part of this pattern. Be sure to pay attention to the stitch direction that is illustrated in the pattern!
All of the pattern uses 2 strands of thread unless otherwise noted.

Fill in the areas around the eyes, nose, and mouth with long and short stitches using black thread.
Fill in the eyes with small horizontal satin stitches using 844.

Fill in the forehead with long and short stitches using 844.
Fill in the area underneath the chin using long and short stitches of the same color.
Fill in the left ear using long and short stitches of the same color.
Outline the left ear with split stitches using black thread. Then fill in the right ear with satin stitches.

Begin filling in the neck and torso with long and short stitches using black thread.
Fill in the side of the neck and the next marked area below the black stitches with long and short stitches of 844.
Fill in the very bottom of the body with long and short stitches using black thread.
Final Details + Embroidering The Pumpkins and Greenery

Fill in the paw with long and short stitches using black thread.
Add a few whiskers using 1 strand of 645.
Fill in the pumpkin to the left with horizontal satin stitches using orange thread.

Fill in the smaller pumpkin the same way using light orange thread.
Fill in the stems of each of the pumpkin by making chain stitches using brown thread.
Satin stitch the leaves using green thread. Then fill in the stem with split stitches.
I hope you enjoyed this mini tutorial! If you’re interested in learning about embroidering more realistic animals and pet portraits, check out this post.
Black Cat Embroidery Patterns
If you’re looking for even more ways to embroider some simple but cute black cats, check out these patterns.

Gathered also has a cute tutorial for a scared black cat that is the perfect size for a necklace. Check it out here.
Even More Cat Patterns
-
Cat + Sardine Embroidery Pattern
Original price was: $10.00.$9.00Current price is: $9.00. -
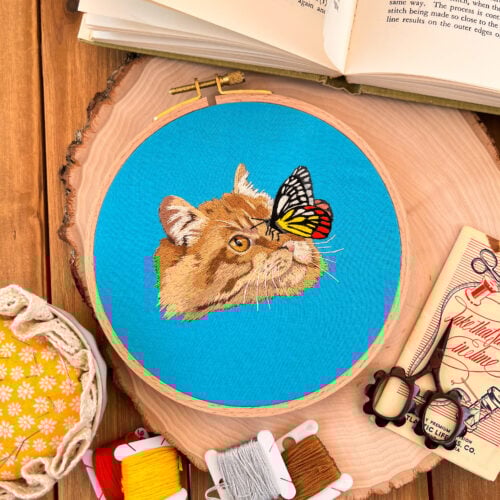
Cat and Butterfly Thread Painting Embroidery Pattern
Original price was: $10.00.$9.00Current price is: $9.00. -
Christmas Cat Embroidery Pattern
Original price was: $10.00.$9.00Current price is: $9.00. -

Black Cat and Pumpkin Halloween Thread Painting Pattern
$10.00


![How to Embroider Hearts [5 Different Ways]](https://crewelghoul.com/wp-content/uploads/2023/01/how-to-embroider-hearts-1-scaled.jpg)


