Ombre Embroidery Tutorial – Stitch a Colorful Heart
In this tutorial, I will show you how to create a gradient effect with embroidery floss. Using the long and short stitch, you’ll learn how to create an ombre embroidery of a small heart.
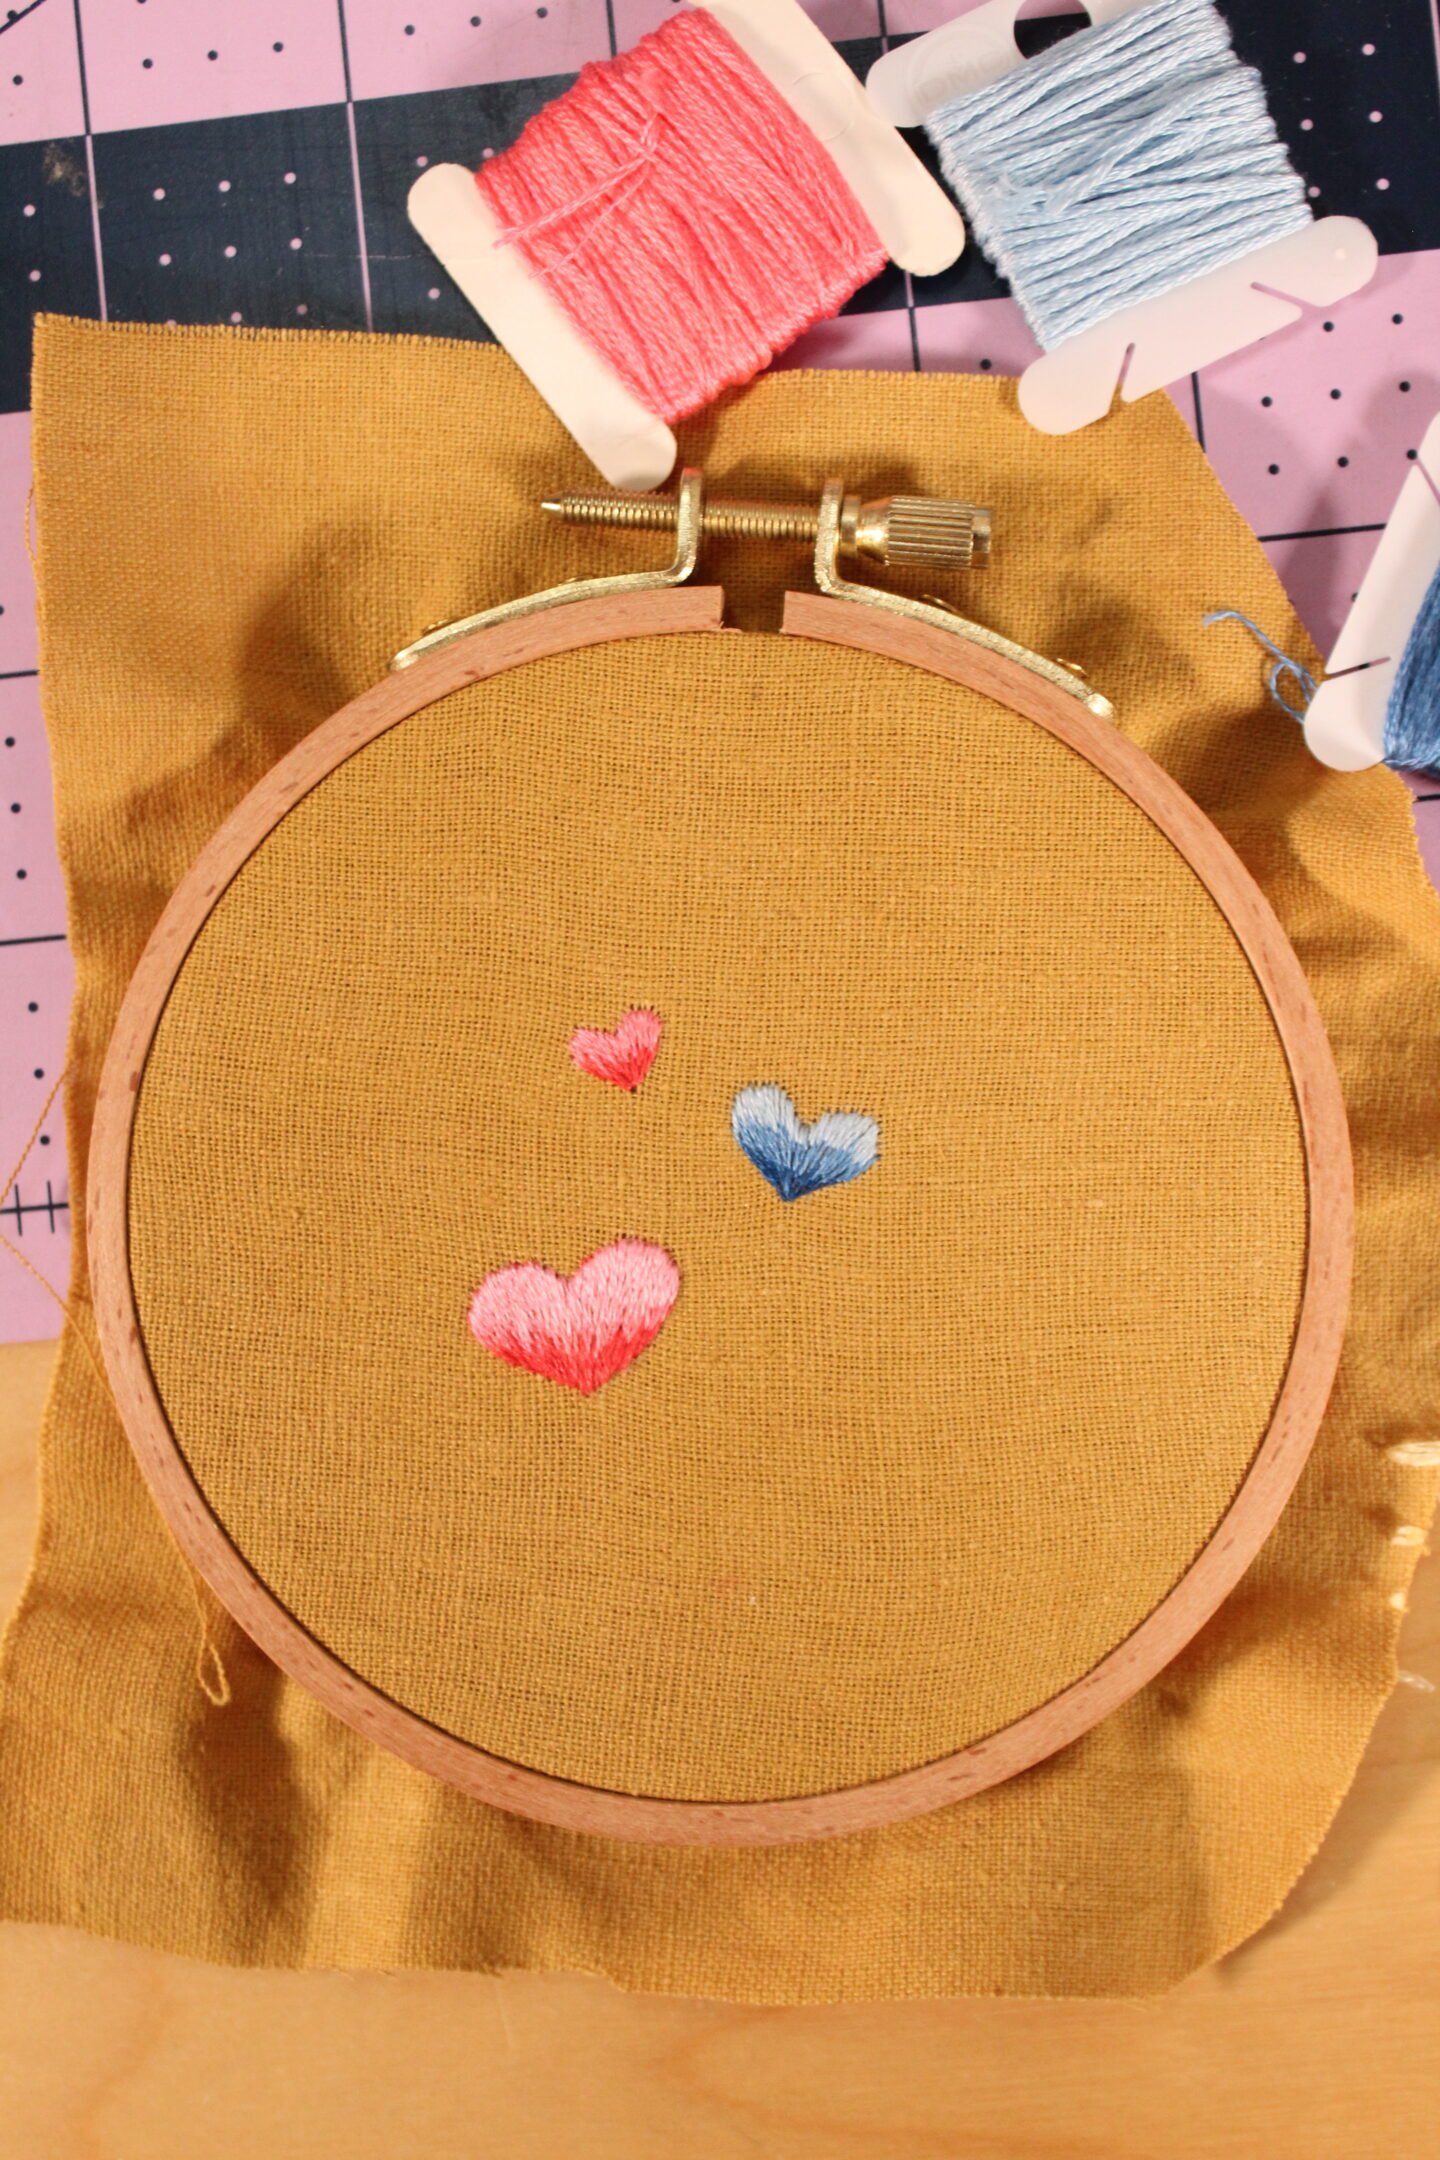
Ombre Embroidery Heart Tutorial
Getting Started
You’ll need some stranded floss for this embroidery. (I used DMC, colors listed below.)
- 3801
- 3706
- 3708
- 824
- 826
- 827
You can use the same colors I used, or choose a variety of light, medium, and dark shades of one color. Another easy hack: use variegated floss!
First, draw a small heart onto the fabric using your favorite transfer method.

Next, we’ll separate the shape into different sections, so that each portion is filled in with a different shade of pink. I divided the heart into 3rds, drawing horizontal lines across it.

Outline The Shape
Before we begin filling in the long and short stitch, split stitch along the outline of the shape using two strands of floss. This outline will be covered up, so it doesn’t matter what color you use. However, I prefer to do this first because it’s an easy way to achieve a nice, crisp edge along the shape.

Filling In The Heart
Now we’re ready to start filling in all the details. To achieve a gradual ombre effect in the heart, we’ll fill in the bottom third with the darkest color, then the middle with the medium color, and finally the top with the lightest color.

Using the darkest color, separate one strand of floss. Begin making long and short stitches along the bottom third of the heart.
Come up directly outside of the outline you just made along the bottom center of the heart. Begin making long and short stitches varying in length. Make them as close together as possible. You don’t need to adhere to a strict pattern; remember to vary the lengths as you go.
The stitches will begin to fan out slightly along the sides. It’s okay if you overlap into the next marked area. The stitches will start to overlap with one another once we use the next color. And remember to cover up the split stitch outline as you go!

Next, using one strand of medium pink, we’ll start filling in the middle area with long and short stitches. Ensure that you overlap well into the darker color to blend the colors. It is easiest to start by going up through the darker color.
Keep the stitches going in a similar direction to the darker stitches to maintain a smooth fill.
If you’re not quite happy with the way the colors blend, try overlapping them even more, or go back through with the darker color.

Finally, start from the edges of the medium pink and fill in the top 1/3 of the heart using the lightest pink color. Continue following the same direction as the stitches below, overlapping them into the medium pink color to create a smooth blend. Ensure that you’re making the stitches over the top of the split stitch outline to fill in the entire area thoroughly.
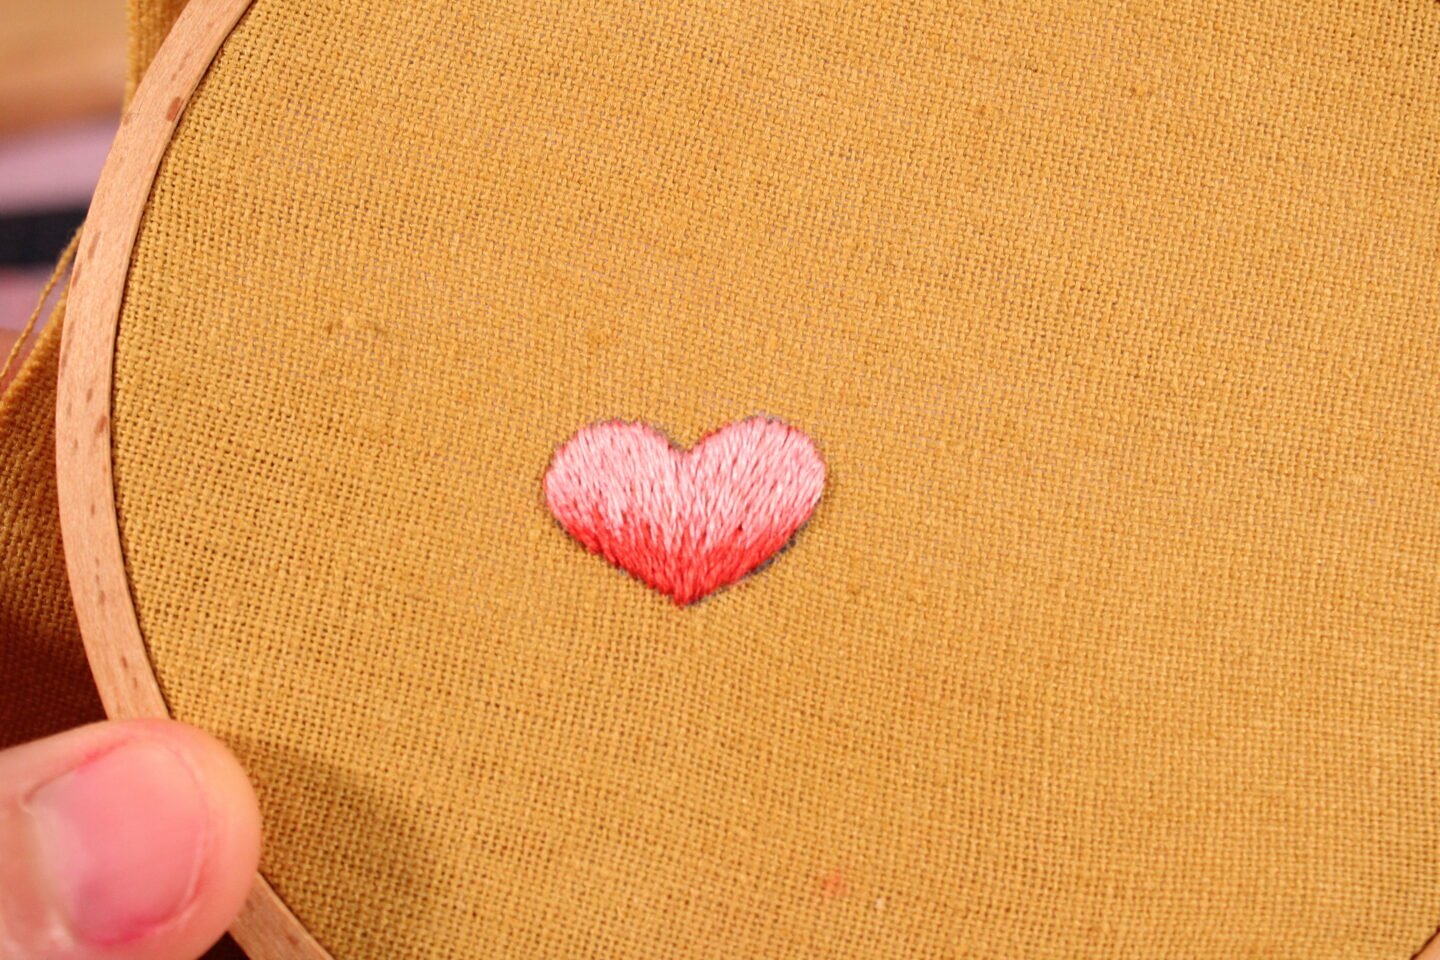
And that’s it! It’s pretty simple once you get the hang of it. You can use this technique for thread painting, filling in block letters, and many other applications.
Creating an ombre effect in embroidery is not just limited to the long and short stitch: try using the burden stitch or French knots to add some interesting texture.


