How To Cross Stitch On Clothes – Customize Your Garments!
If you’re looking for a fun and creative way to give your clothes a personal touch, cross stitching might be just the thing! While it may seem like a needlecraft reserved for intricate designs on specific kinds of fabric, it’s surprisingly easy to apply to the fabrics that make up your everyday wardrobe. With the right materials and a little bit of time, you can transform plain garments into beautifully embellished pieces that stand out. Whether you’re stitching a small design on a pocket or creating a larger statement piece, this post will show you all you need to know to successfully cross stitch on your clothes.

Disclaimer: This post contains affiliate links, which means I may earn a small commission if you choose to purchase an item.
How To Cross Stitch On Clothes

Supplies Needed
- embroidery hoop
- embroidery needle
- soluble canvas or waste canvas
- a cross stitch pattern – I used this pattern
- embroidery scissors
- embroidery floss

Clothing and Types of Fabrics To Stitch On
Garments made of natural fabrics are the easiest to work with. Linen, cotton, and denim are great choices. Try to avoid garments that contain synthetic materials or elastic in them as these are harder to stitch on.
Choose an area of the clothing that is easy to reach. Here are some examples:
- the front of a button up shirt
- the neckline of a blouse
- above the back pocket of jeans
It’s possible to stitch on sleeves and pant legs, but it will be more challenging to arrange the fabric and reach the area you want to stitch!
Types of Cross Stitch Canvas

Traditionally, cross stitch fabrics have threads that are visible enough to be counted. That is usually not the case for fabrics that clothes are made of, so there is a special kind of canvas you can use for stitching on them.
Water Soluble Canvas
Water soluble canvas is a translucent material that has evenly spaced out holes in it. It can be placed on top of the fabric and used for counted cross stitch. When you’re done with the project, it washes away with water.
This material is very easy to work with and it’s the kind I used to cross stitch my shirt, however it can be harder to see on certain fabrics.
Waste Canvas
The next kind of canvas is called waste canvas. This is another kind of temporary canvas that makes it easy to count stitches. Instead of washing away, the threads are removed and pulled out from underneath the cross stitching once you are done with the project.
While it may take a bit more time to remove, this canvas is usually a bit more visible against the background of the fabric and it has gridlines on it making it easier to count.
Calculate Cross Stitch Design Size
The first thing you’ll want to do is measure the area you have to work with on your clothing and then calculate out how big the finished cross stitch design will be.
To do this, count how many squares make up the width and height of the design and divide each one by the thread count of your waste canvas.
As an example, the portion of the cross stitch pattern I was stitching was approximately 40 x 40 stitches and I used waste canvas that had a thread count of 14.
40 divided by 14 is 2.85, so the finished design would be 2.85 x 2.85 inches.
Cut The Waste Canvas
I used water soluble canvas in the example photos, but the instructions in this tutorial will work for either kind of canvas!
Now that you know the dimensions of the finished design, you can cut a piece of the canvas. Cut the canvas an inch or 2 larger than the finished dimensions to give yourself some extra margin.
Secure The Canvas To The Fabric

Line up the canvas so that the grid is straight. It may help to use landmarks on the clothing to do this, such as the seam of a pocket.
Using a loose basting stitch, secure the waste canvas to the fabric. This will get removed at the end, so you can make the stitches large so that they’re easy to undo.
To avoid distorting the design, make sure that the canvas is laying completely flat along the fabric and that there aren’t any wrinkles or bunching.
Starting The Pattern
Place the fabric in an embroidery hoop. Tighten the fabric, but avoid overstretching it. Again, make sure that the waste canvas is lying flat along the surface.
If the canvas is not gridded, it may be helpful to add grid lines every 10 stitches. The area I was working in was rather small, so I added some along the bottom and right edge.

Similar to how you’d start any cross stitch project, it’s best to start in the middle of the pattern. Measure the area on the clothing and locate the approximate center. Make a small mark with a pen or marker.
Then locate the center of the cross stitch chart. If it isn’t marked already, mark with a pen or marker.
Then you’re ready to get started!
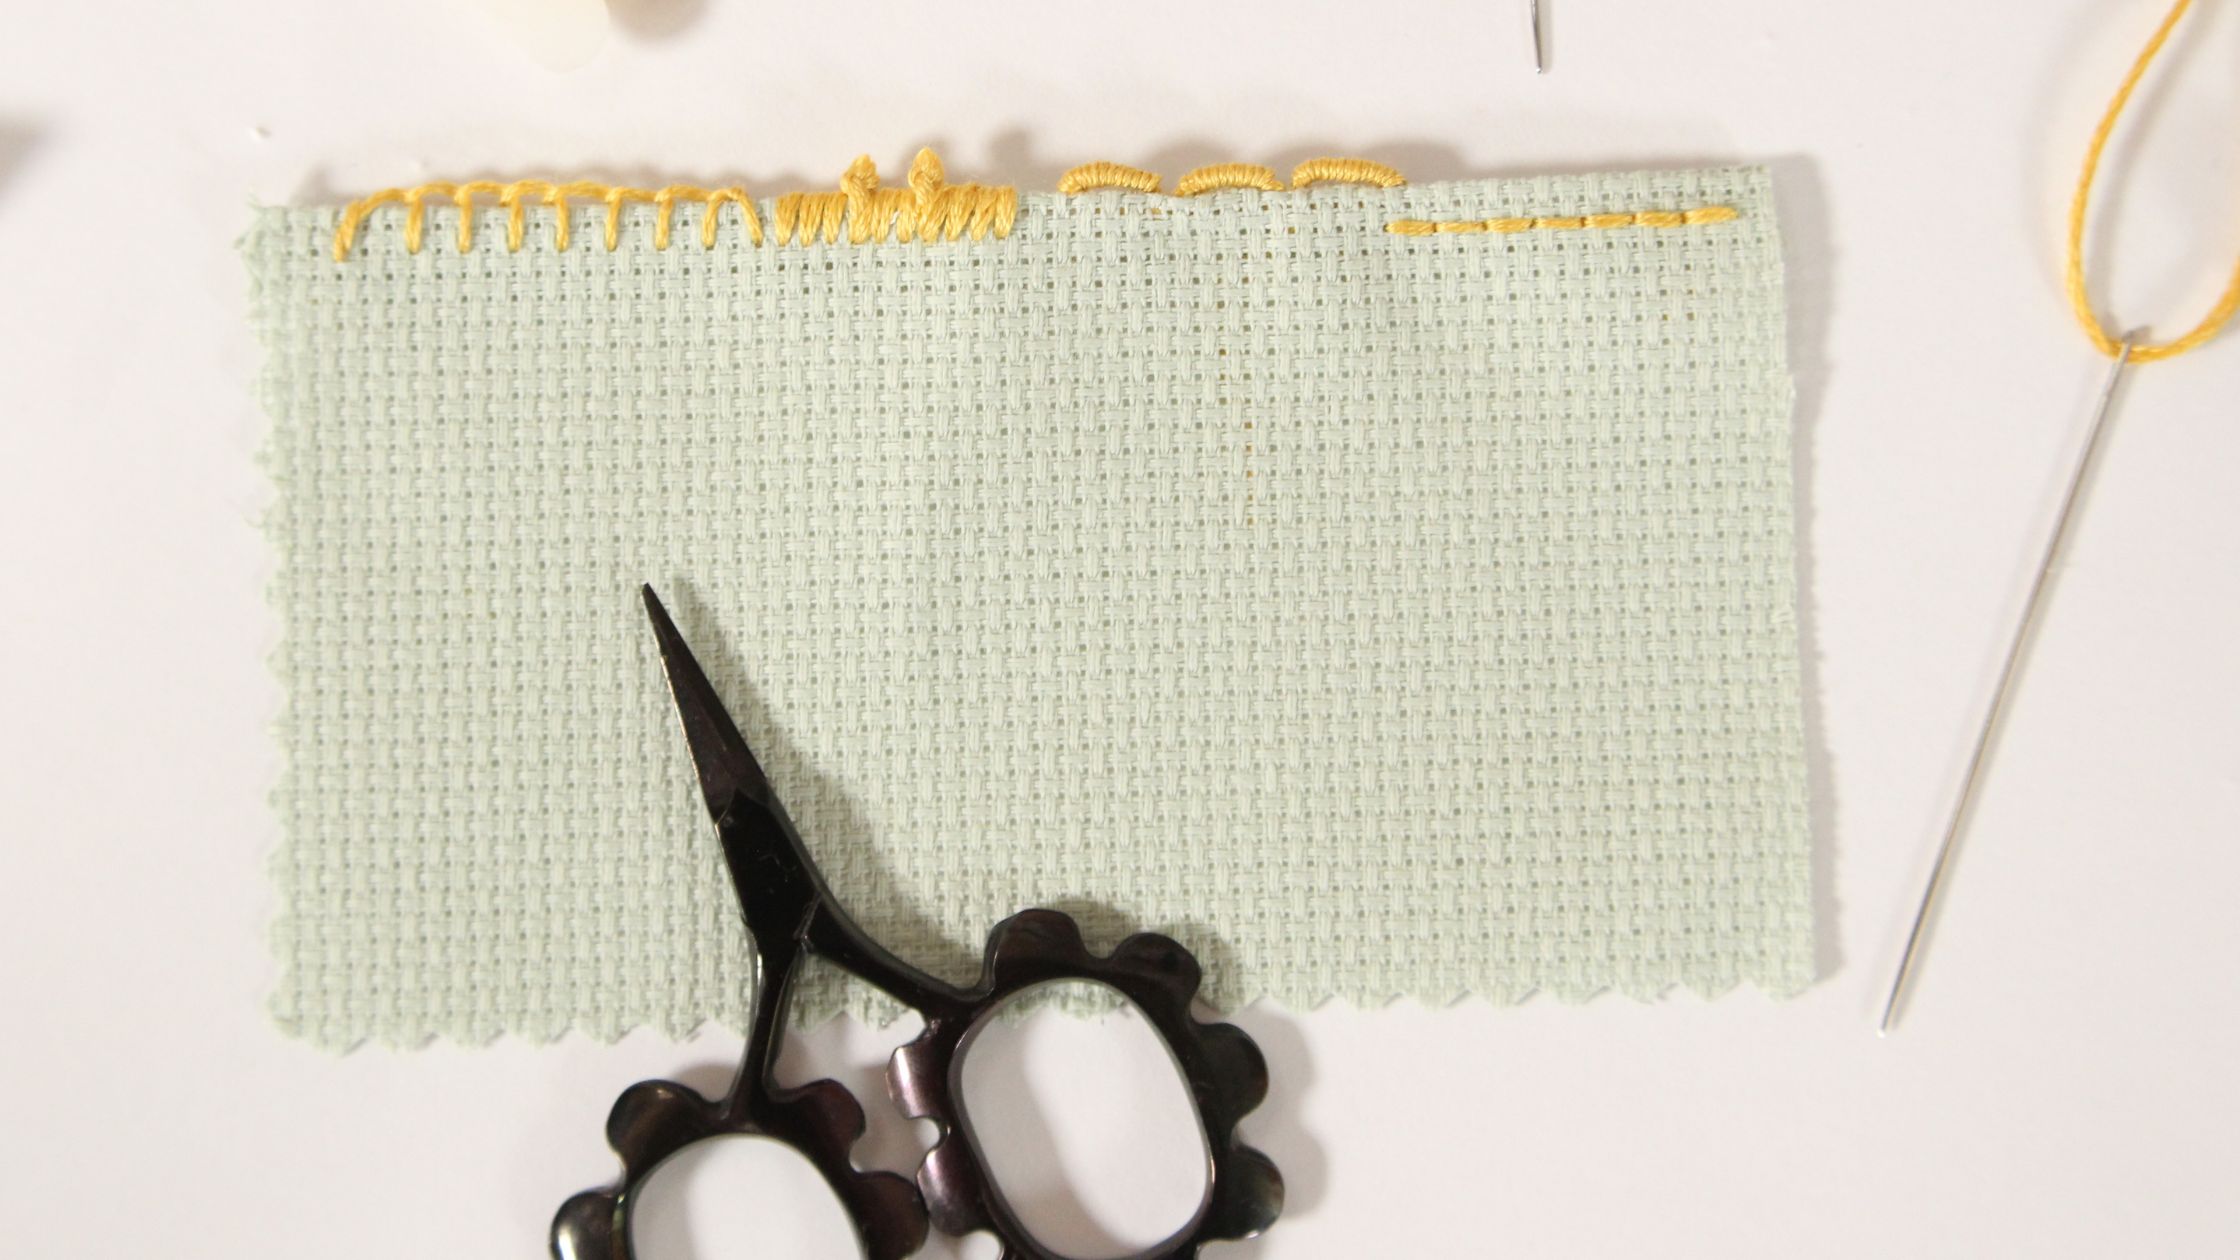
How To Start And End Stitches
Usually, it’s not necessary to use knots for cross stitch. But for clothing, I recommend starting and ending stitches in a more secure way since the garment will be washed a worn.

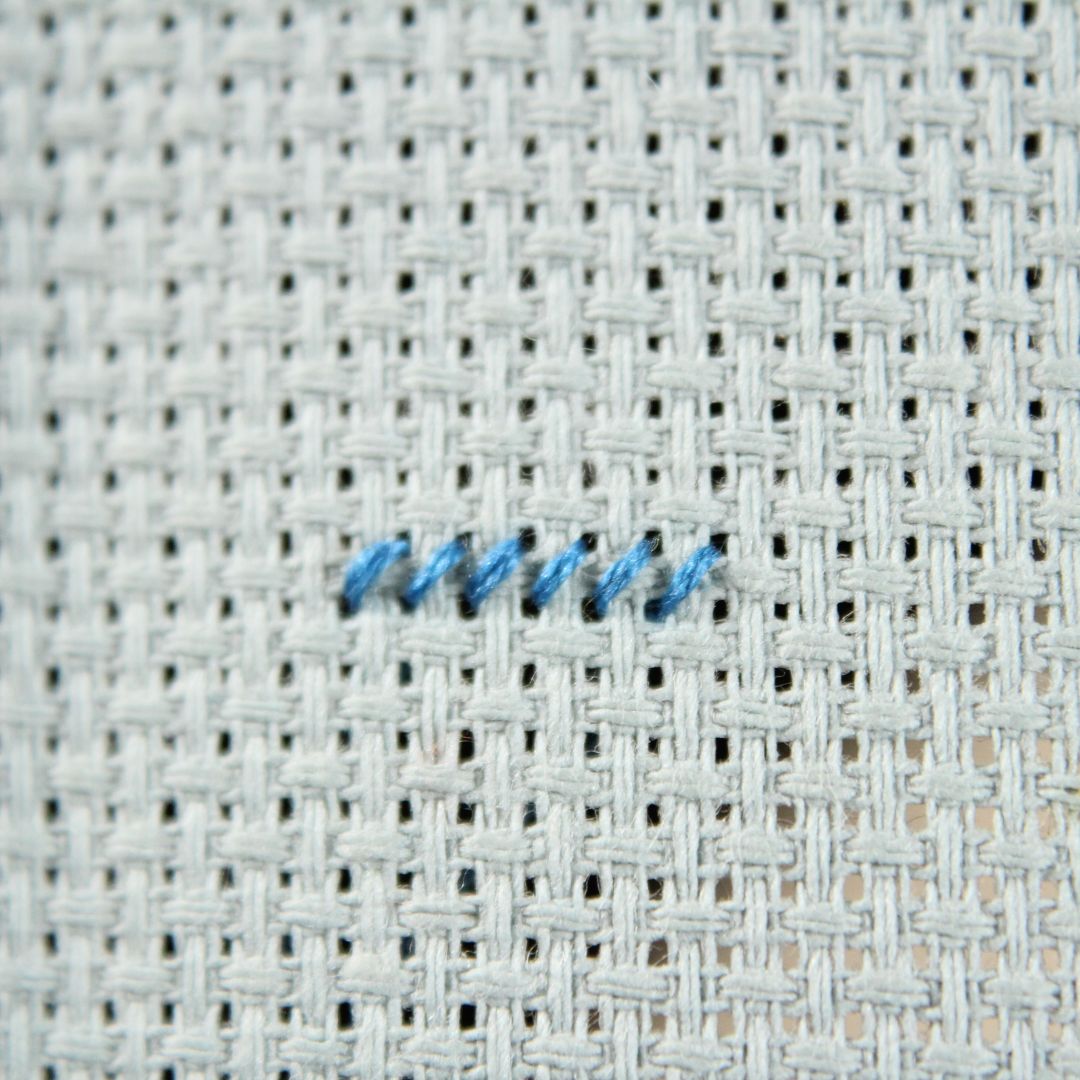
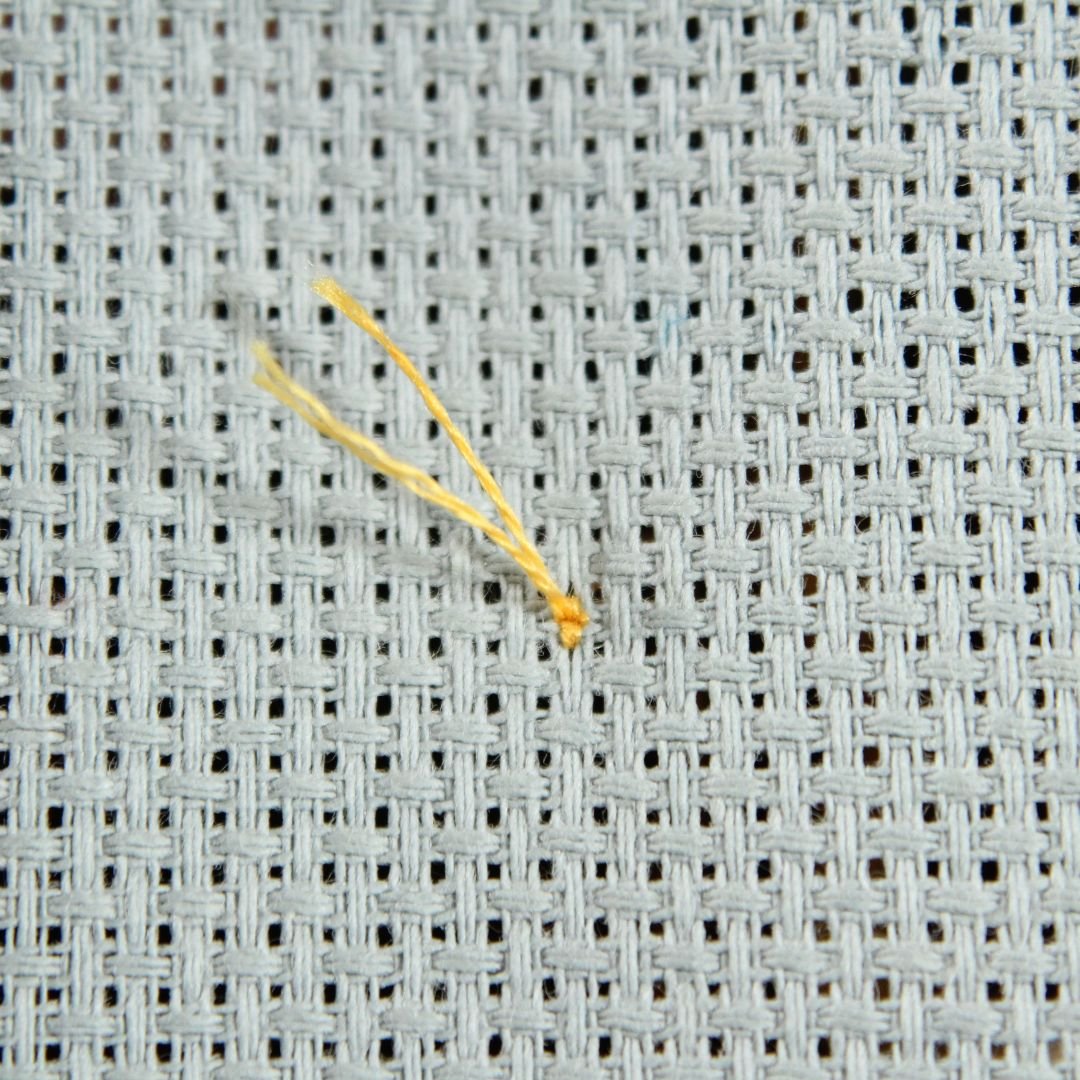
Quilter’s Knot
To start a stitch, it’s easiest to tie an overhand or quilter’s knot, or you can start with a pin stitch.

Sewing Knot
To end a stitch, a sewing knot is a handy way to secure the thread.
- Place your needle under the stitches along the back of the embroidery.
- Pull through until a small loop forms. Then place your needle through the loop.
- Pull tight, and repeat these steps one more time; then a small knot will form.

Extra Tips For Success
- Work from one area to the next. This will help you avoid getting lost in the pattern and it will also minimize trailing threads along the back.
- Keep the back of the embroidery neat. Start and end each stitch as you go to make sure there aren’t excessive knots or bulk on the back.
- Experiment with your stitch technique – it may be harder to naturally find the hole you want to stitch through. Try using the sewing method of stitching, where you work mainly from the front of the fabric to see if it’s easier.
- You may find these tips for keeping cross stitch neat helpful as well.
Finishing Up
Once you’re done with the design, double check that all of the threads are secure along the back of the work.
Remove the basting stitches and trim any excess thread.
Then you can remove the canvas.

For the water soluble canvas, it’s easiest to cut away any excess and then soak the embroidery in warm water for a few minutes. Then gently rub the stitches with your fingers under running water to remove any remaining canvas.
To remove waste canvas, check out this tutorial.
Allow the embroidery to air dry. And you’ve got yourself a new cross stitched piece of clothing!
Check out this article all about embroidery care and washing or try applying Tender Touch stabilizer to protect the stitches and keep your embroidery nice for years to come.

I hope this tutorial added a stitch of happiness to your project…keep weaving love into every stitch!