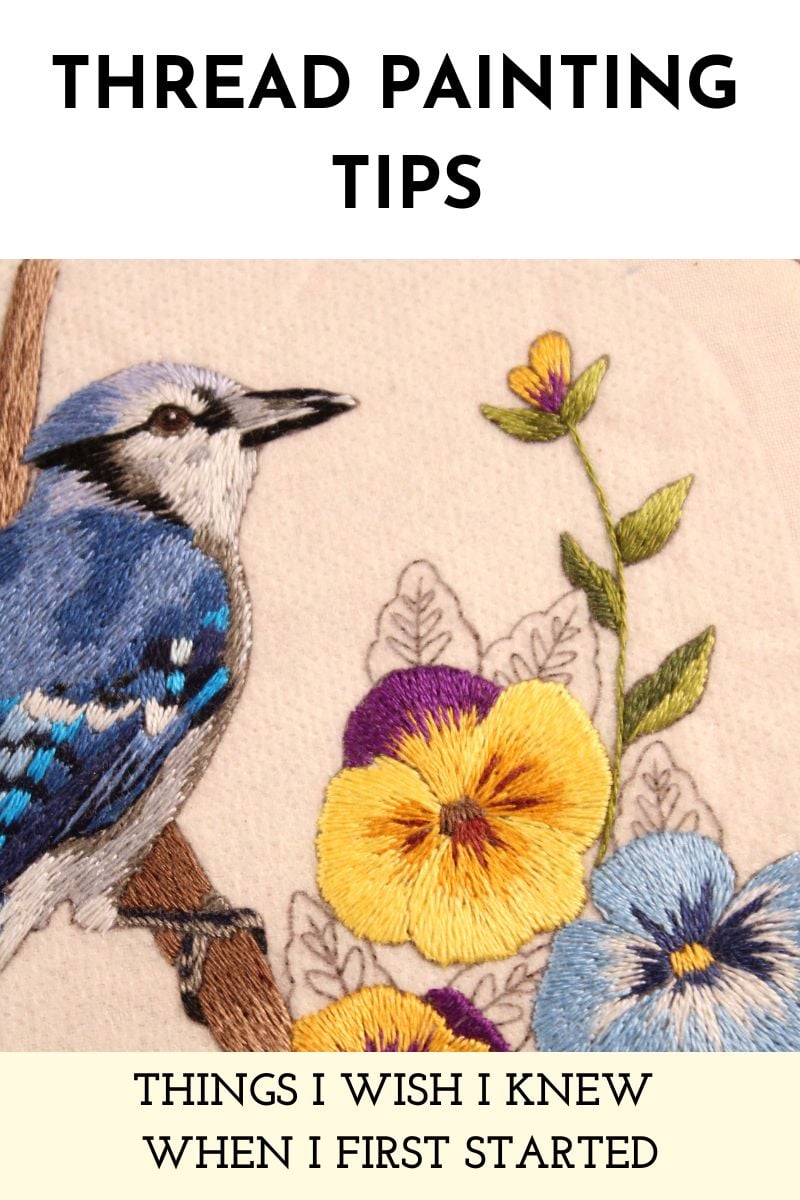
Invaluable Thread Painting Tips – A Must-Read!
It’s taken me many years to feel confident in my needle painting abilities. The learning process can feel long and complex, and while trial and error is a crucial part of developing any skill, these little pieces of wisdom will help you in your journey. This post shares lots of thread painting tips that will help you immensely and help you avoid some pitfalls.
If you want to listen to this post instead, jump to the video.

Disclaimer: This post contains affiliate links, which means I may earn a small commission if you choose to purchase an item.
Thread Painting Tips
Use A Good Reference Photo
Before you even get started designing or stitching, it’s important to select a good photo to use. A good reference photo should show proper lighting, proportions, and colors.
Unless you’re a pro and you already know how to draw from memory or you’re familiar with a particular subject matter, your finished embroidery will only turn out as nice as the details in your reference photo.
Start With A Solid Design
Mark out color changes – this acts as a map or guide while you’re referencing and stitching off of a photo.

Use A Transfer Method That Allows For A Decent Amount Of Detail
I like to transfer designs with Super Solvy and stick and stitch. Tracing designs onto fabric can be challenging, especially for intricate designs with many fine lines.
These two methods make it easy – Stick and Stitch allows you to print directly on it, and Super Solvy is translucent, making it easy to trace.

How Many Strands You Use Matters
Use one strand to achieve a more subtle blend. This also allows you to add tiny details. Or, if you want a more abstract, painterly look, use two or three strands.

Use A Color Card
Have a color card on hand to help with color selection for your embroidery. This will help you find similar color groups and match colors from the reference photo. You can lay thread on top of it to compare different colors.
I recommend having the threaded card because the colors are more accurate.

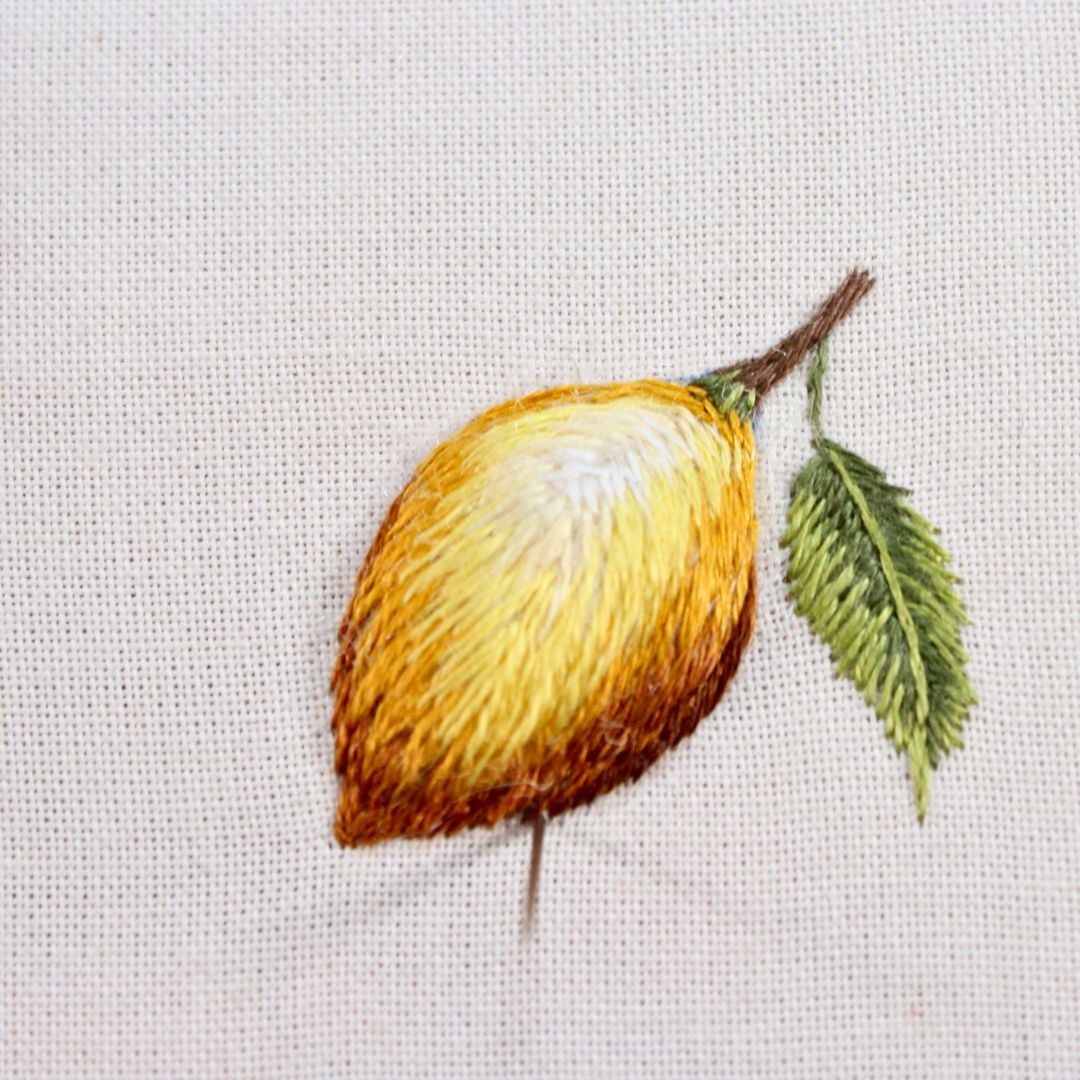
Overlap Your Stitches
You can always go back over areas you’ve stitched. In fact, I do this a lot, especially when adding highlights to things like fur and feathers. This is another reason why using one strand at a time is especially helpful.
Video


More Learning Resources
I hope you found these tips helpful. In the comments, let me know if you have ever thread painted before.
If you’d like to keep learning, take a look at these thread painting tutorials for stitching animal fur and needle painting flowers.
And if you’re ready to dive even deeper, I offer monthly patterns and tutorials for thread painting and pet portrait embroidery on my Patreon.
Try incorporating some of these ideas into your embroidery practice, and you’ll start noticing a difference.
Recommended products
-
Baking Mouse Embroidery Pattern
Original price was: $15.00.$13.00Current price is: $13.00. -
Raccoon Embroidery Pattern
Original price was: $15.00.$13.00Current price is: $13.00. -
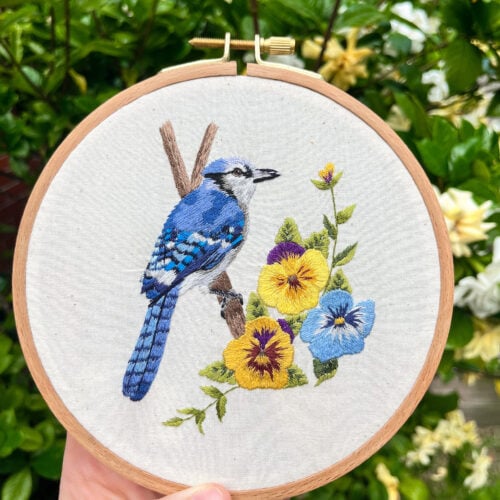
Blue Jay Thread Painting Embroidery Pattern
Original price was: $15.00.$13.00Current price is: $13.00.